QL Player setup- Windows – (Self Hosted and SaaS)
IMPORTANT INFORMATION:
SPECIAL NOTE for Windows 7 and 7 Embedded users. As of QL Player v2.1, the Windows 7 and Windows 7 Embedded operating systems are no longer supported. We recommend you upgrade your OS to the current Windows version.QL Player versions prior to 2.1 can still run on Win 7 / Embedded without any issues, but you should be aware of this new requirement in case you have auto-player software updates enabled for your QL Player Windows PCs.
Configuration:
Before installing QL Player on Windows, please consider the following:
1) Make sure you are logged into windows with a local/domain administrator account.
If you cannot keep the Administrator account logged in for QL Player, please at least install the software using a local administrator account and then you may change the user account to a local account given that this account has ADMIN privileges to the Navori QL Player folder and dependencies.
Please see FAQ: Windows“ How to set permissions on Navori QL Player folder.
2) UAC – User Account Control must be set to disabled, The software automatically disables this feature however User Group Policies can re-enable UAC.
Please see FAQ: Disable UAC
3) Set the Timezone on the Windows PC.
Installation:
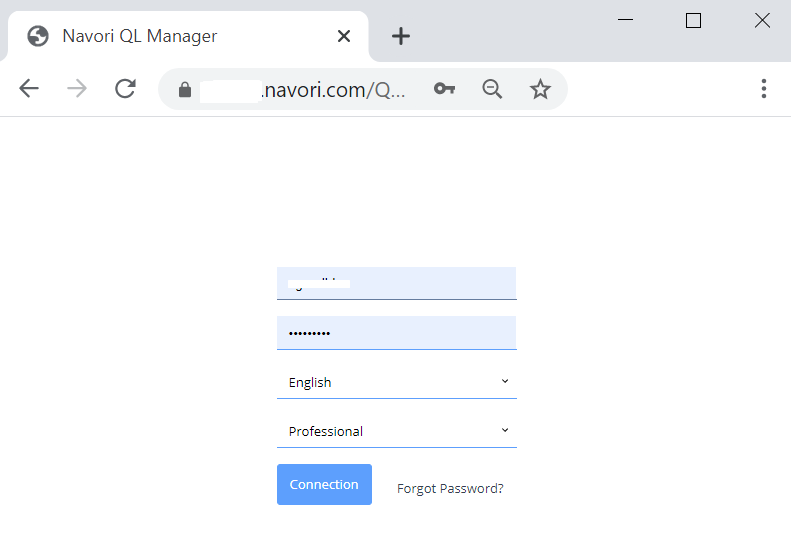
1) Launch your web browser (from the Player PC) and type in your Navori server URL (IP address or DNS).
If you are on the SAAS enter https://saas.navori.com
You should see your QL Manager appear, enter your Login/Password and click Connection.
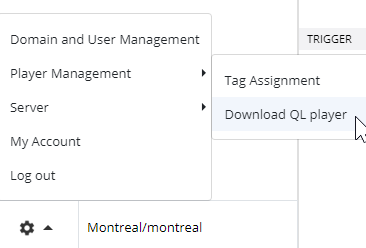
2) Once you are logged in, proceed to download QL Player for Windows.
Windows 32bit: – By default please download the Standard 32bit installer.
Windows 64bit: You MUST have the IPR (Insane Performance Rendering) Add on associated with your Player license, otherwise the installation will not proceed.
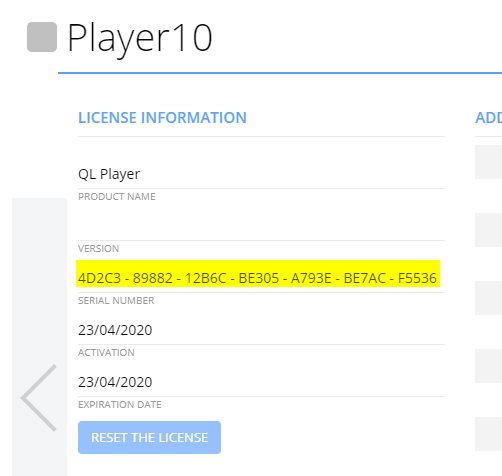
If you wish to manually enter a player license number during the activation, retrieve a Player serial number by double clicking on a Player’s name and navigating to the last page. Highlight the entire serial number and copy it to the Windows Clipboard using Ctrl+C. You will be able to paste it when selecting the advanced activation.
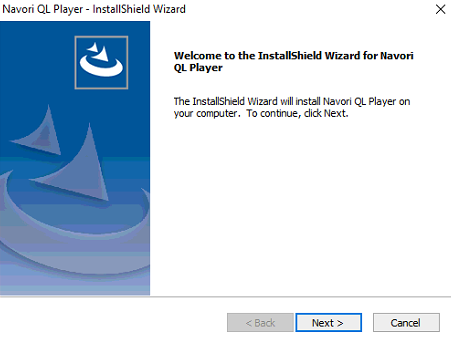
3) Once the Windows installer has been downloaded, locate the installer from your downloads folder and double click to launch NavoriQLPlayer_Setup or NavoriQLPlayer_Setup_SaaS (if downloading from the SaaS)
You will be prompted to click Next.
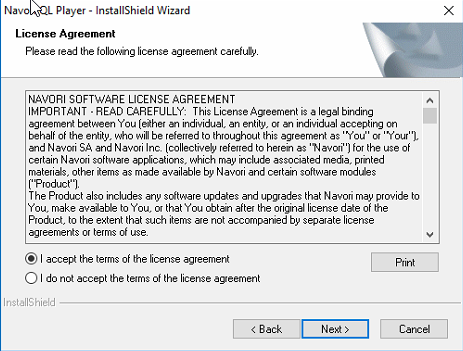
Accept the End User License Agreement (EULA) to proceed and click next.
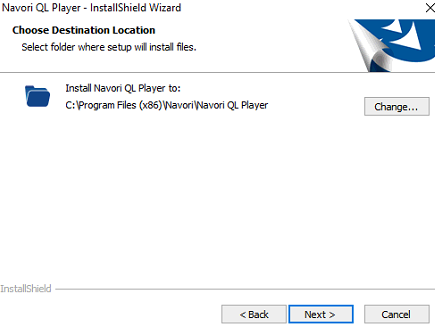
Once the installation is complete, you will be prompted to enter your license information to activate your software.
4) Activation:
Simplified Option:
-
Enter your Server URL (IP or DNS).
If you’re using the SaaS version, the SaaS URL will appear by default. -
Enter your QL Manager credentials (Username and Password).
-
If a proxy is required, set “Configure connection through proxy” to “Yes” and complete the required fields.
-
Click “Retrieve Serial Number” — a serial number will be automatically assigned to the player.
-
Optionally, you may update the player’s name.
-
Click “OK” to proceed.
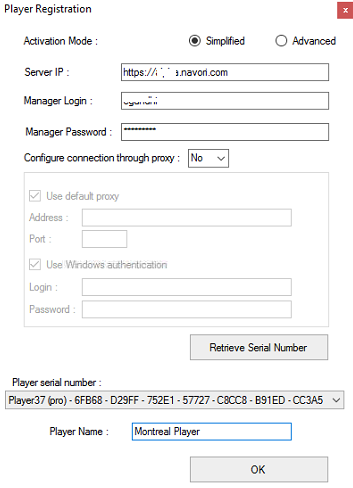
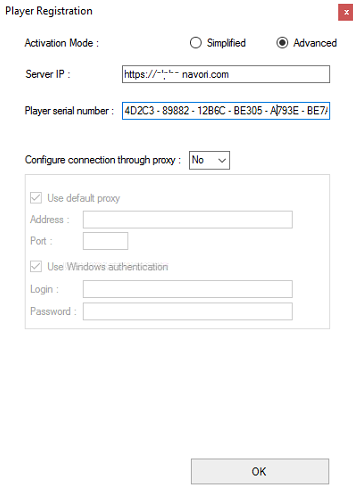
Advanced Option:
-
Enter your Server URL (IP or DNS).
If you’re using the SaaS version, the SaaS URL will appear by default. -
Paste the copied license key, or manually enter an available Player License from QL Manager.
-
If a proxy is required, set “Configure connection through proxy” to “Yes” and complete the necessary fields.
-
Click “OK” to proceed.
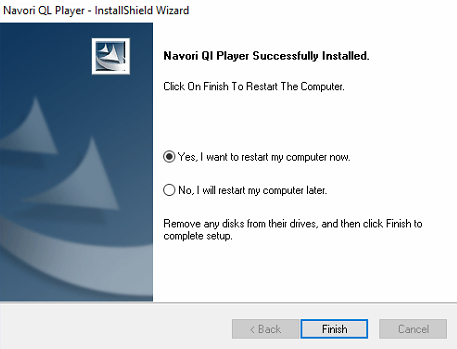
Upon Successful Activation, Click Finish and the Windows PC will reboot.
Note: If UAC is enabled, the player will reboot regardless of the option you select below.
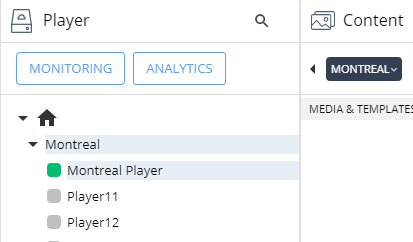
5) After the reboot, Navori QL Player will launch and show the default media on the screen. This means you have successfully completed the QL Player installation and the player should appear online (blue/green) in QL Manager.
For information on how to send an update to your player.
please see Help File: How to publish content