Domain and User Management
Click here for the Administrative features tutorial video.
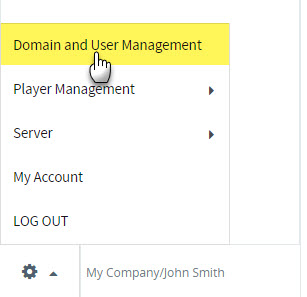
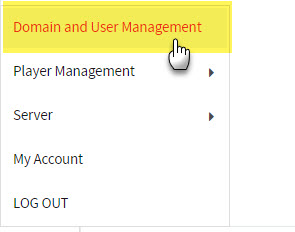
Domain and User Management is the first option in the main menu.
Administrators can grant or deny access to groups and sub-groups by creating domains.
Once a domain has been created, the administrator will assign users to each domain, effectively controlling which areas of the network they can see and use.
What are domains?
In QL, domains are made of different levels (groups / sub-groups) in the player hierarchy.
Here is the group view in the Domain and User Management window.
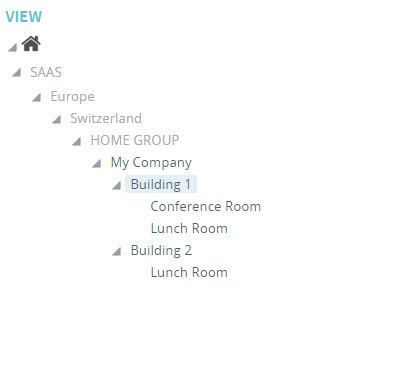
The QL administrator can create multiple domains from this hierarchy by selecting and saving them individually.
For example, a domain containing the levels My Company > Building 1 will let its users access only these two levels. Users assigned to this domain cannot see any levels above or below these two levels.
To give access to users in the sub-groups immediately below “Building 1”, the QL administrator must also select the Conference Room and Lunch Room sub-groups.
Domains are great for managing multi-tenant networks or simply to restrict access to various parts of your network.
Domains can be created and modified at any time. Using the example above, the QL Administrator can select and deselect levels that are assigned to any domain. Changes will come into effect next time the domain’s user logs in.
Domain and User Management window overview
The Domain and User Management window is split into 3 areas:
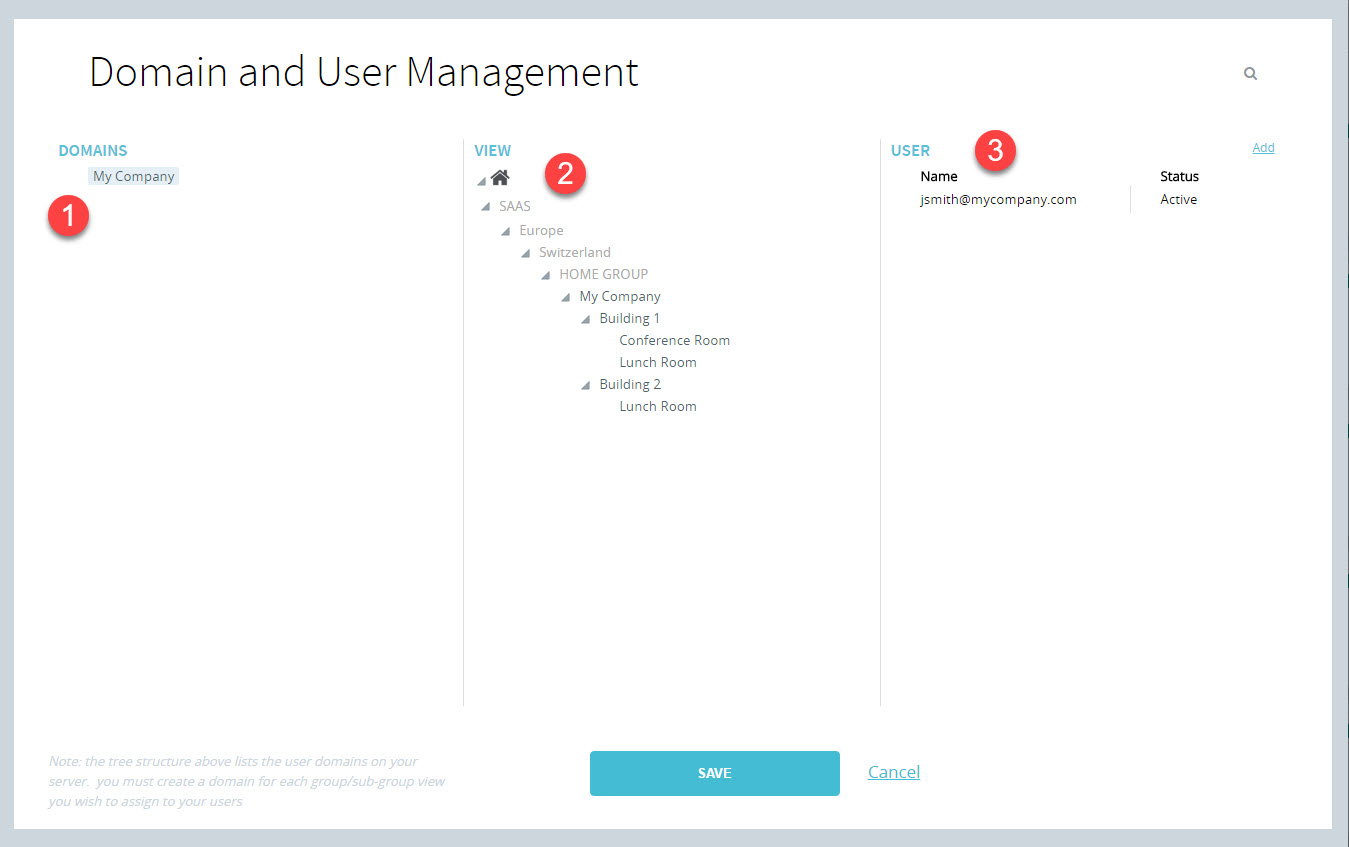
1. The Domains list. This is where you browse the list of available domains and create new domains.
2. The Domain View. This is where you browse the group and sub-group levels. It’s also where you select levels to be included or excluded from the selected domain.
3. The User list. This is where you browse the list of users assigned to the selected domain. You also create new user accounts in this window.
How to create a domain
Before you create a domain, you must configure your group and sub-groups so they reflect your intended use, your network’s physical layout or your corporate structure. Next, consider which level (or levels) you want to provide access to. It’s a good idea to map out your domains the same way you do your groups and sub-groups.
Follow these steps to create a new domain:
1. Click the “gear” symbol in the lower left corner of your screen to access the main menu. Next, select Domain and User Management.
2. The Domain and User Management window will open. When you begin, you will see the root level. If you assign users to this level, they will each have access to the entire group/sub-group structure that you created. These users’ view will automatically update when you add or remove levels. User accounts created assigned to the root cannot be excluded from any level. They always have an unrestricted view of the network.
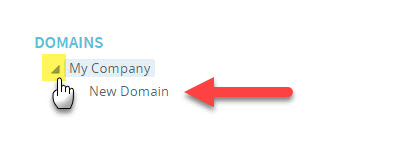
You must create domains under your root level to restrict user access to specific levels. To do so, right-click on the root name and select New.

This will open the new domain window.
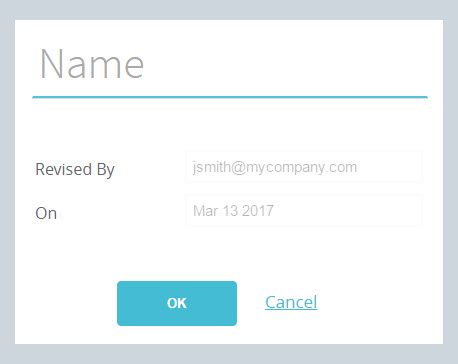
Type in a domain name and click OK to confirm.
The domain will be added under the root. Click the arrow to unfold the list and you will see your new domain.
Assigning levels to a new domain
By default, new domains have no levels assigned. You must select which levels to give access under each new domain.
Follow these steps to assign levels to a new domain:
1. Click the new domain’s name in the list. This will reset the two columns on the right (View and User). View will show the first levels in your hierarchy. The user column will be empty until you create user accounts in the selected domain.

2. Click on the arrow left of each level name (group / sub-group) to unfold each level you wish to see.
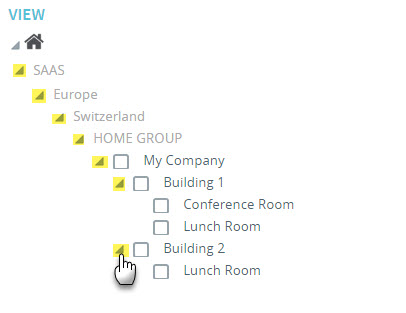
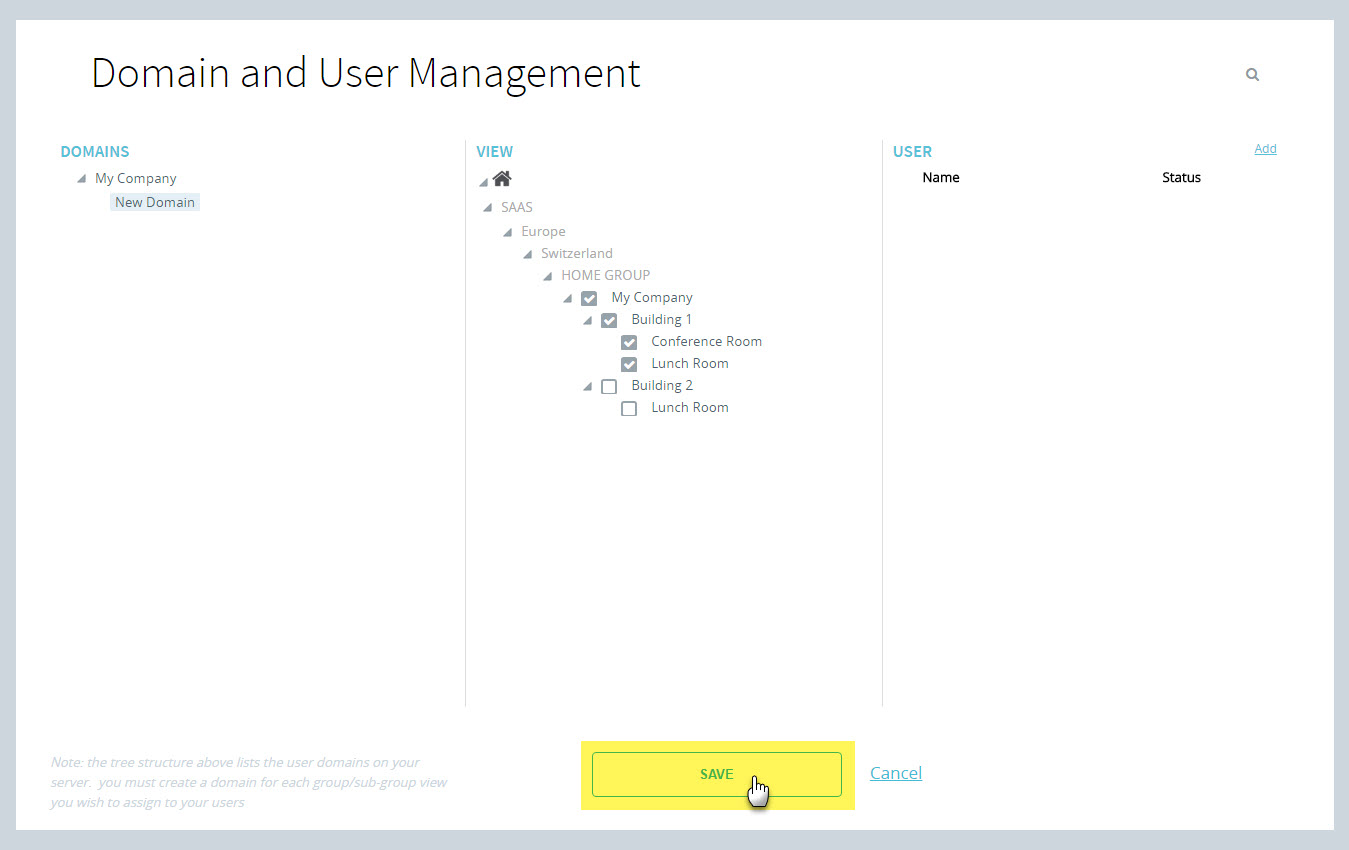
3. Click the check-box to the left of any level you wish to assign to the currently selected domain. In the example below, we select My Company > Building 1 > Conference Room and Lunch Room.
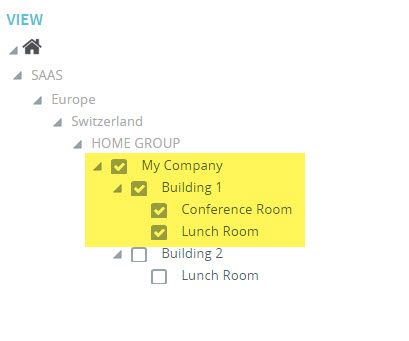
This represents all he levels that will be accessible to the users created under the new domain.
NOTE: You can make changes to these selections at any time by deselecting levels.
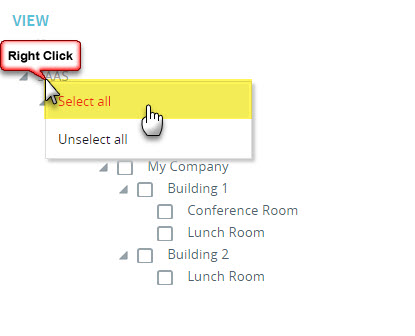
You can also select all of the available levels by right clicking on the root level and selecting Select all.
Once your selection is complete, click SAVE to confirm.