QL Player Setup on Sony Bravia Installation Guide
Start by downloading the pkg installation file and upload it on a USB stick.
If the player has not been used yet and still has factory settings you can just plug in the USB stick and turn on the player.
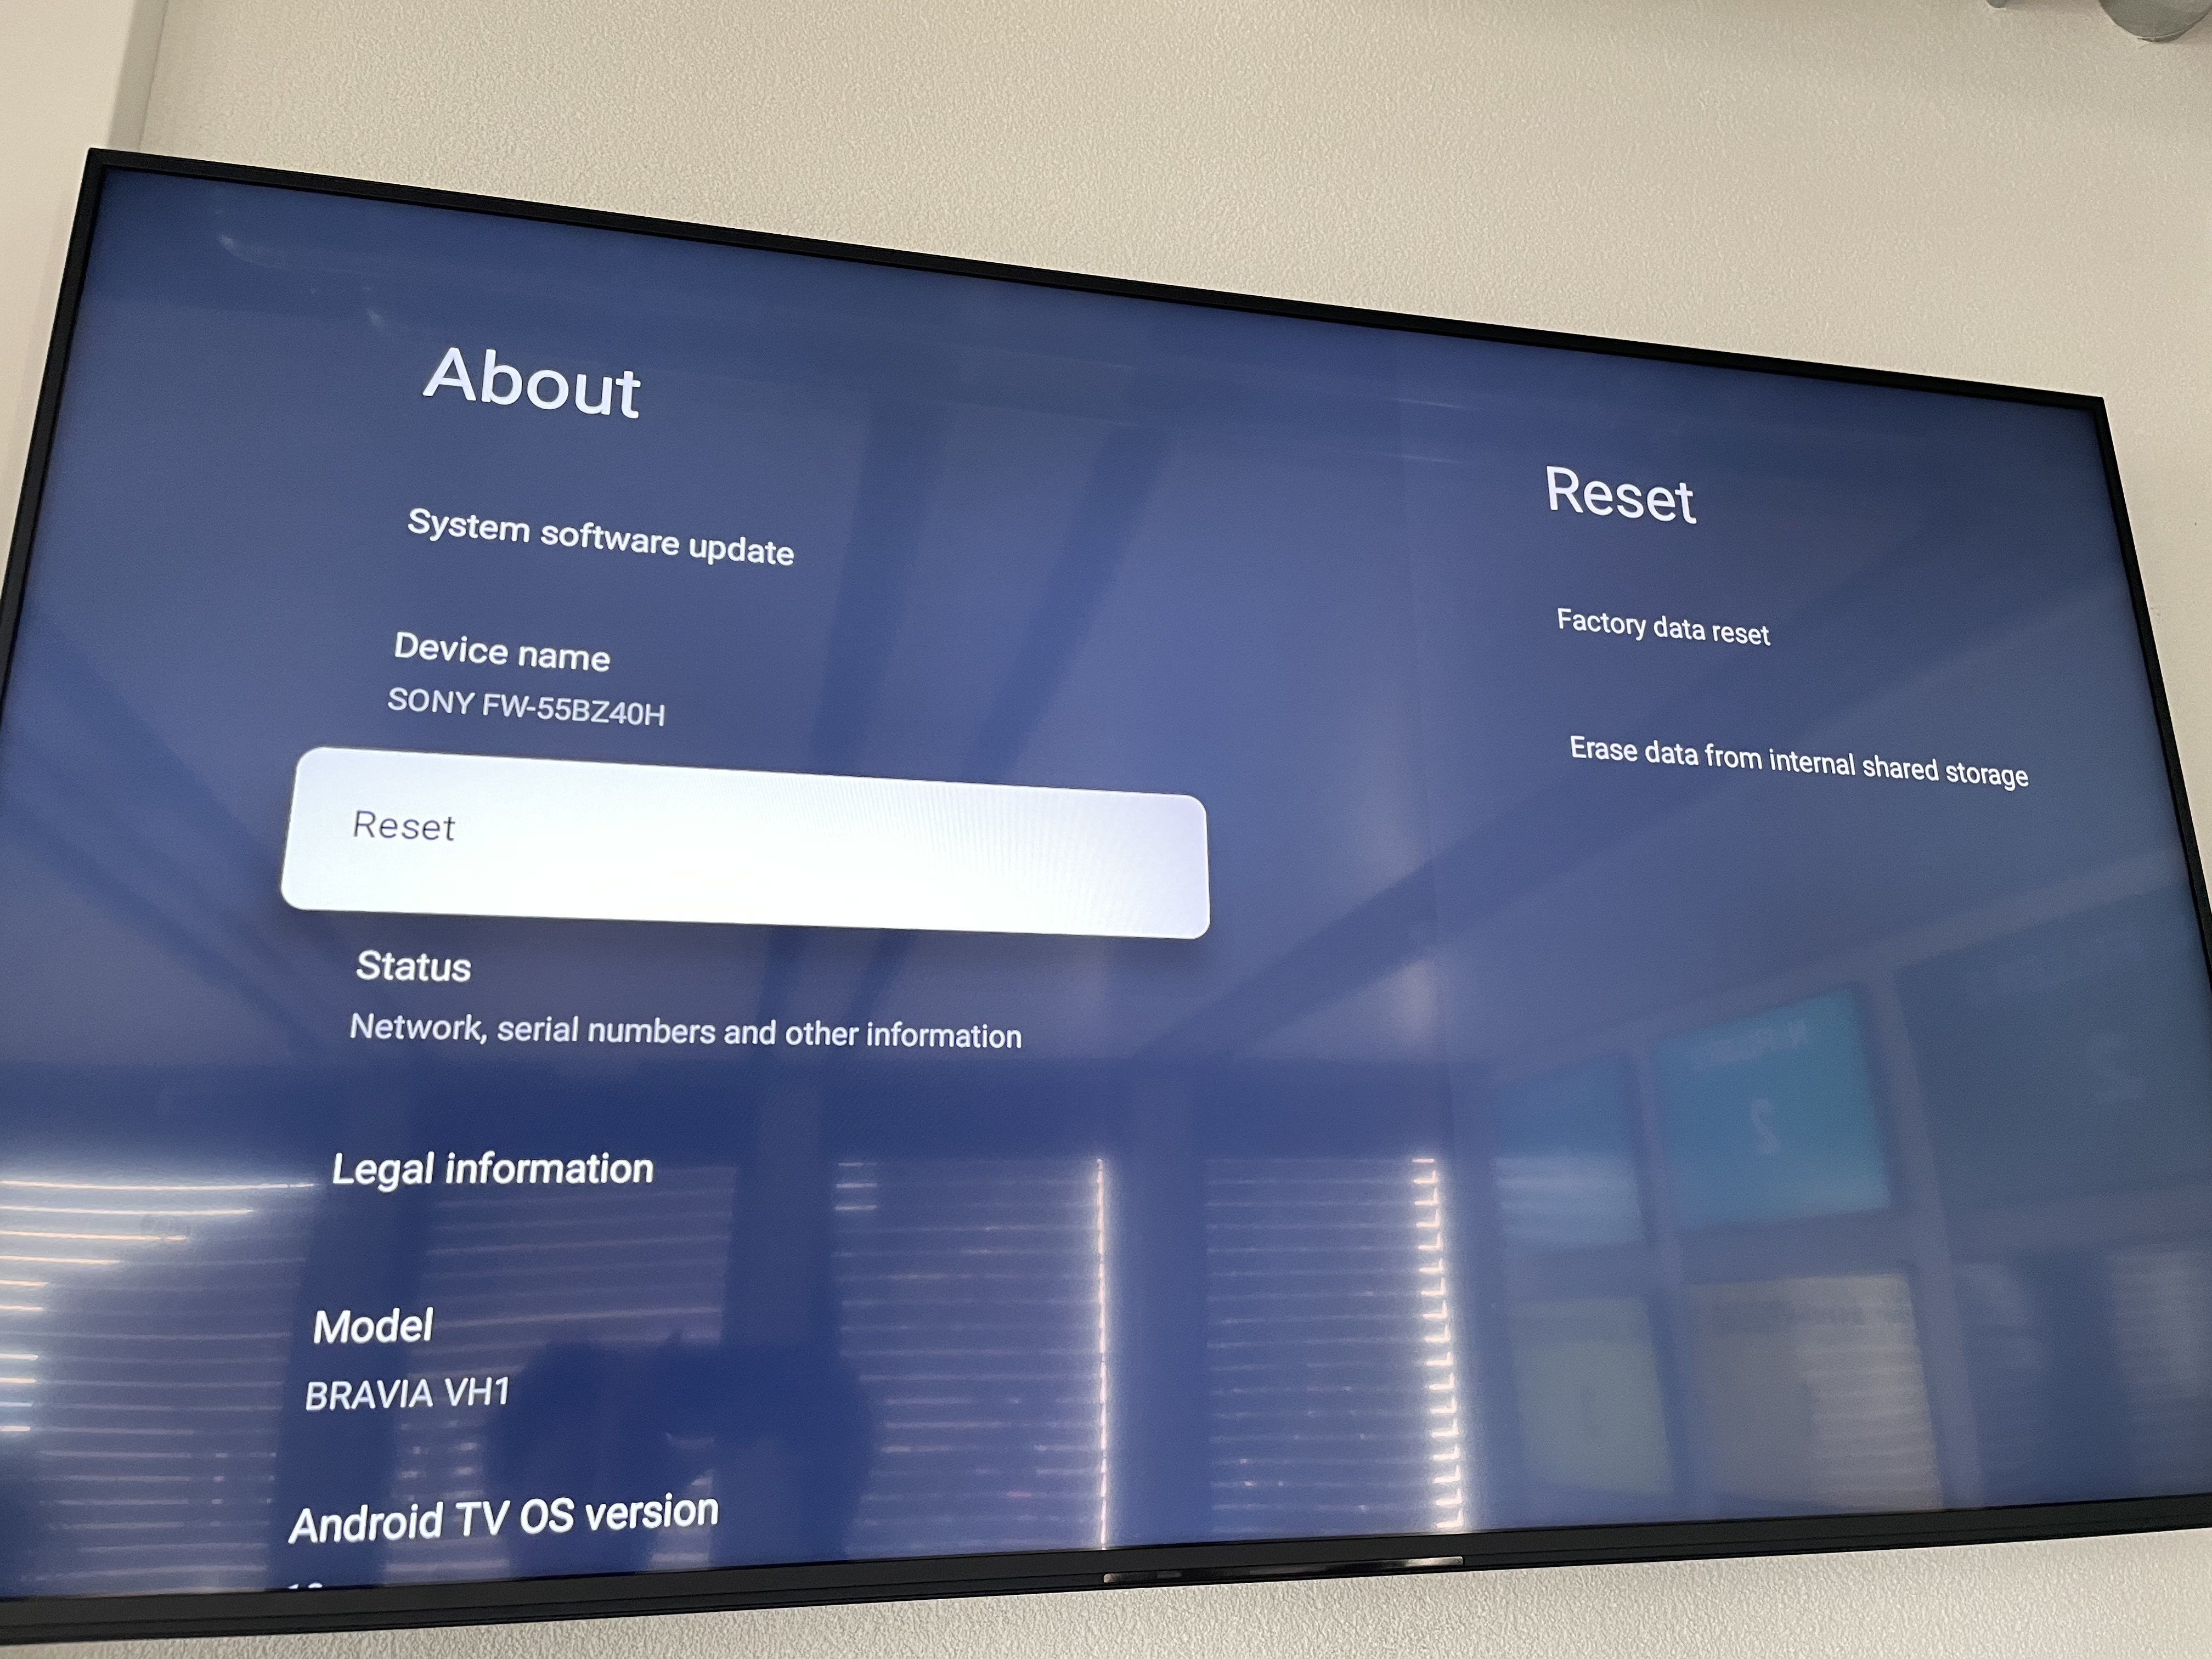
Else, go to Settings → About menu and perform a factory reset then put the Navori QL installation file on a USB stick and plug it into your player.
When the player restarts completely the basic set up step.
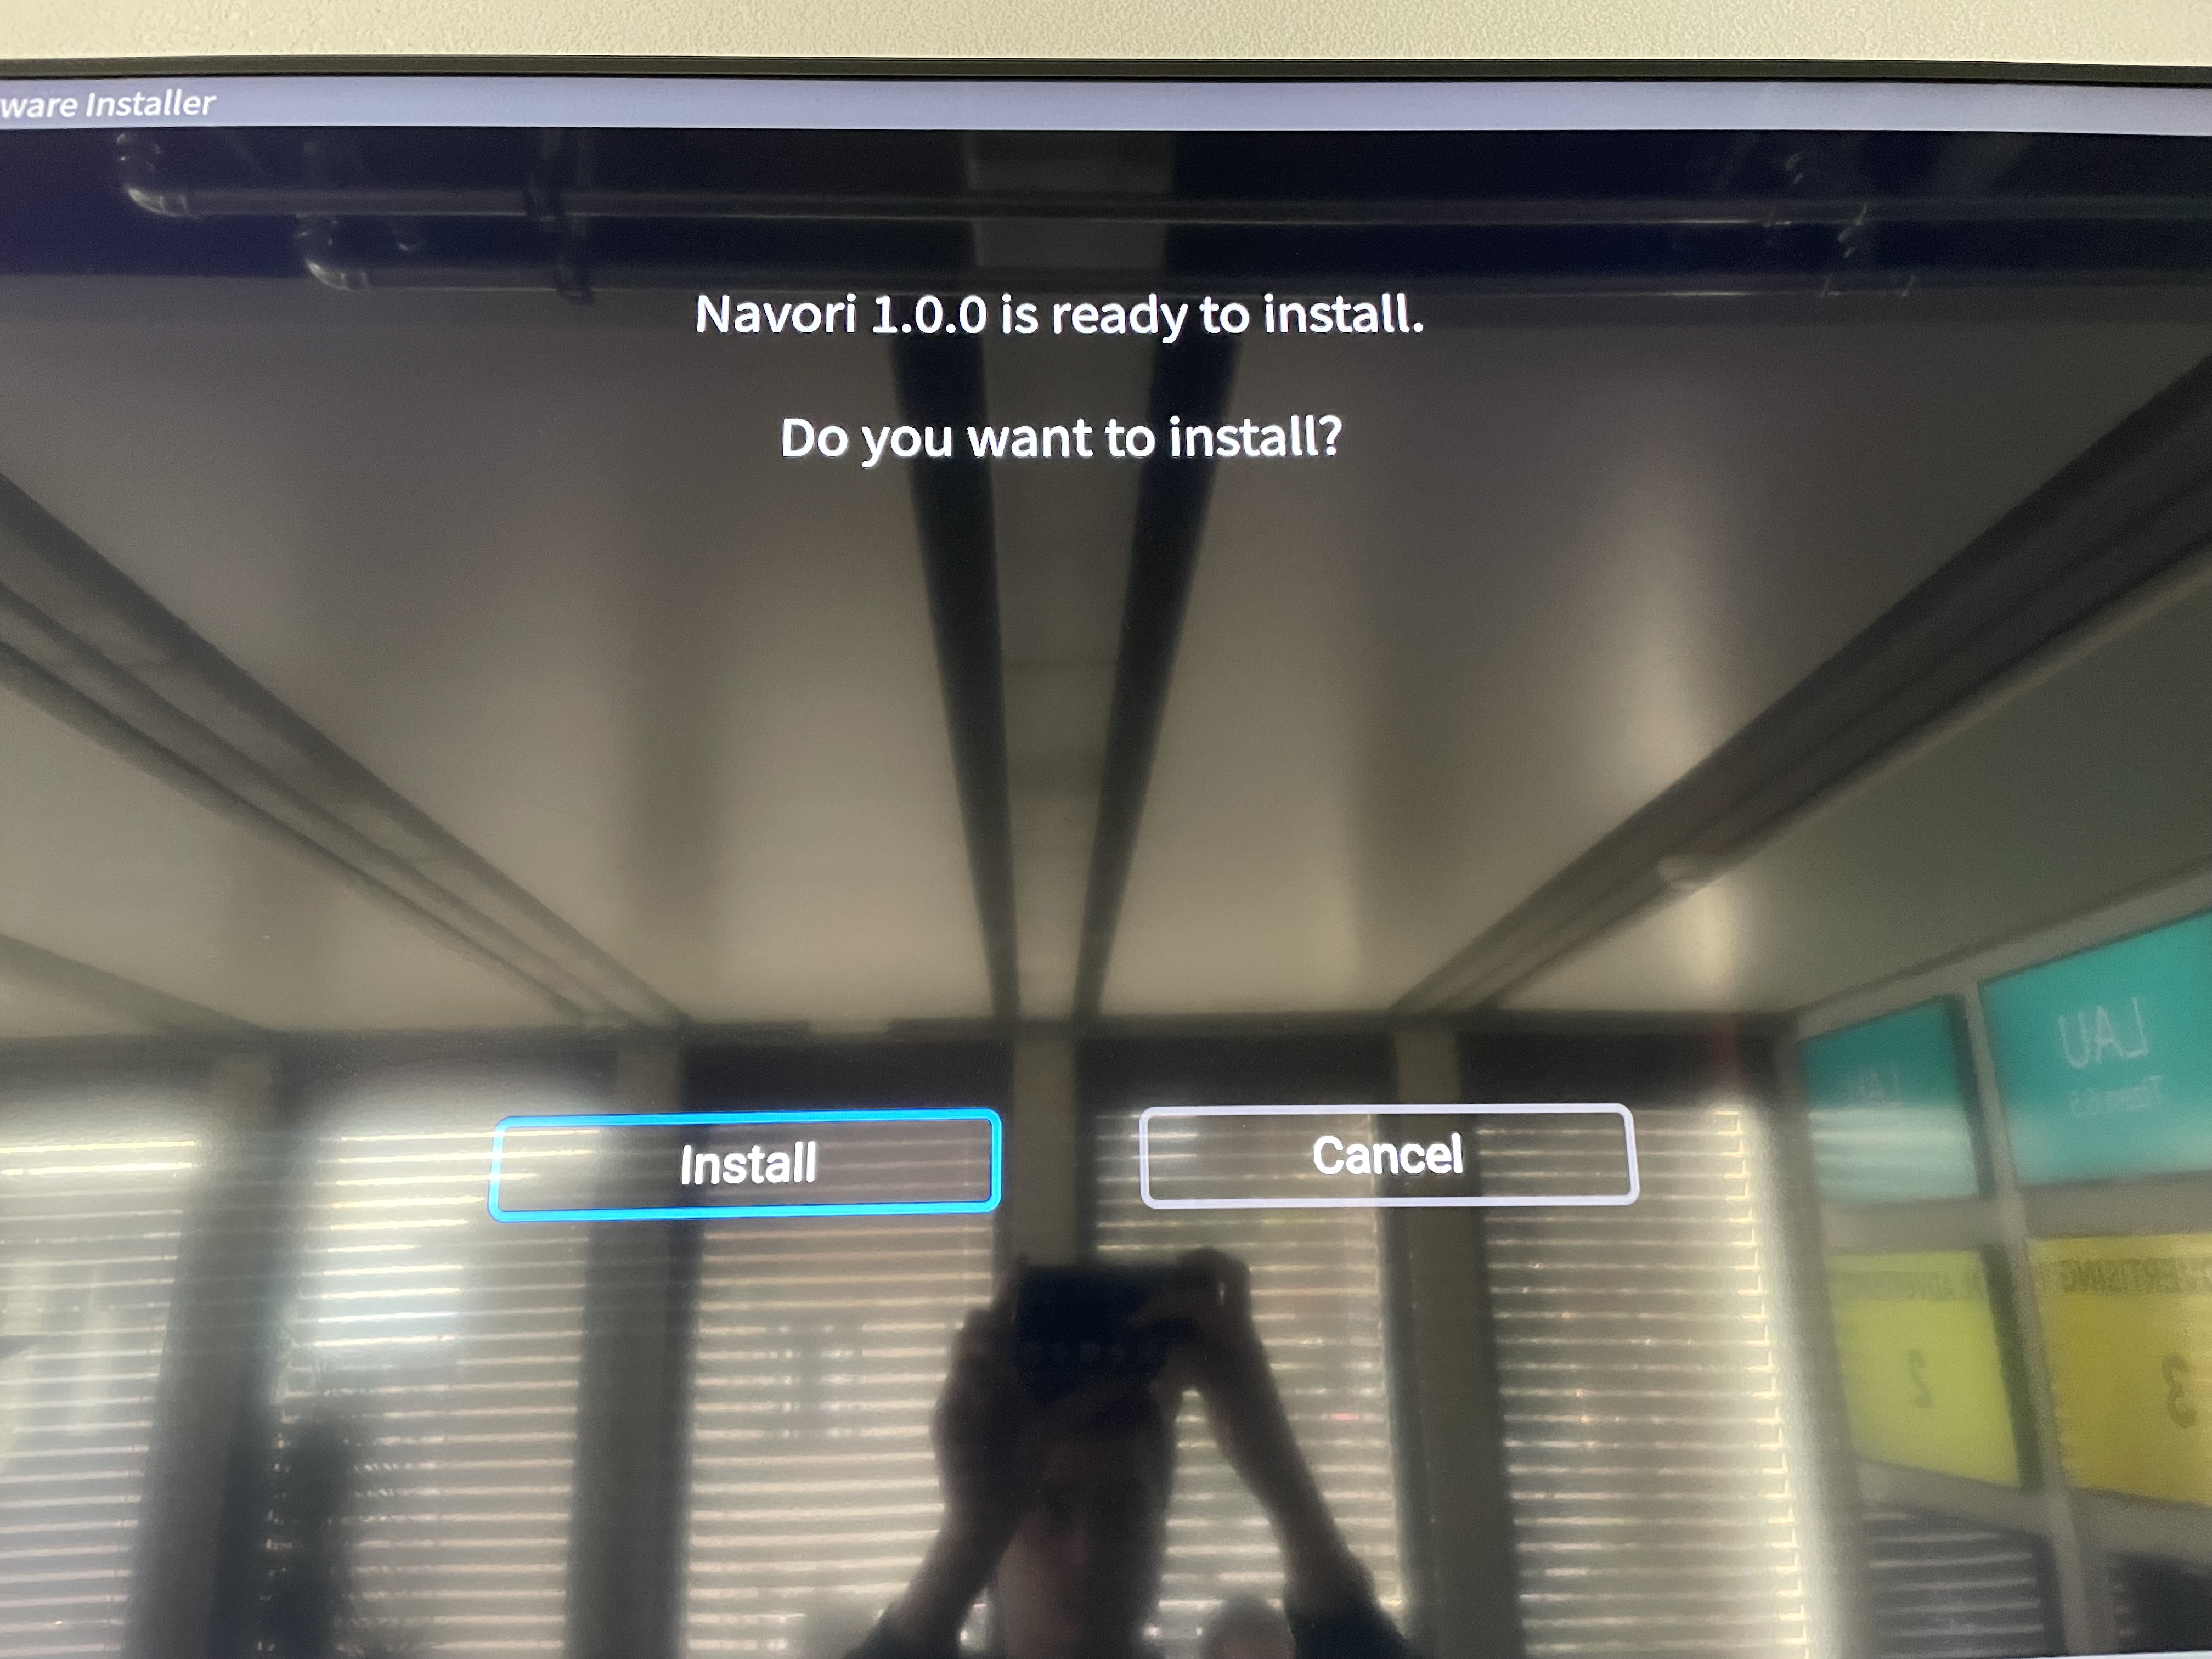
Then your player will propose to install the Navori software, click on Install.
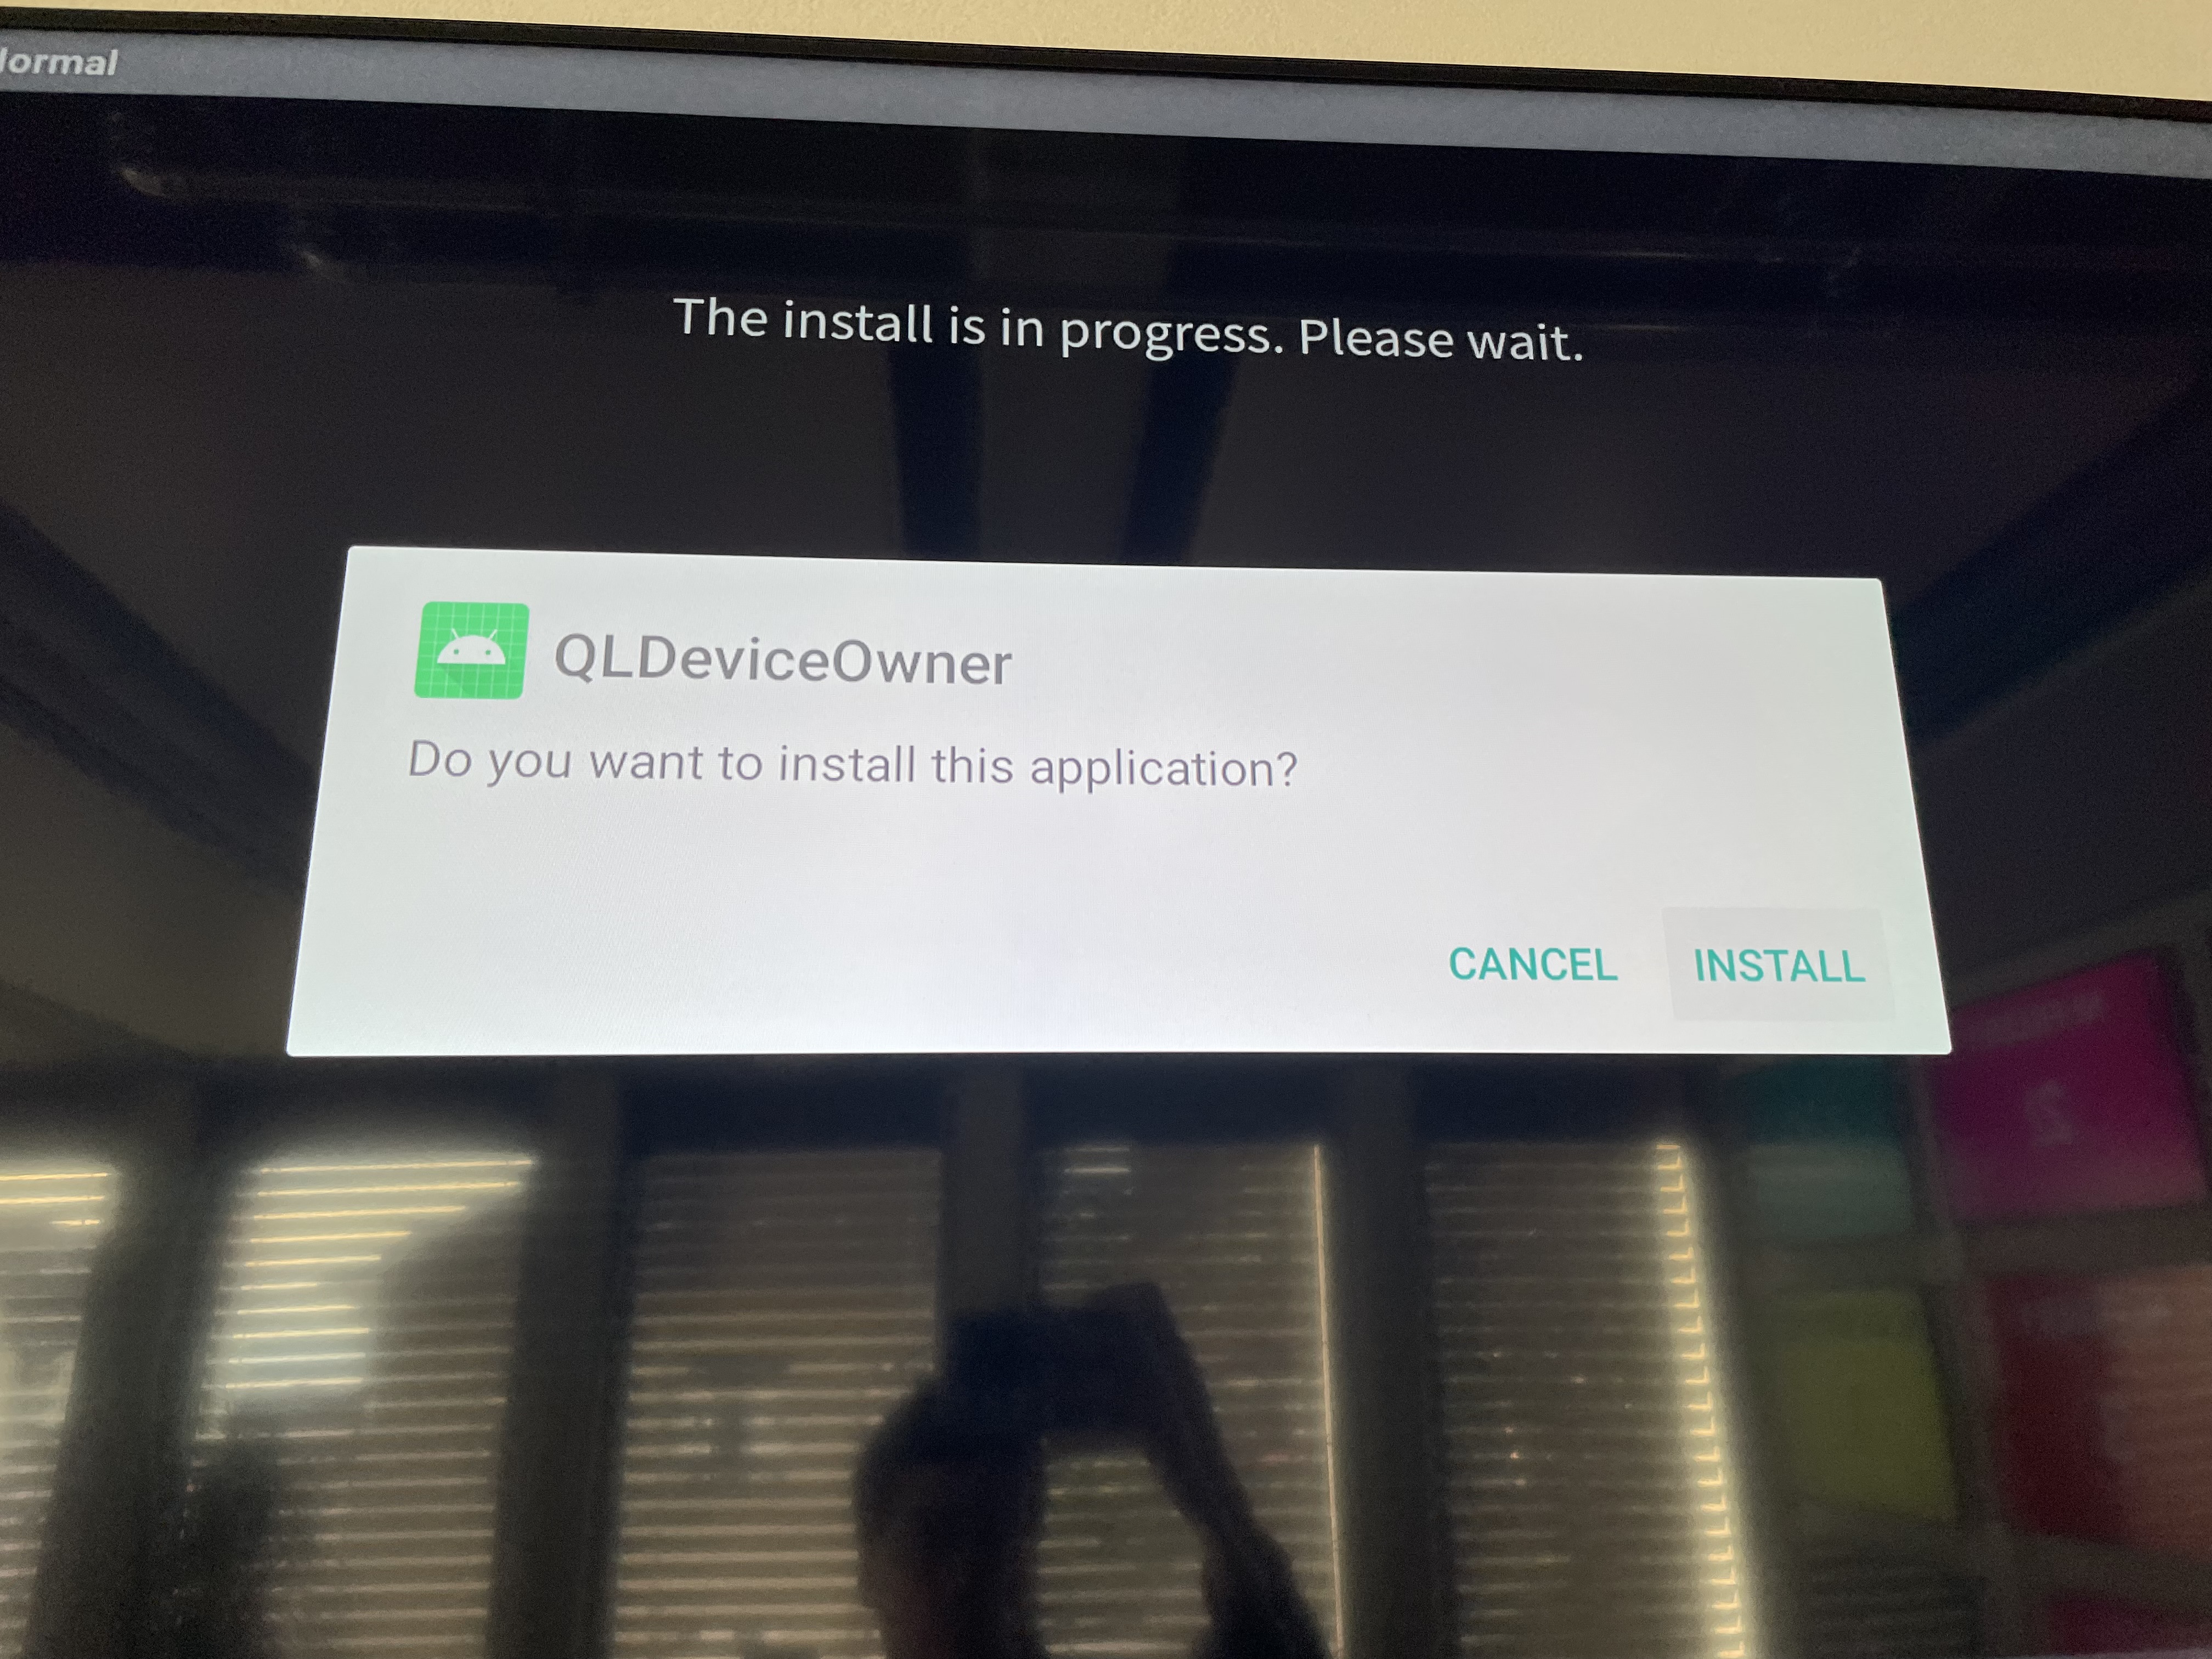
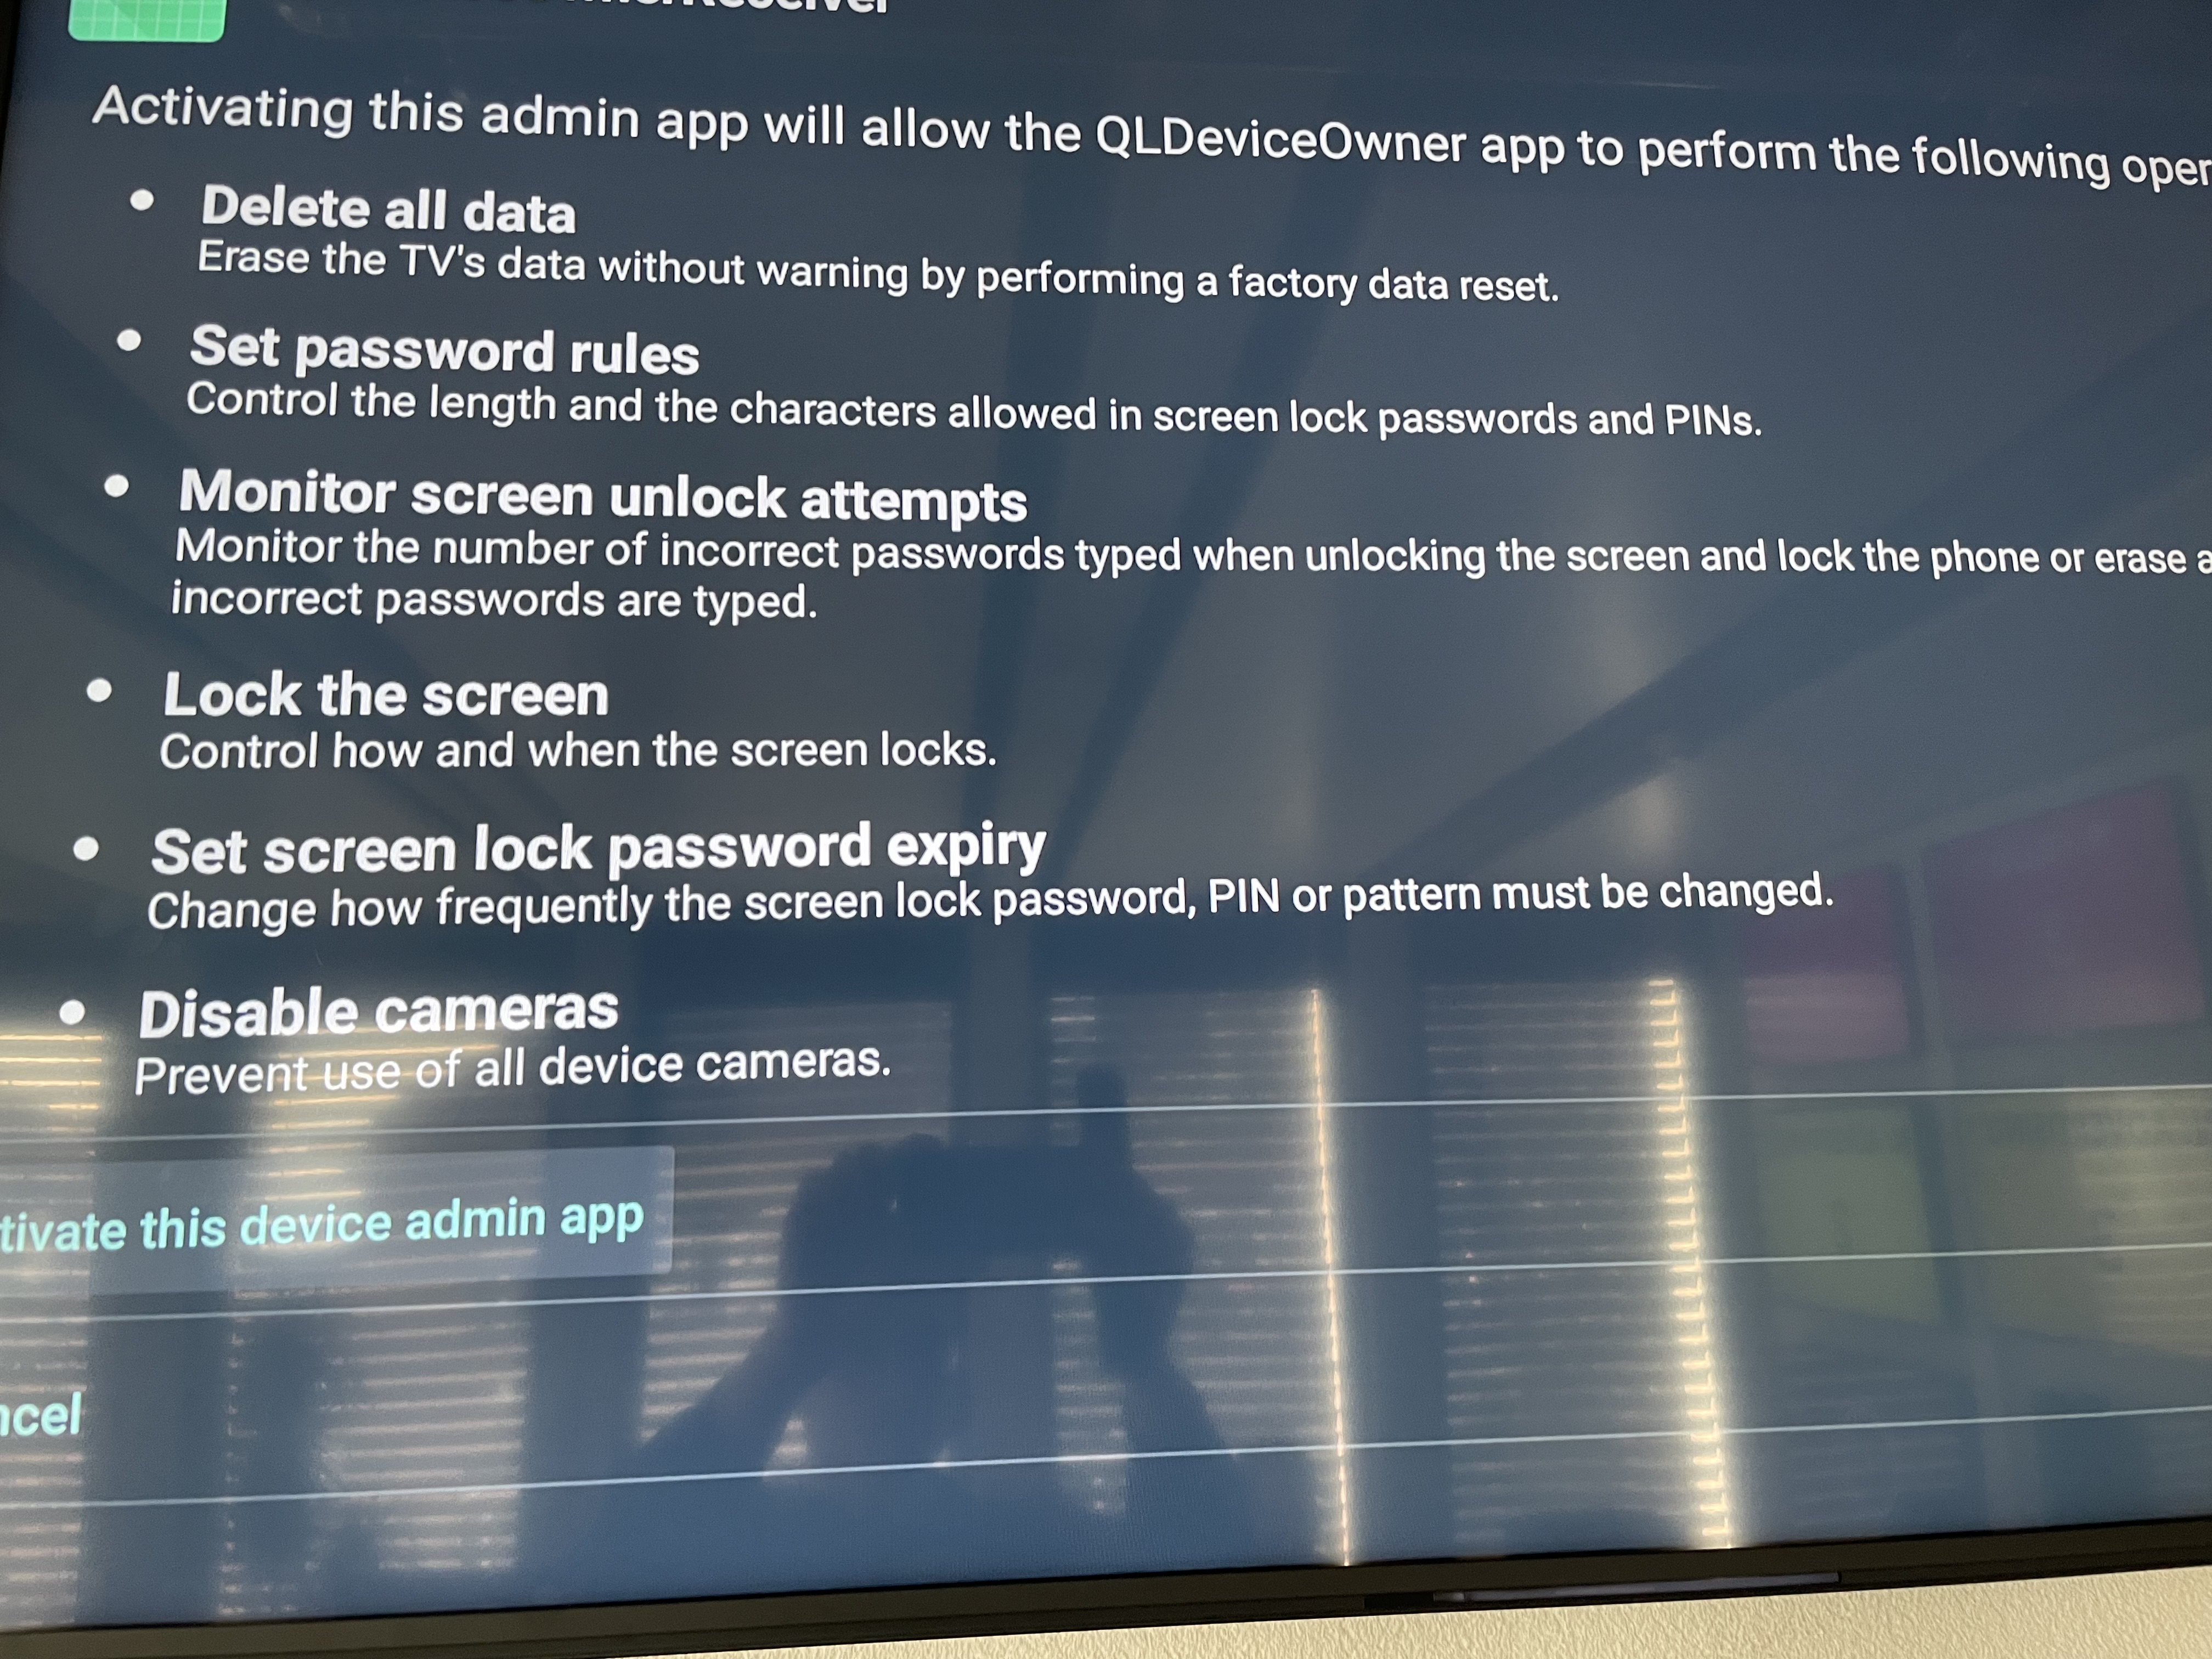
Install QL Device Owner and activate this device admin app.
Once installed you can go to Settings→ All apps and launch Navori Conductor.
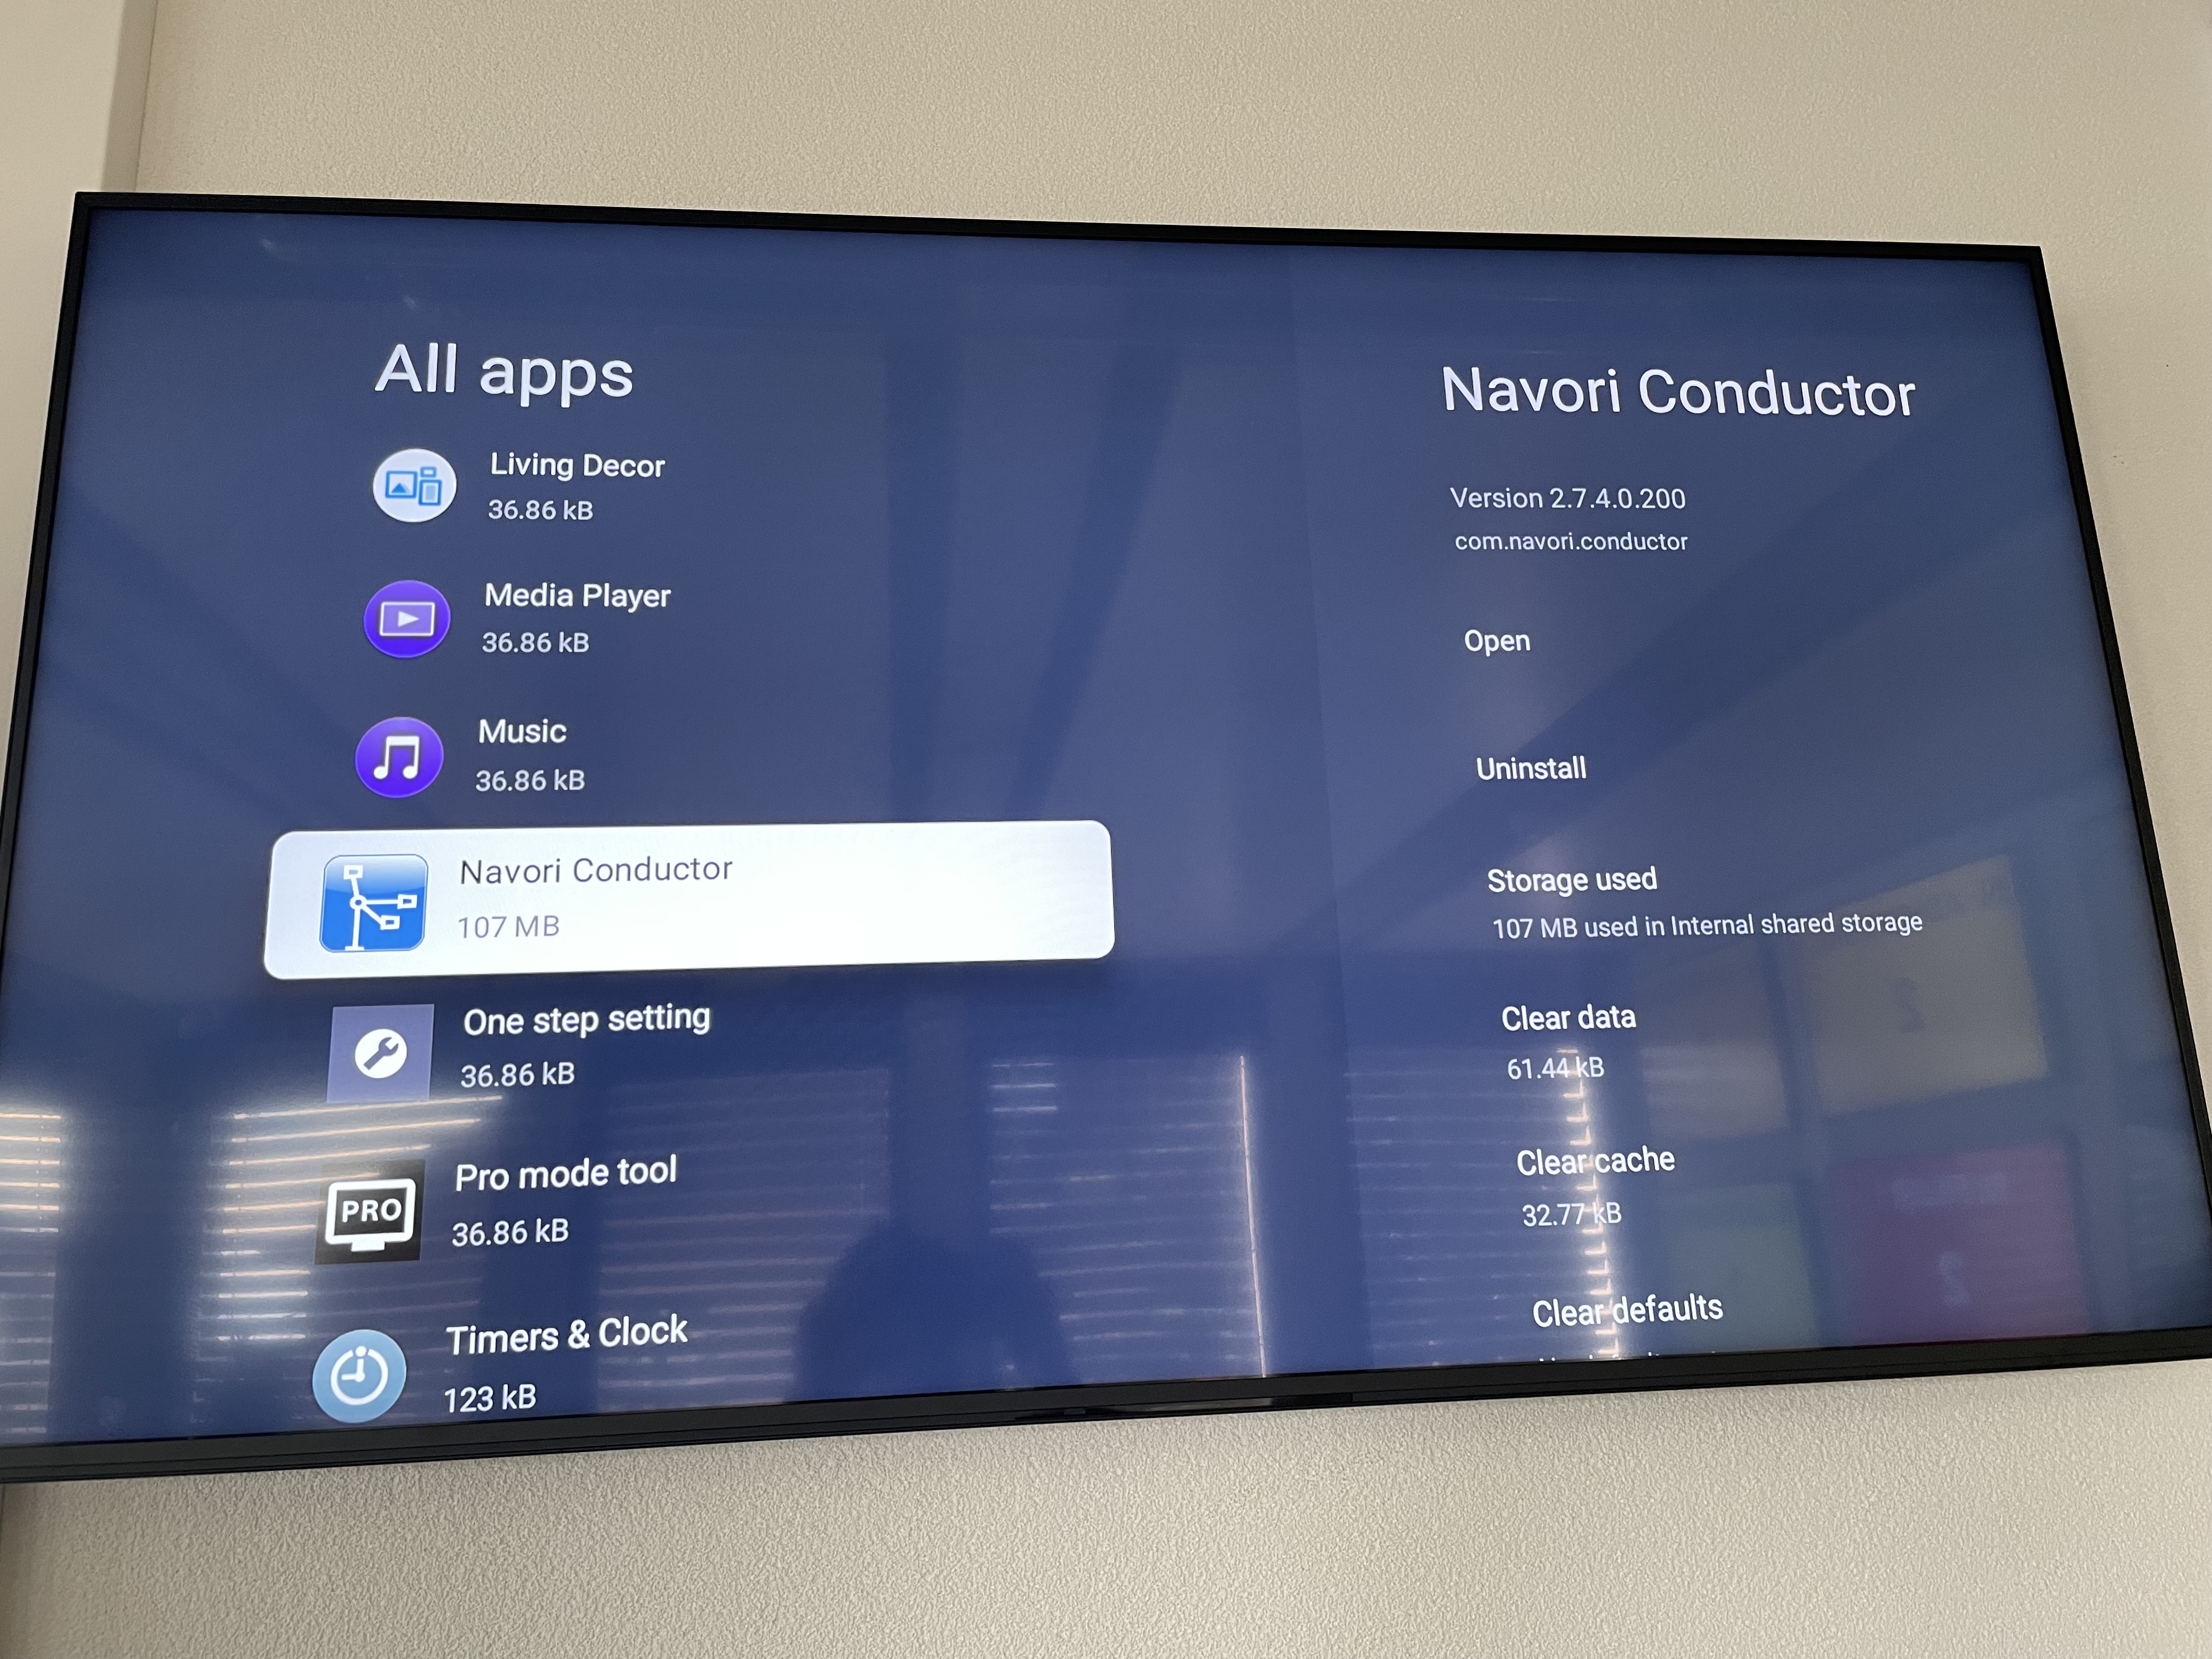
The Navori Activation page will open
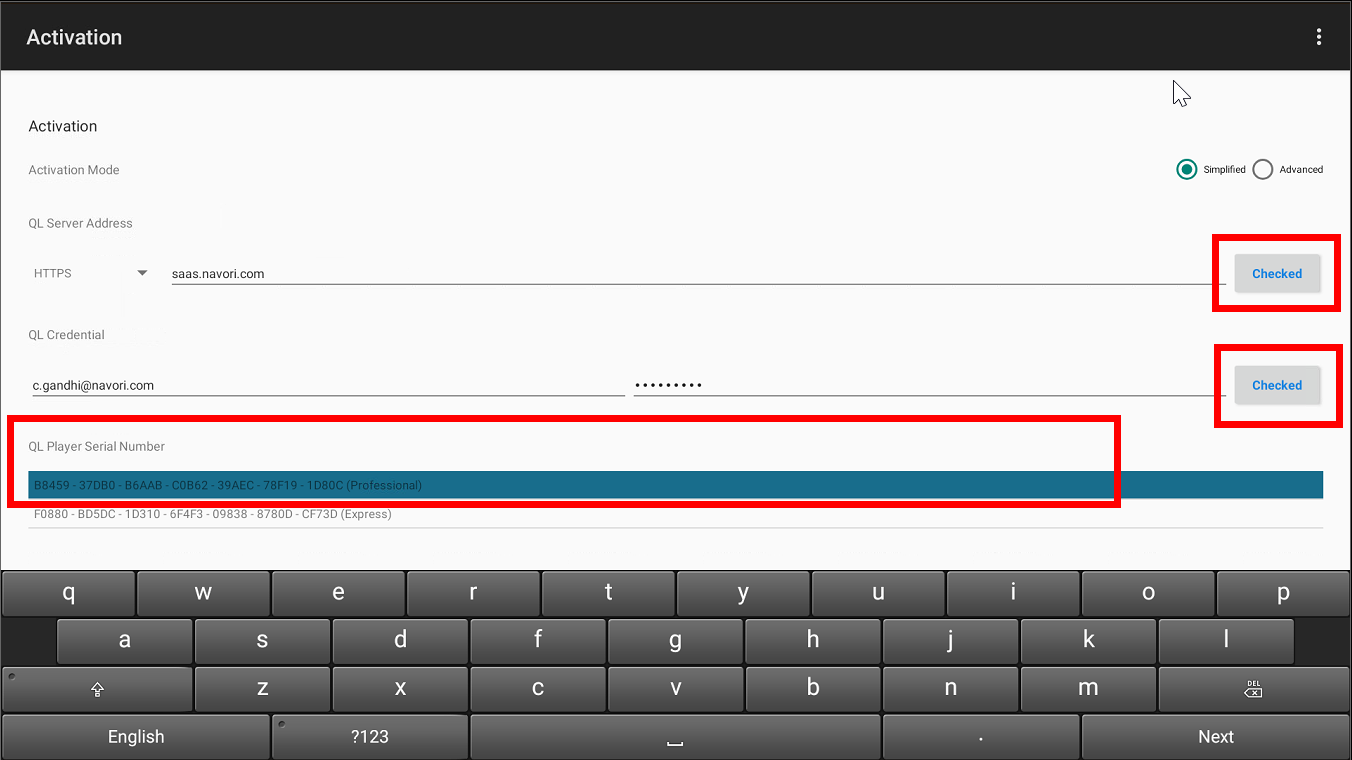
SIMPLIFIED ACTIVATION
For QL SaaS customer please select HTTPS from the drop down and enter saas.navori.com, enter your Navori credentials, click ‘Checked’ and select one of the available licenses that appears below.
For On Premise customers, please select HTTP/HTTPS from the drop down and enter your DNSorIP address and press ‘Checked’
ADVANCED ACTIVATION
The advanced activation allows you to manually enter a license number without having a license selected for you through the Simplified activation.
For SaaS customers please select HTTPS from the drop-down and enter saas.navori.com and press ‘Checked’
For On-Premise customers, please select HTTP/HTTPS from the drop-down and enter your DNSorIP address, and press ‘Checked’
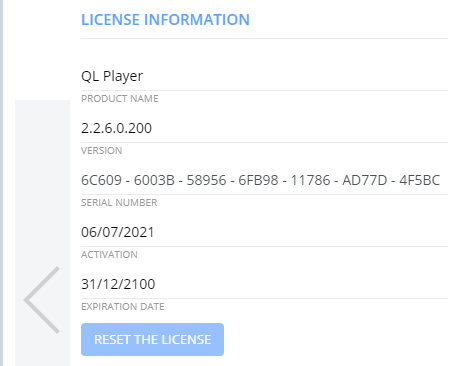
Manually Enter your license number, which you can find directly from the Navori CMS, Under Player Properties > 3rd Page, and press ‘Checked’
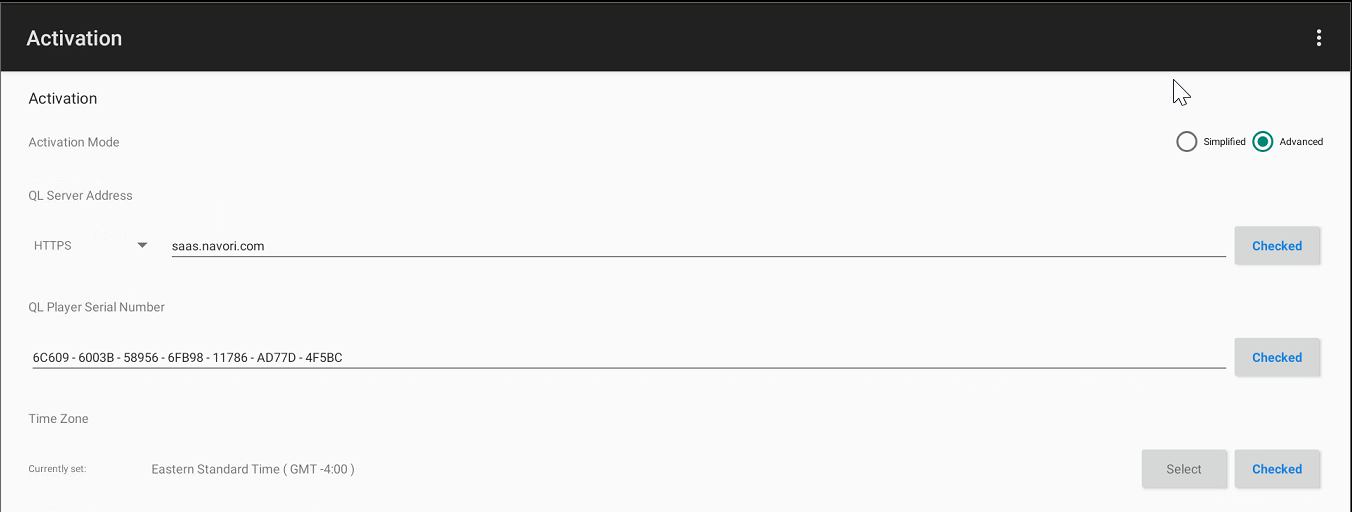
Make sure the time zone is correct and click the ‘Checked’ button.
Click on Activate
The device will restart and the player should appear online (GREEN) through the CMS.