QL Player Setup on Stix 3700
How to Setup QL Player on the Stix 3700
Video Turtorial
NOTE: the easiest way to navigate around on the Stix 3700 is to connect a keyboard and mouse via USB.
Pre- installed Applications
- The Stix3700 comes pre-installed with the Navori Conductor to start the activation and install of the QL Player
- The Stix3700 also comes preinstalled with Host a TeamViewer application to allow for remote management.
Note: A TeamViewer license is required to utilize the Host application’ - Firefox is the default browser installed on the Stix3700; however, it is strongly recommended to install Google Chrome as it is most like the QL player for testing

- Customers Using 4K, there is a pre-installed app called ‘Change UI Resolution’ where you can toggle between 1080p and 4K
Prior to Activating Navori Conductor – Please configure your Internet Connection
- Plug in the Stix to a display and make sure it has a network access WIFI or ETHERNET.
Settings Gear Icon > Network & Internet
Activating the Conductor
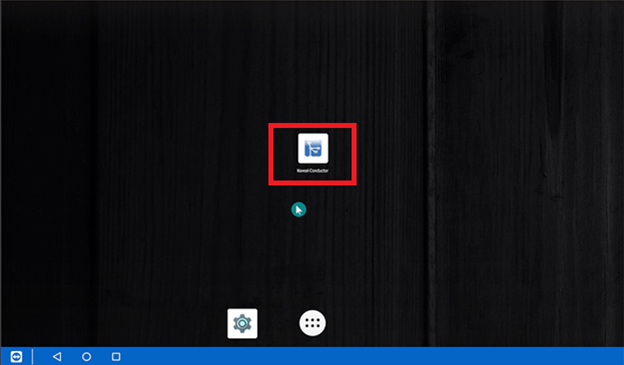
- On the Home Screen, Launch the Navori Conductor application
2.
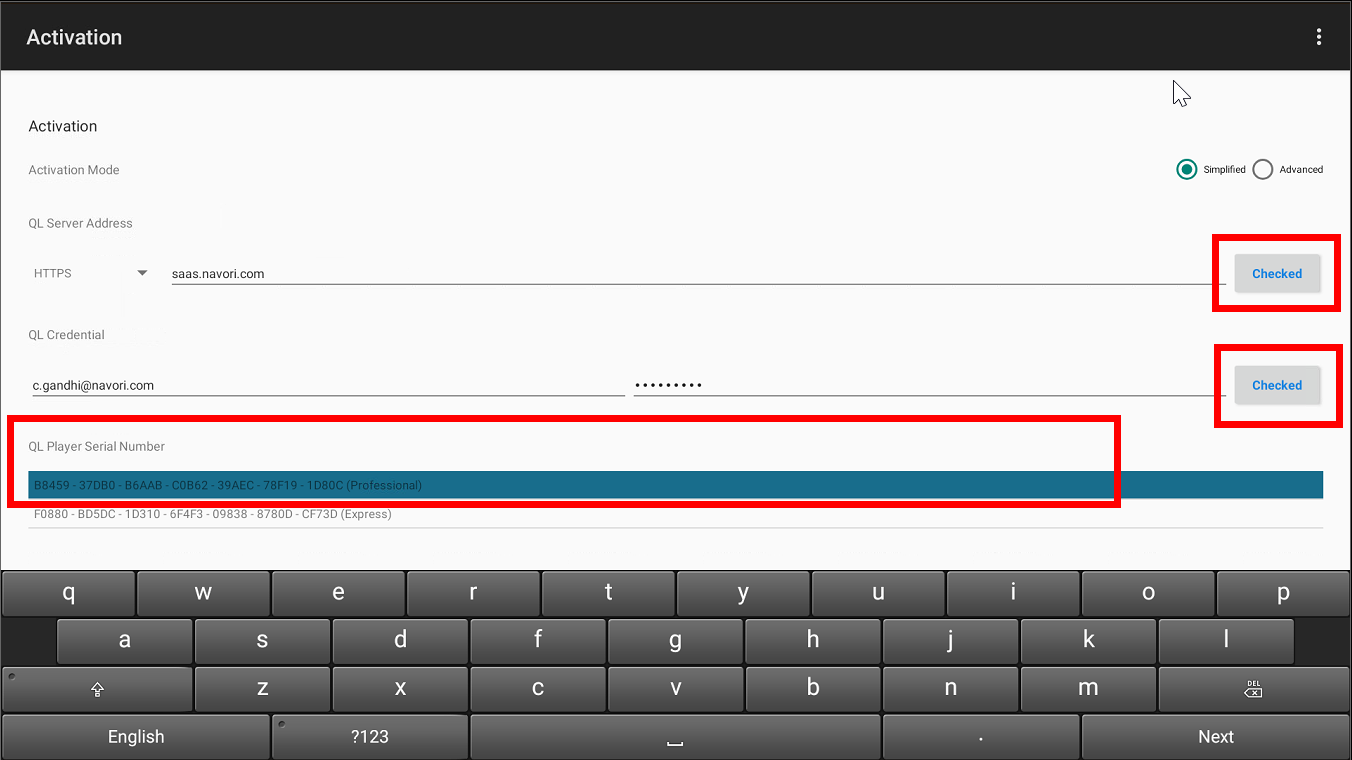
SIMPLIFIED ACTIVATION
For QL SaaS customer please select HTTPS from the drop down and enter saas.navori.com, enter your Navori credentials, click ‘Checked’ and select one of the available licenses that appears below.
For On Premise customers, please select HTTP/HTTPS from the drop down and enter your DNSorIP address and press ‘Checked’
ADVANCED ACTIVATION
The advanced activation allows you to manually enter a license number without having a license selected for you through the Simplified activation.
For SaaS customer please select HTTPS from the drop down and enter saas.navori.com and press ‘Checked’
For On Premise customers, please select HTTP/HTTPS from the drop down and enter your DNSorIP address and press ‘Checked’
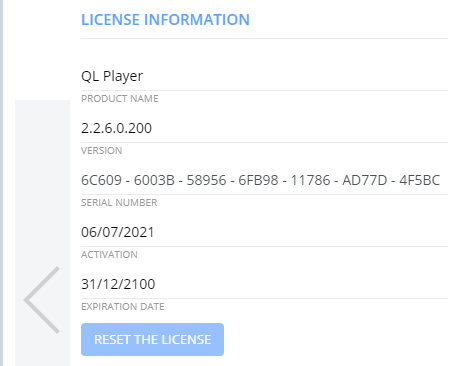
Manually Enter your license number, which you can find directly from the Navori CMS, Under Player Properties > 3rd Page and press ‘Checked’
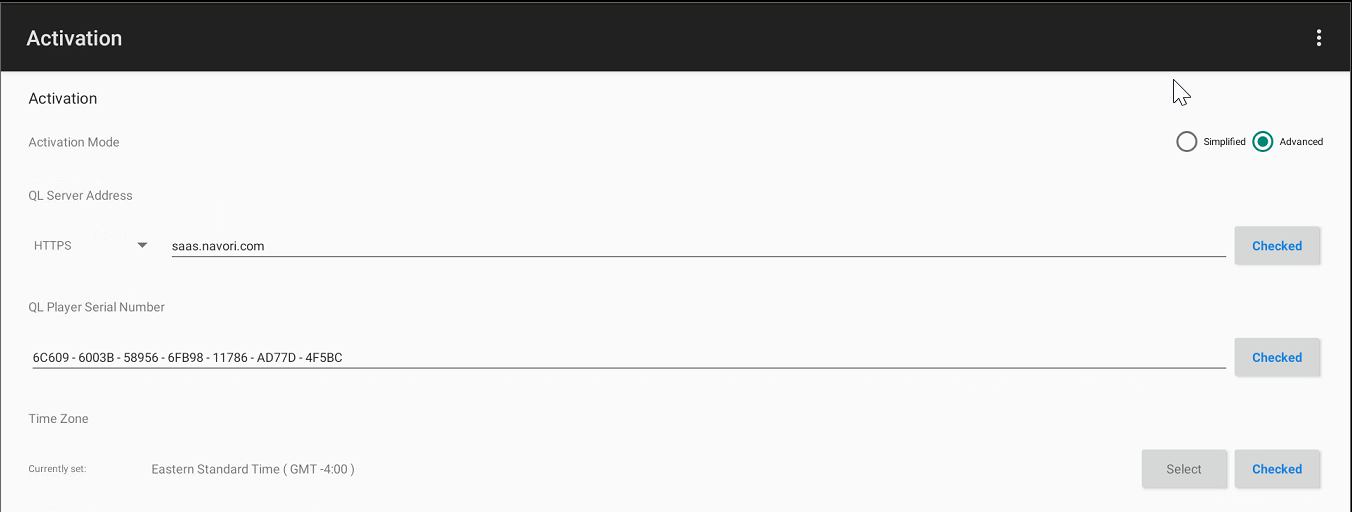
3. Make sure the time zone is correct and click the ‘Checked’ button.
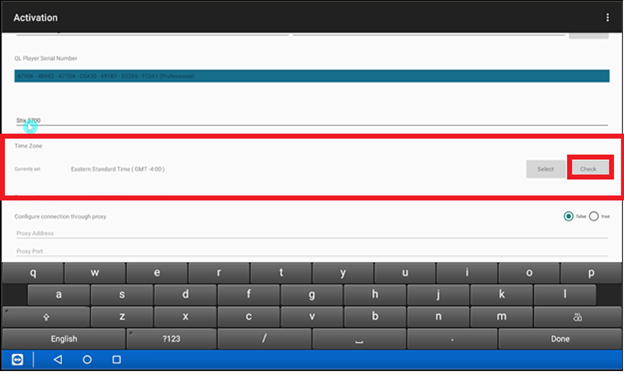
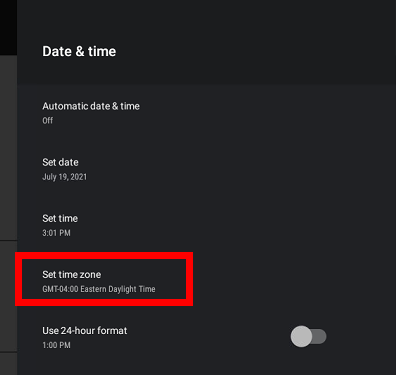
Note: Make sure that the automatic Date & Time are disabled and set the time manually. If the time zone is not correct, click the ‘SELECT’ button. Then click “Set Time Zone” and select the time zone for your area.
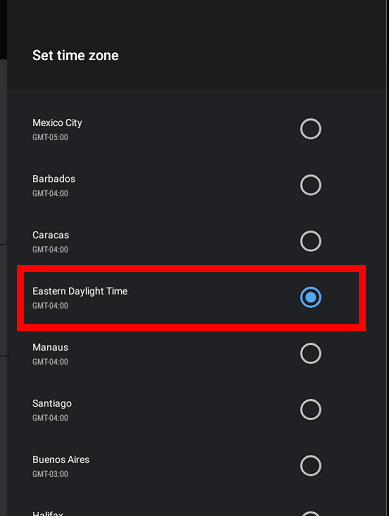
To return back to the Activation screen, simply press ESC on your keyboard and click ‘Checked’
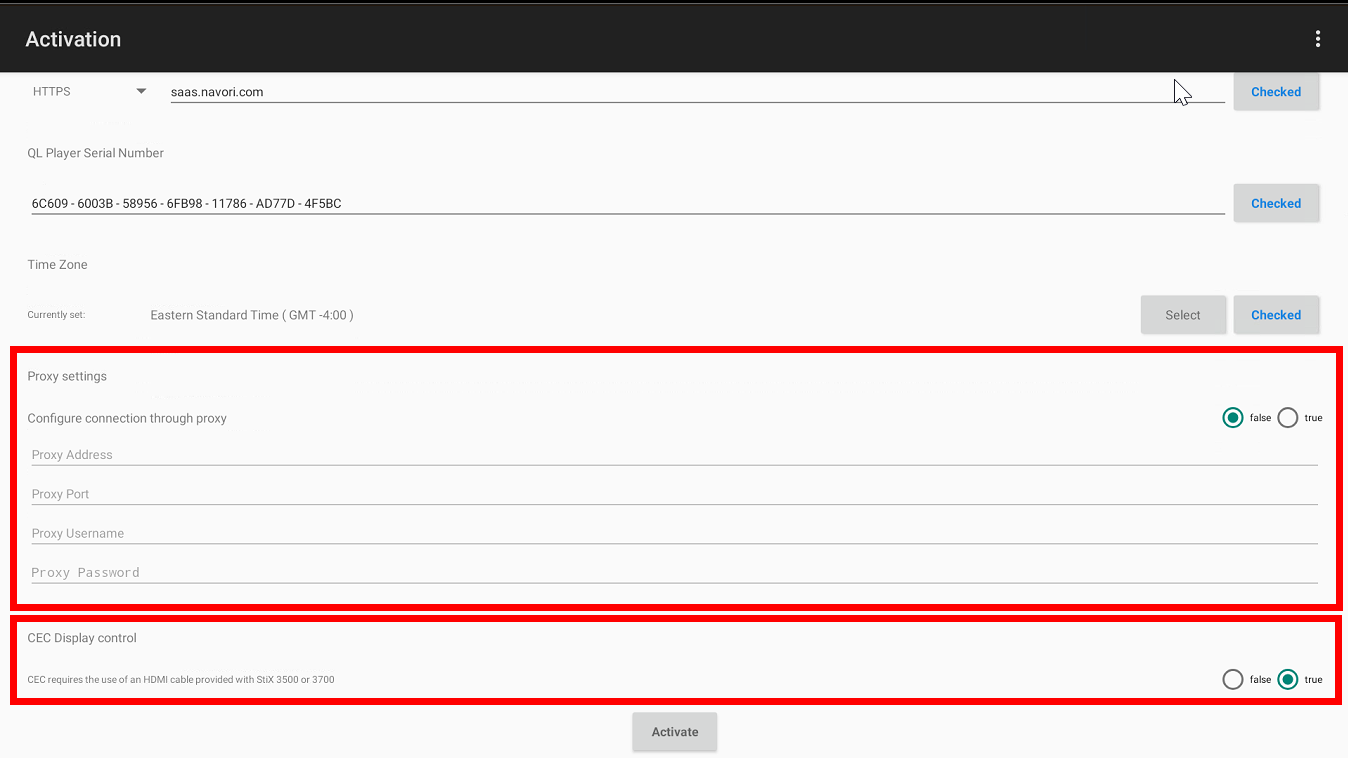
4. Proxy settings are set to “False” by default, if proxy is required, set the option to “True” to enable the feature and enter proxy details.
CEC Display control is set to “True” by default. If your screen is not CEC compatible, set this value to “False”.
Please note that this feature will work only if your screen is CEC compatible, and if you use the HDMI cable included with your Stix.
5. Once all the fields are checked, hit the “Activate” button
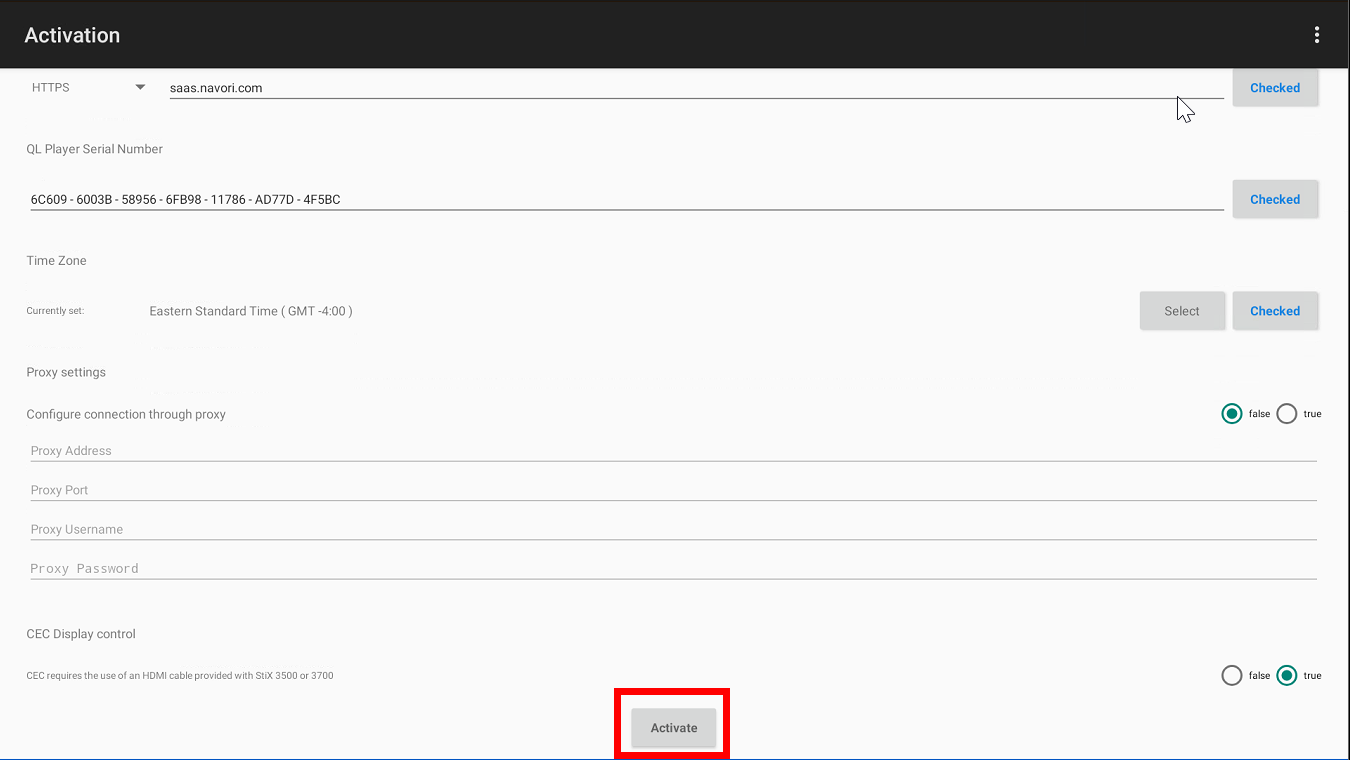
6. You will see a message “Please Wait”, followed by the media device restarting.
After the restart, the Stix will start automatically and show default media.
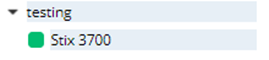
At this step, the installation is completed, and the player should appear online (GREEN) through the CMS.