Sony Bravia Installation Guide
Prerequisites:
For this installation you will require the following components:
Device Owner apk
Sony QL Conductor apk
ADB (Android Debug Tool)
Sony Bravia display running Android 10
Installation:
- Enable developer mode on the device by going to Settings > System > About > and then click 7 times on the build number.
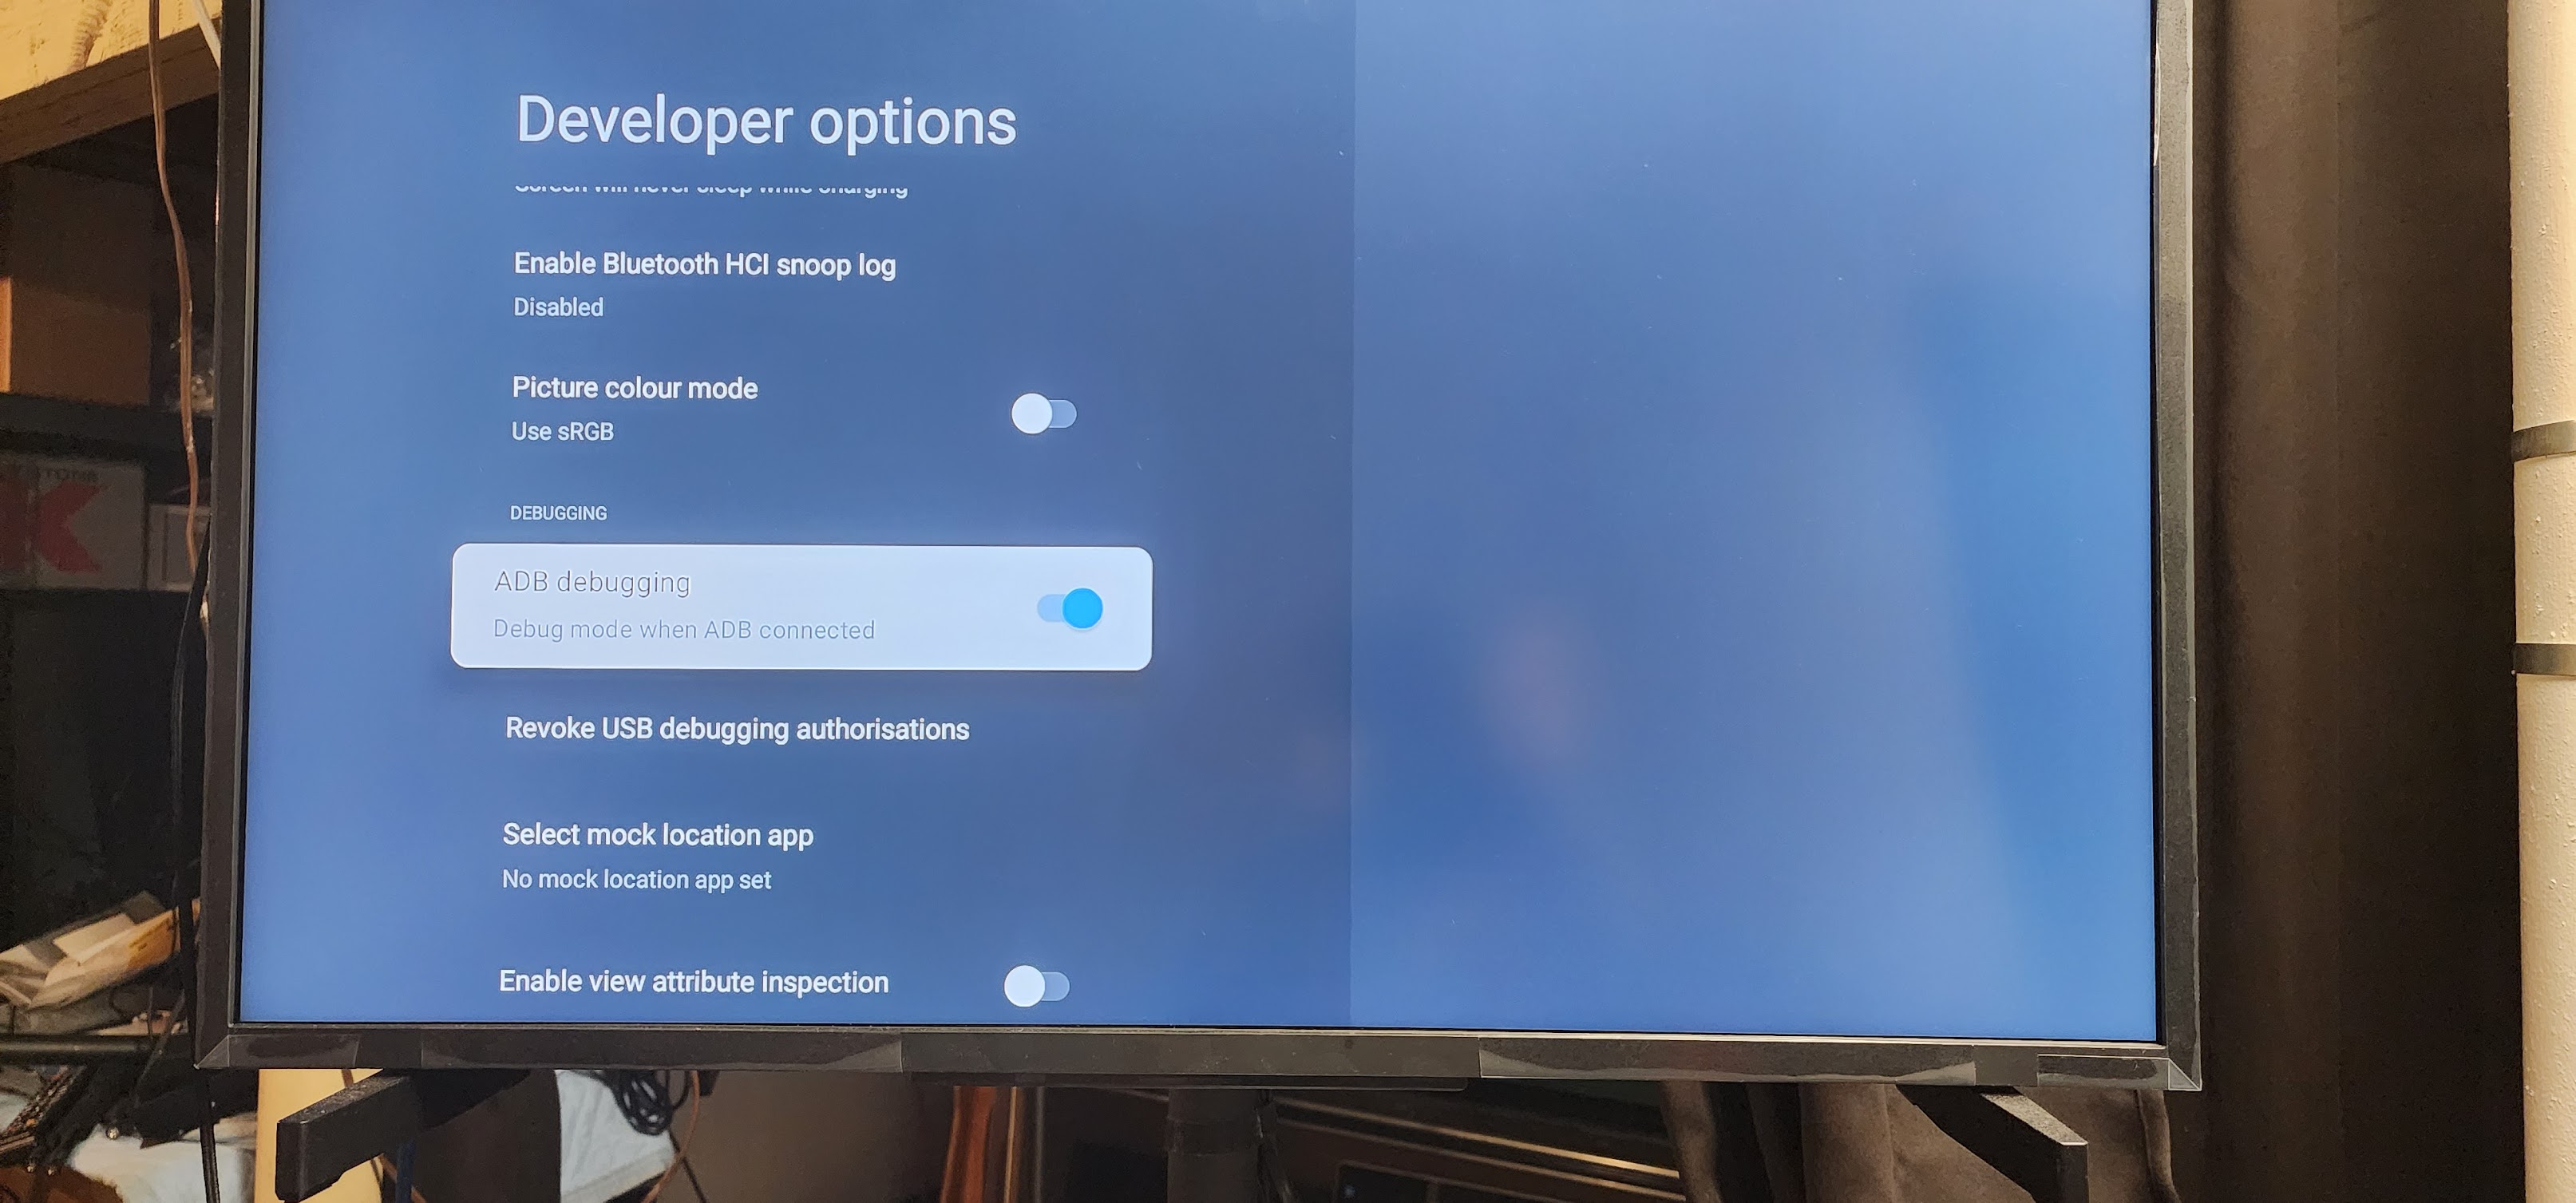
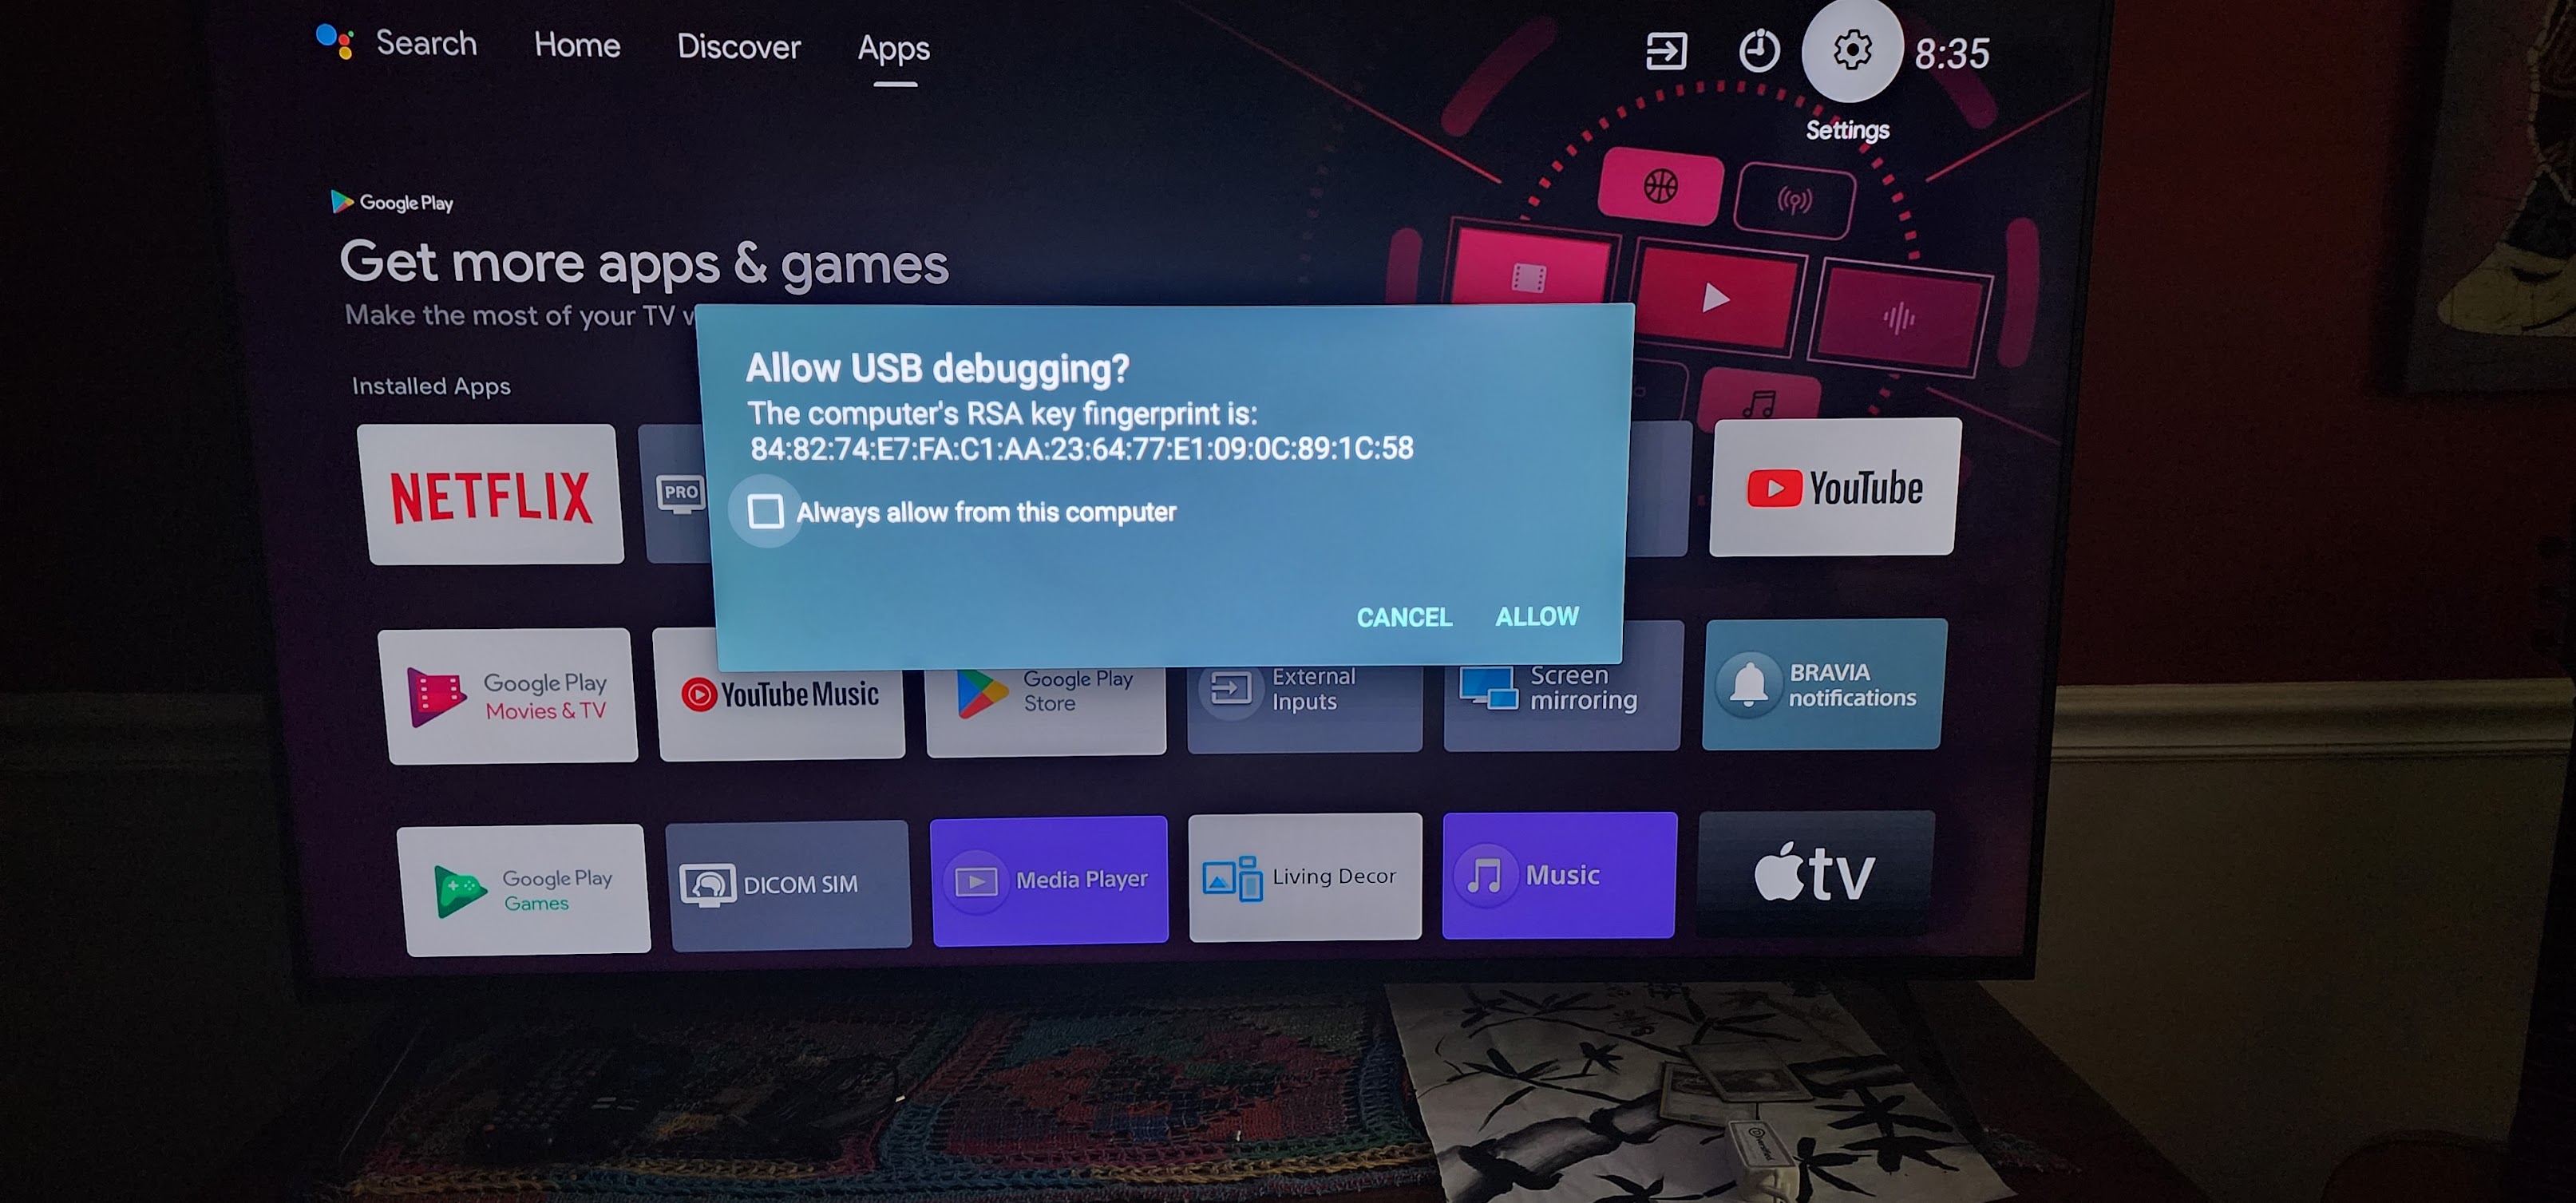
In Developer options please enable ADB Debugging, once the Allow USB debugging pop-up appears, select the ‘Always allow from this computer’ check box and select Allow.


- Connect to the device with adb using the command prompt (commands need to be sent from the folder ADB is installed on):
./adb connect device_ip
*If you receive the message “No connection made because the target machine actively refused it” please make sure that the ADB Debugging mode has been enabled. This can be found under System > Developer Options > ADB debugging* - Install the device owner package:
./adb install D:\path_to_apk\device_owner.apk - Declare the service as device owner:
./adb shell dpm set-device-owner com.navori.sony.deviceowner.service/.MyDeviceAdminReceiver - grant it WRITE_SETTINGS permission:
./adb shell appops set –uid com.navori.sony.deviceowner.service WRITE_SETTINGS allow - Install QL:
./adb install D:\path_to_apk\Conductor_Sony.apk - Start the conductor:
./adb shell am start -n com.navori.conductor/com.navori.conductor.MainActivity - Proceed with the license activation as with any Android device
** Please note that diagnostic snapshots is not currently available on Sony, due to a privilege issue built in to the display. Further releases from Sony are expected to allow the diagnostic snapshots functionality. Diagnostic information is however currently operating correctly **