QL Player Setup on Sony Bravia Installation Guide
Start by downloading the pkg installation file from your server (Go to Menu – Play Management – Download QL Player) and upload it on a USB stick.
If the player has not been used yet and still has factory settings you can just plug in the USB stick and turn on the player.
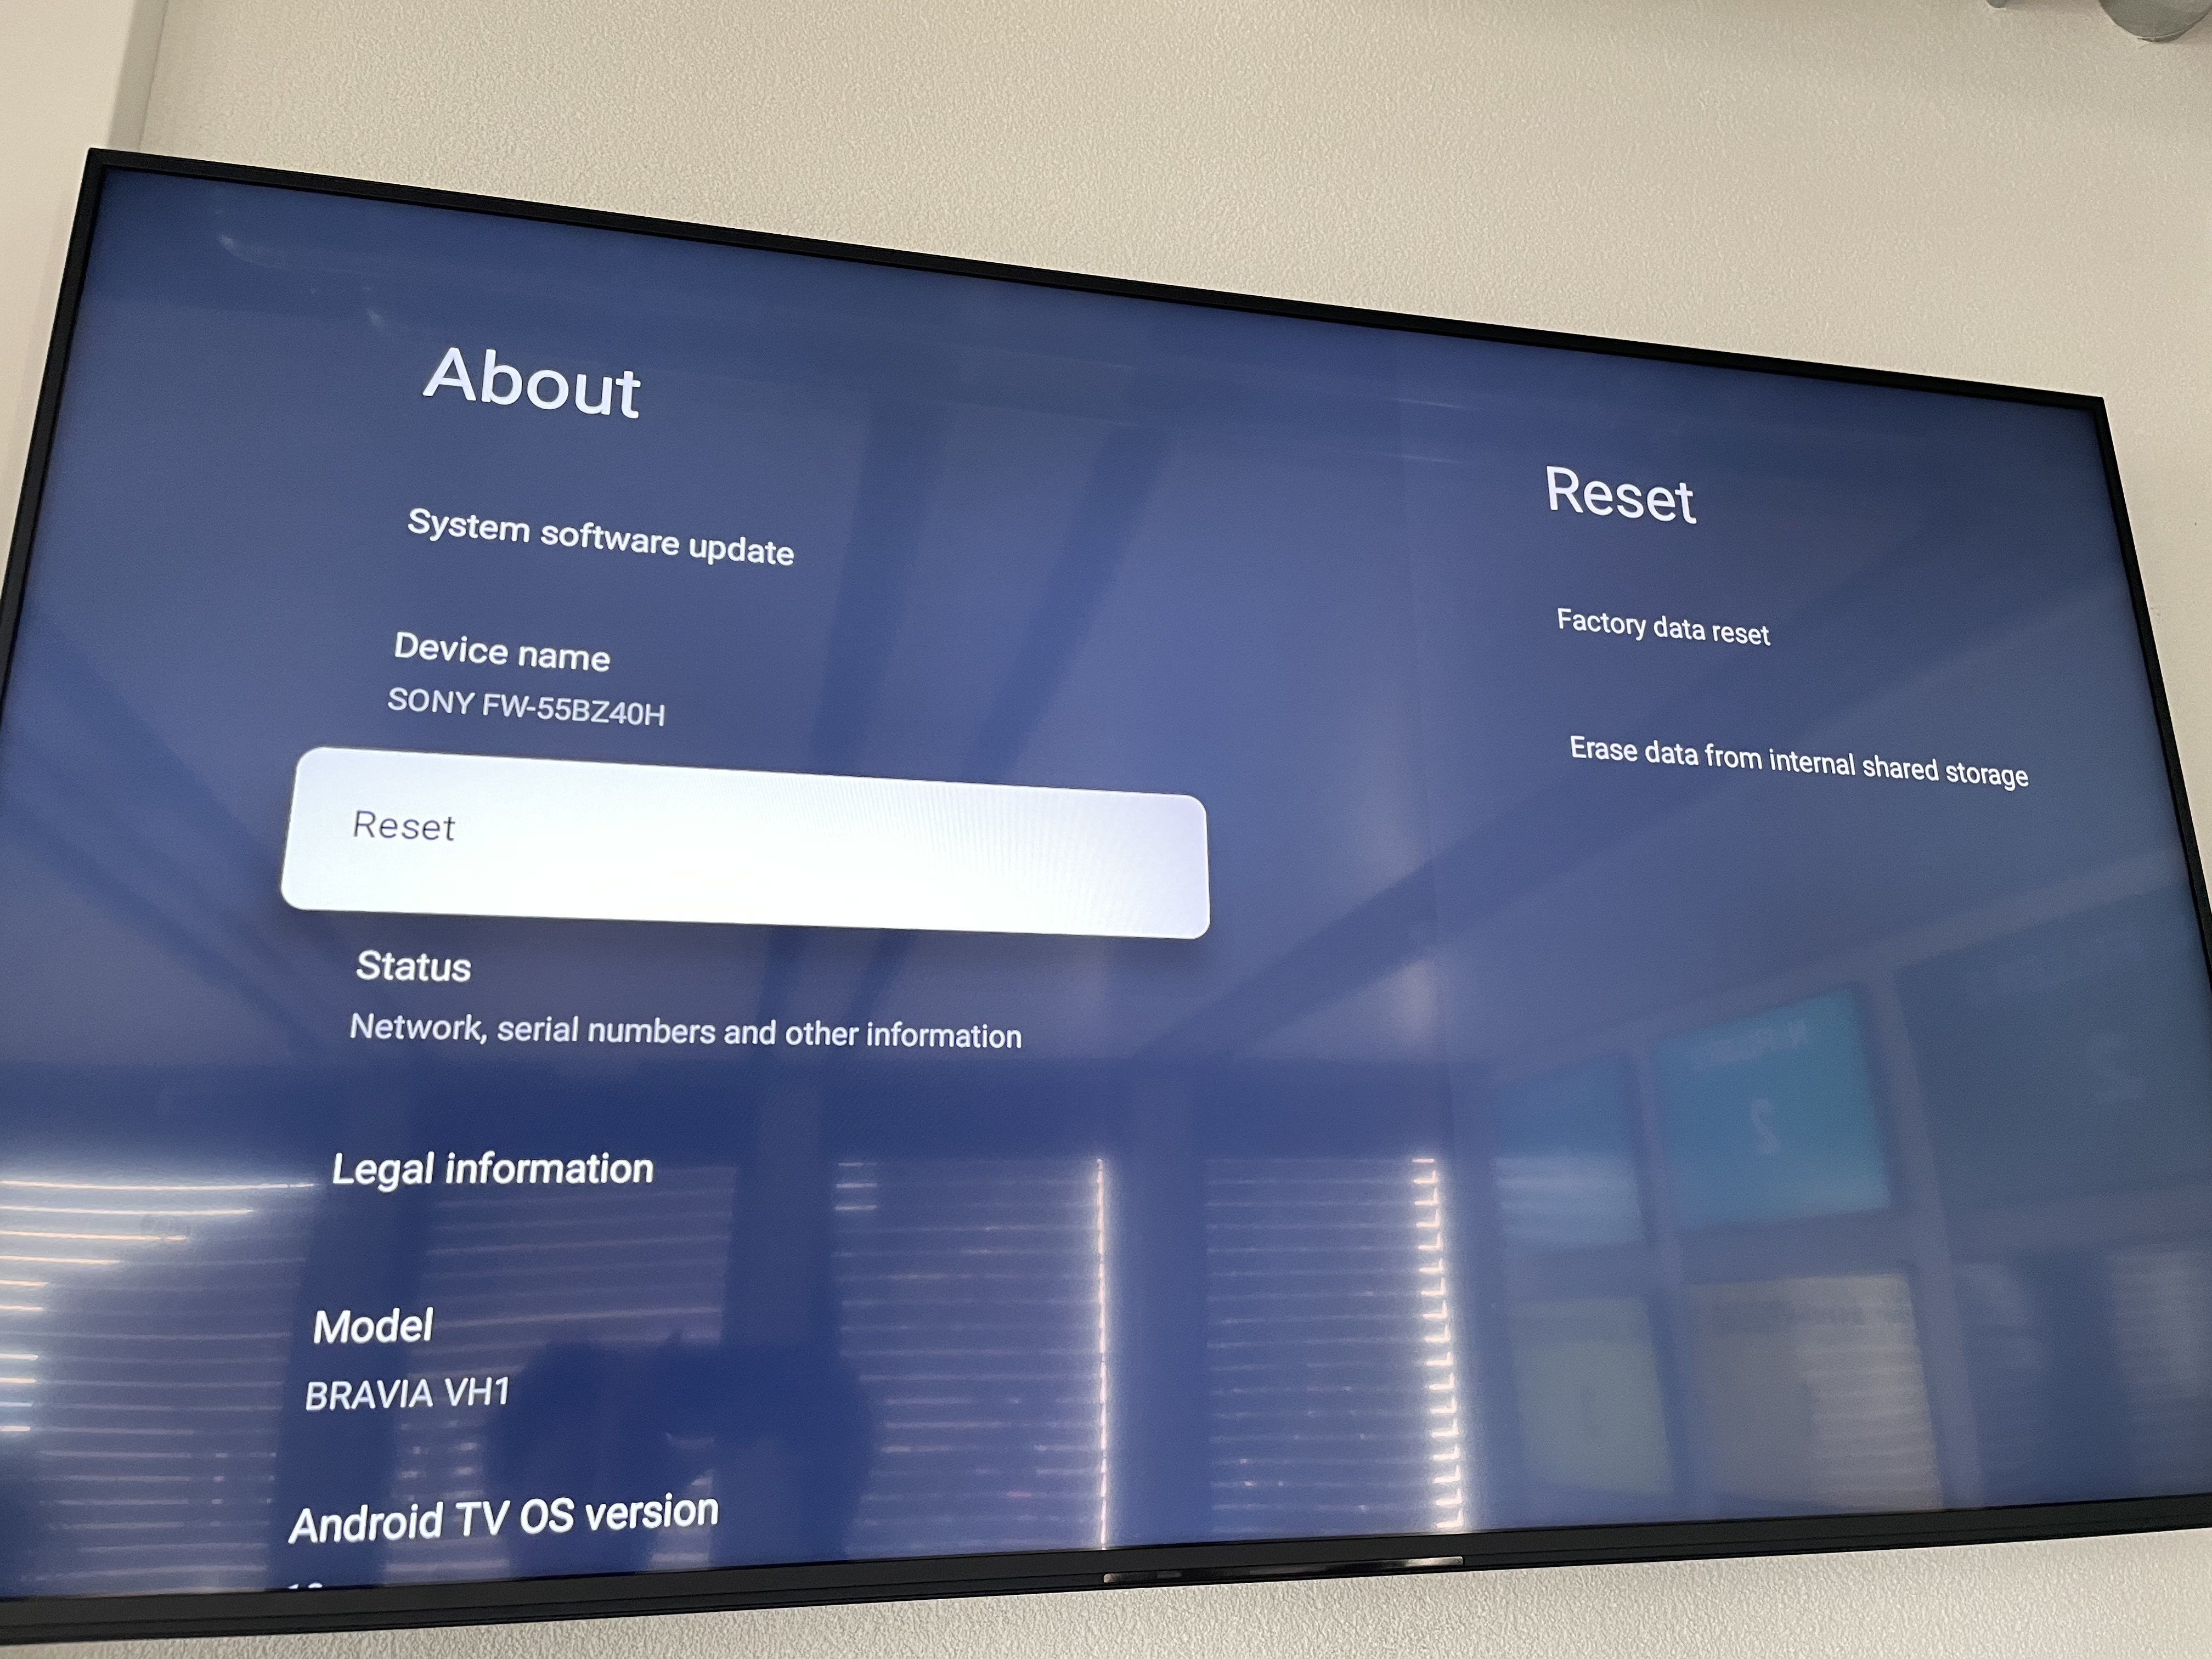
Else, go to Settings → About menu and perform a factory reset then put the Navori QL installation file on a USB stick and plug it into your player.
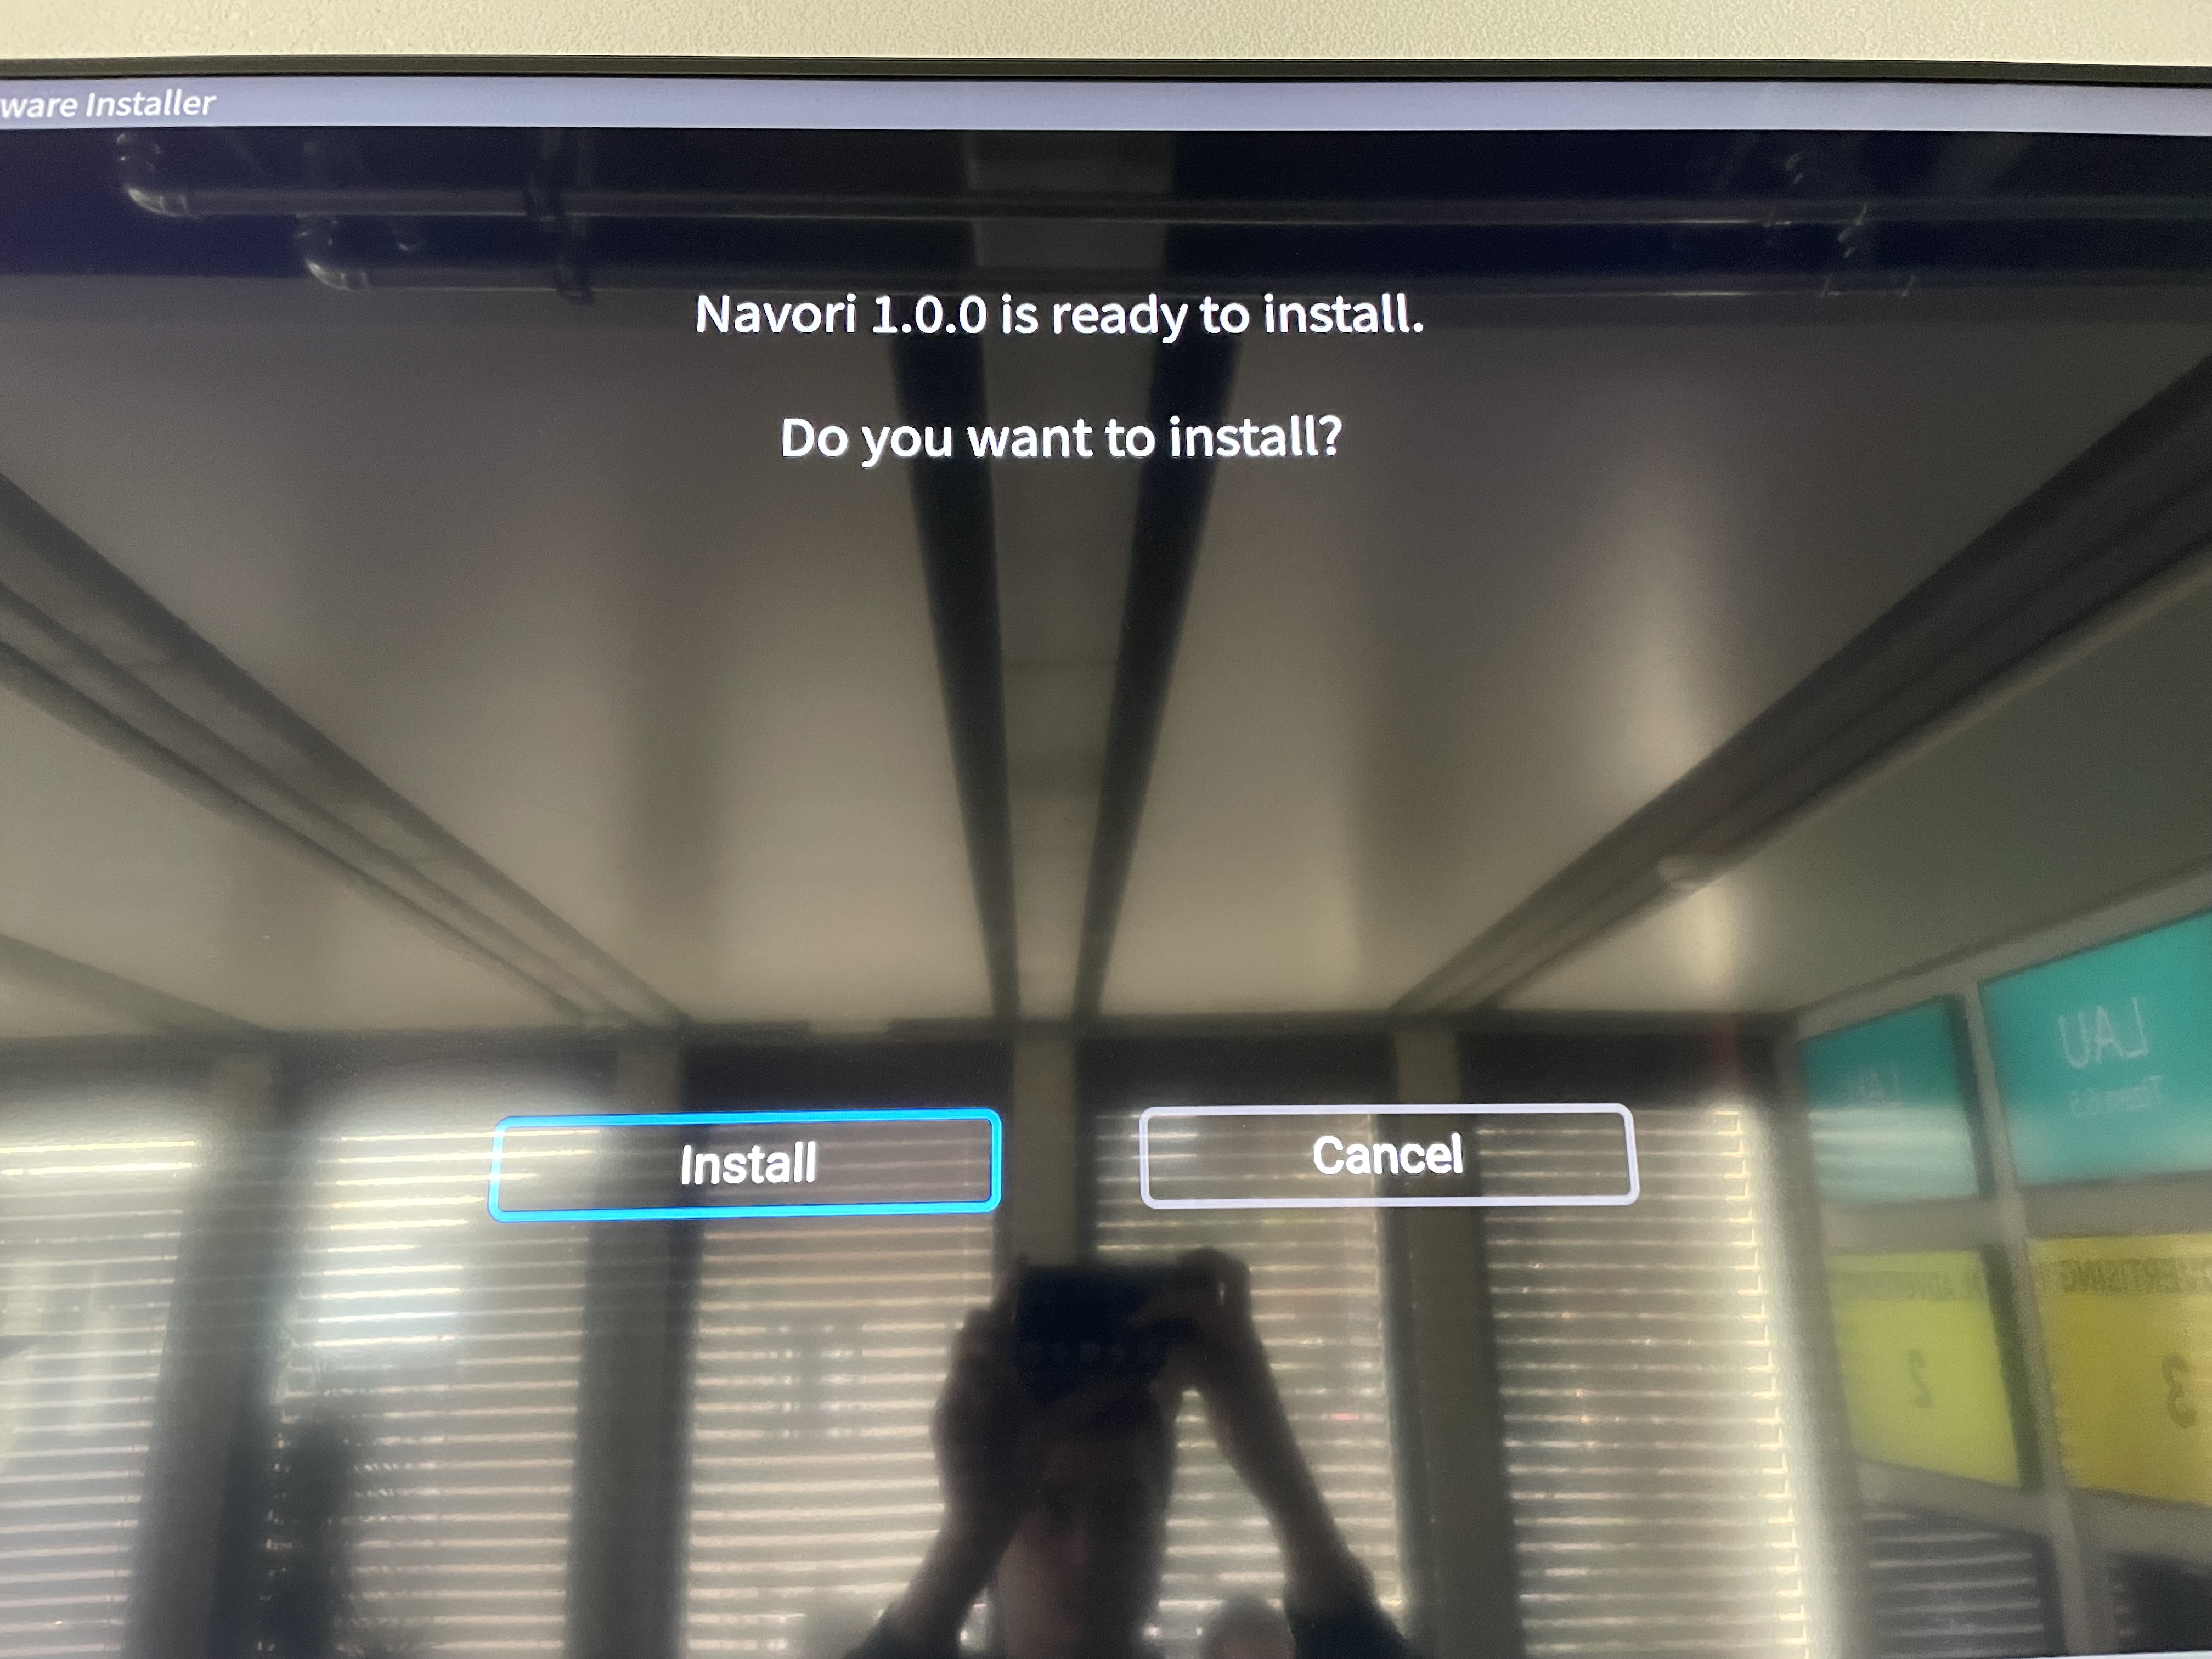
When the player restarts do not complete the setup, instead wait for a pop to appear to install the Navori application.
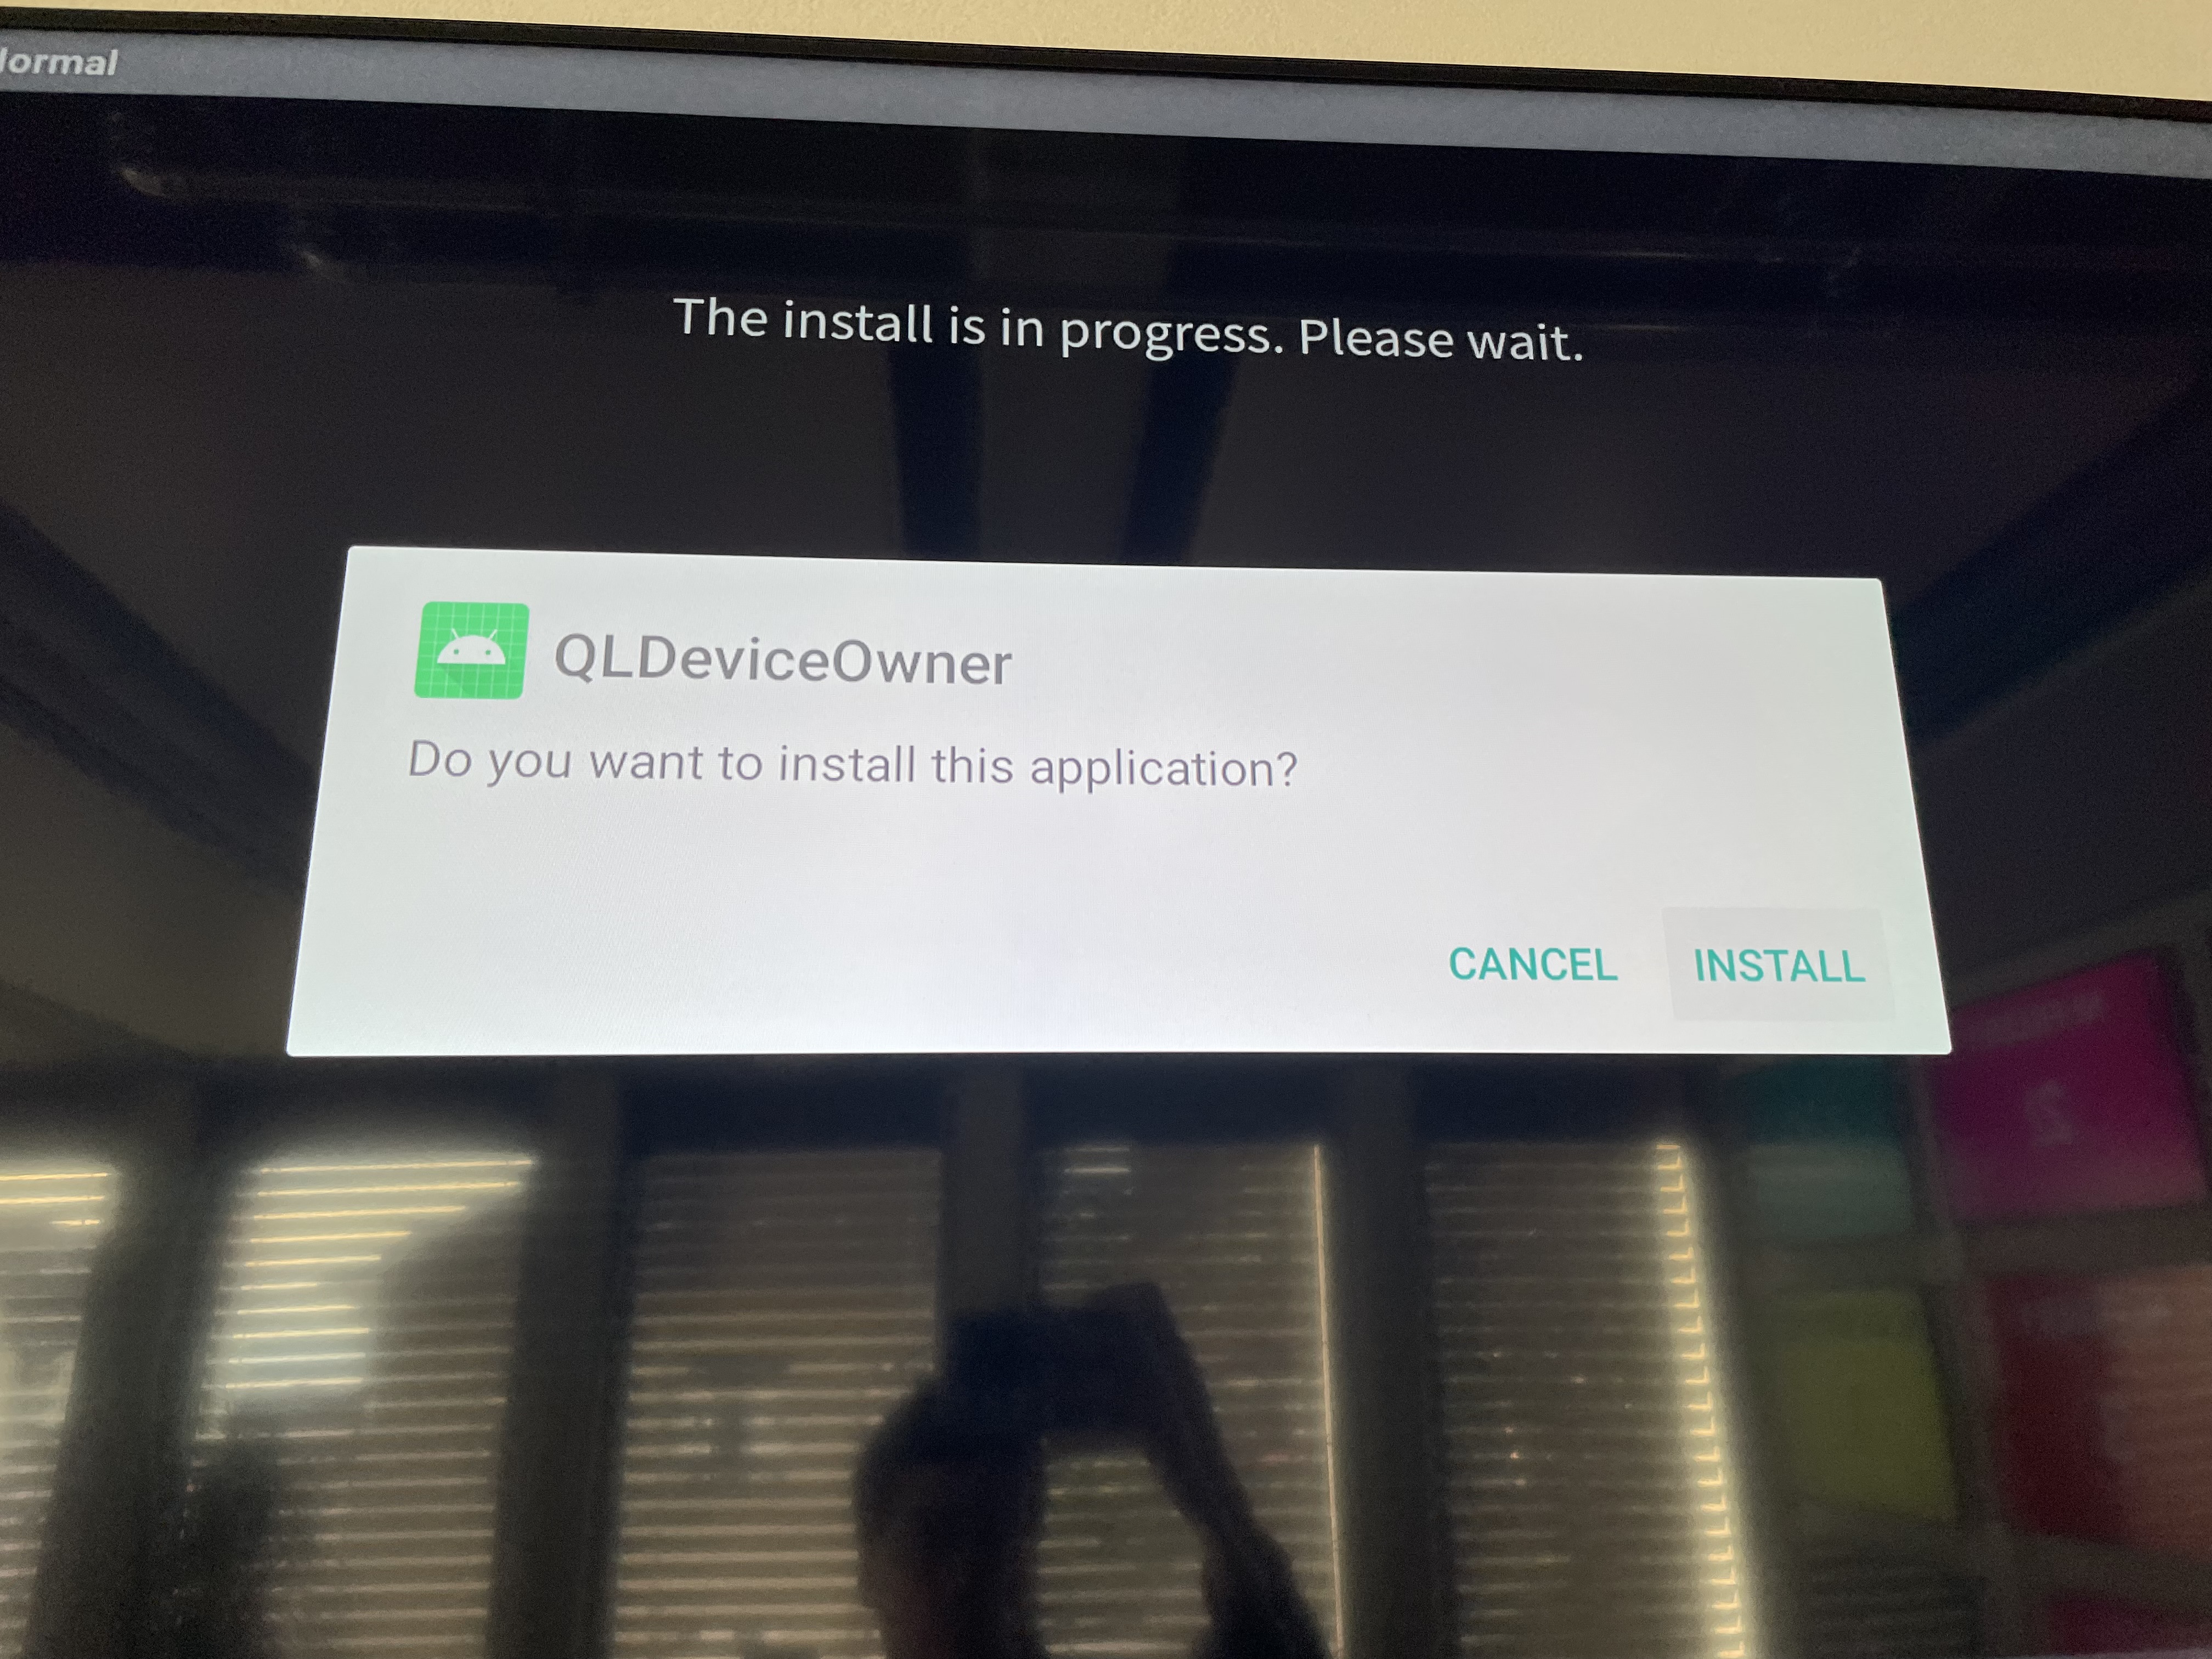
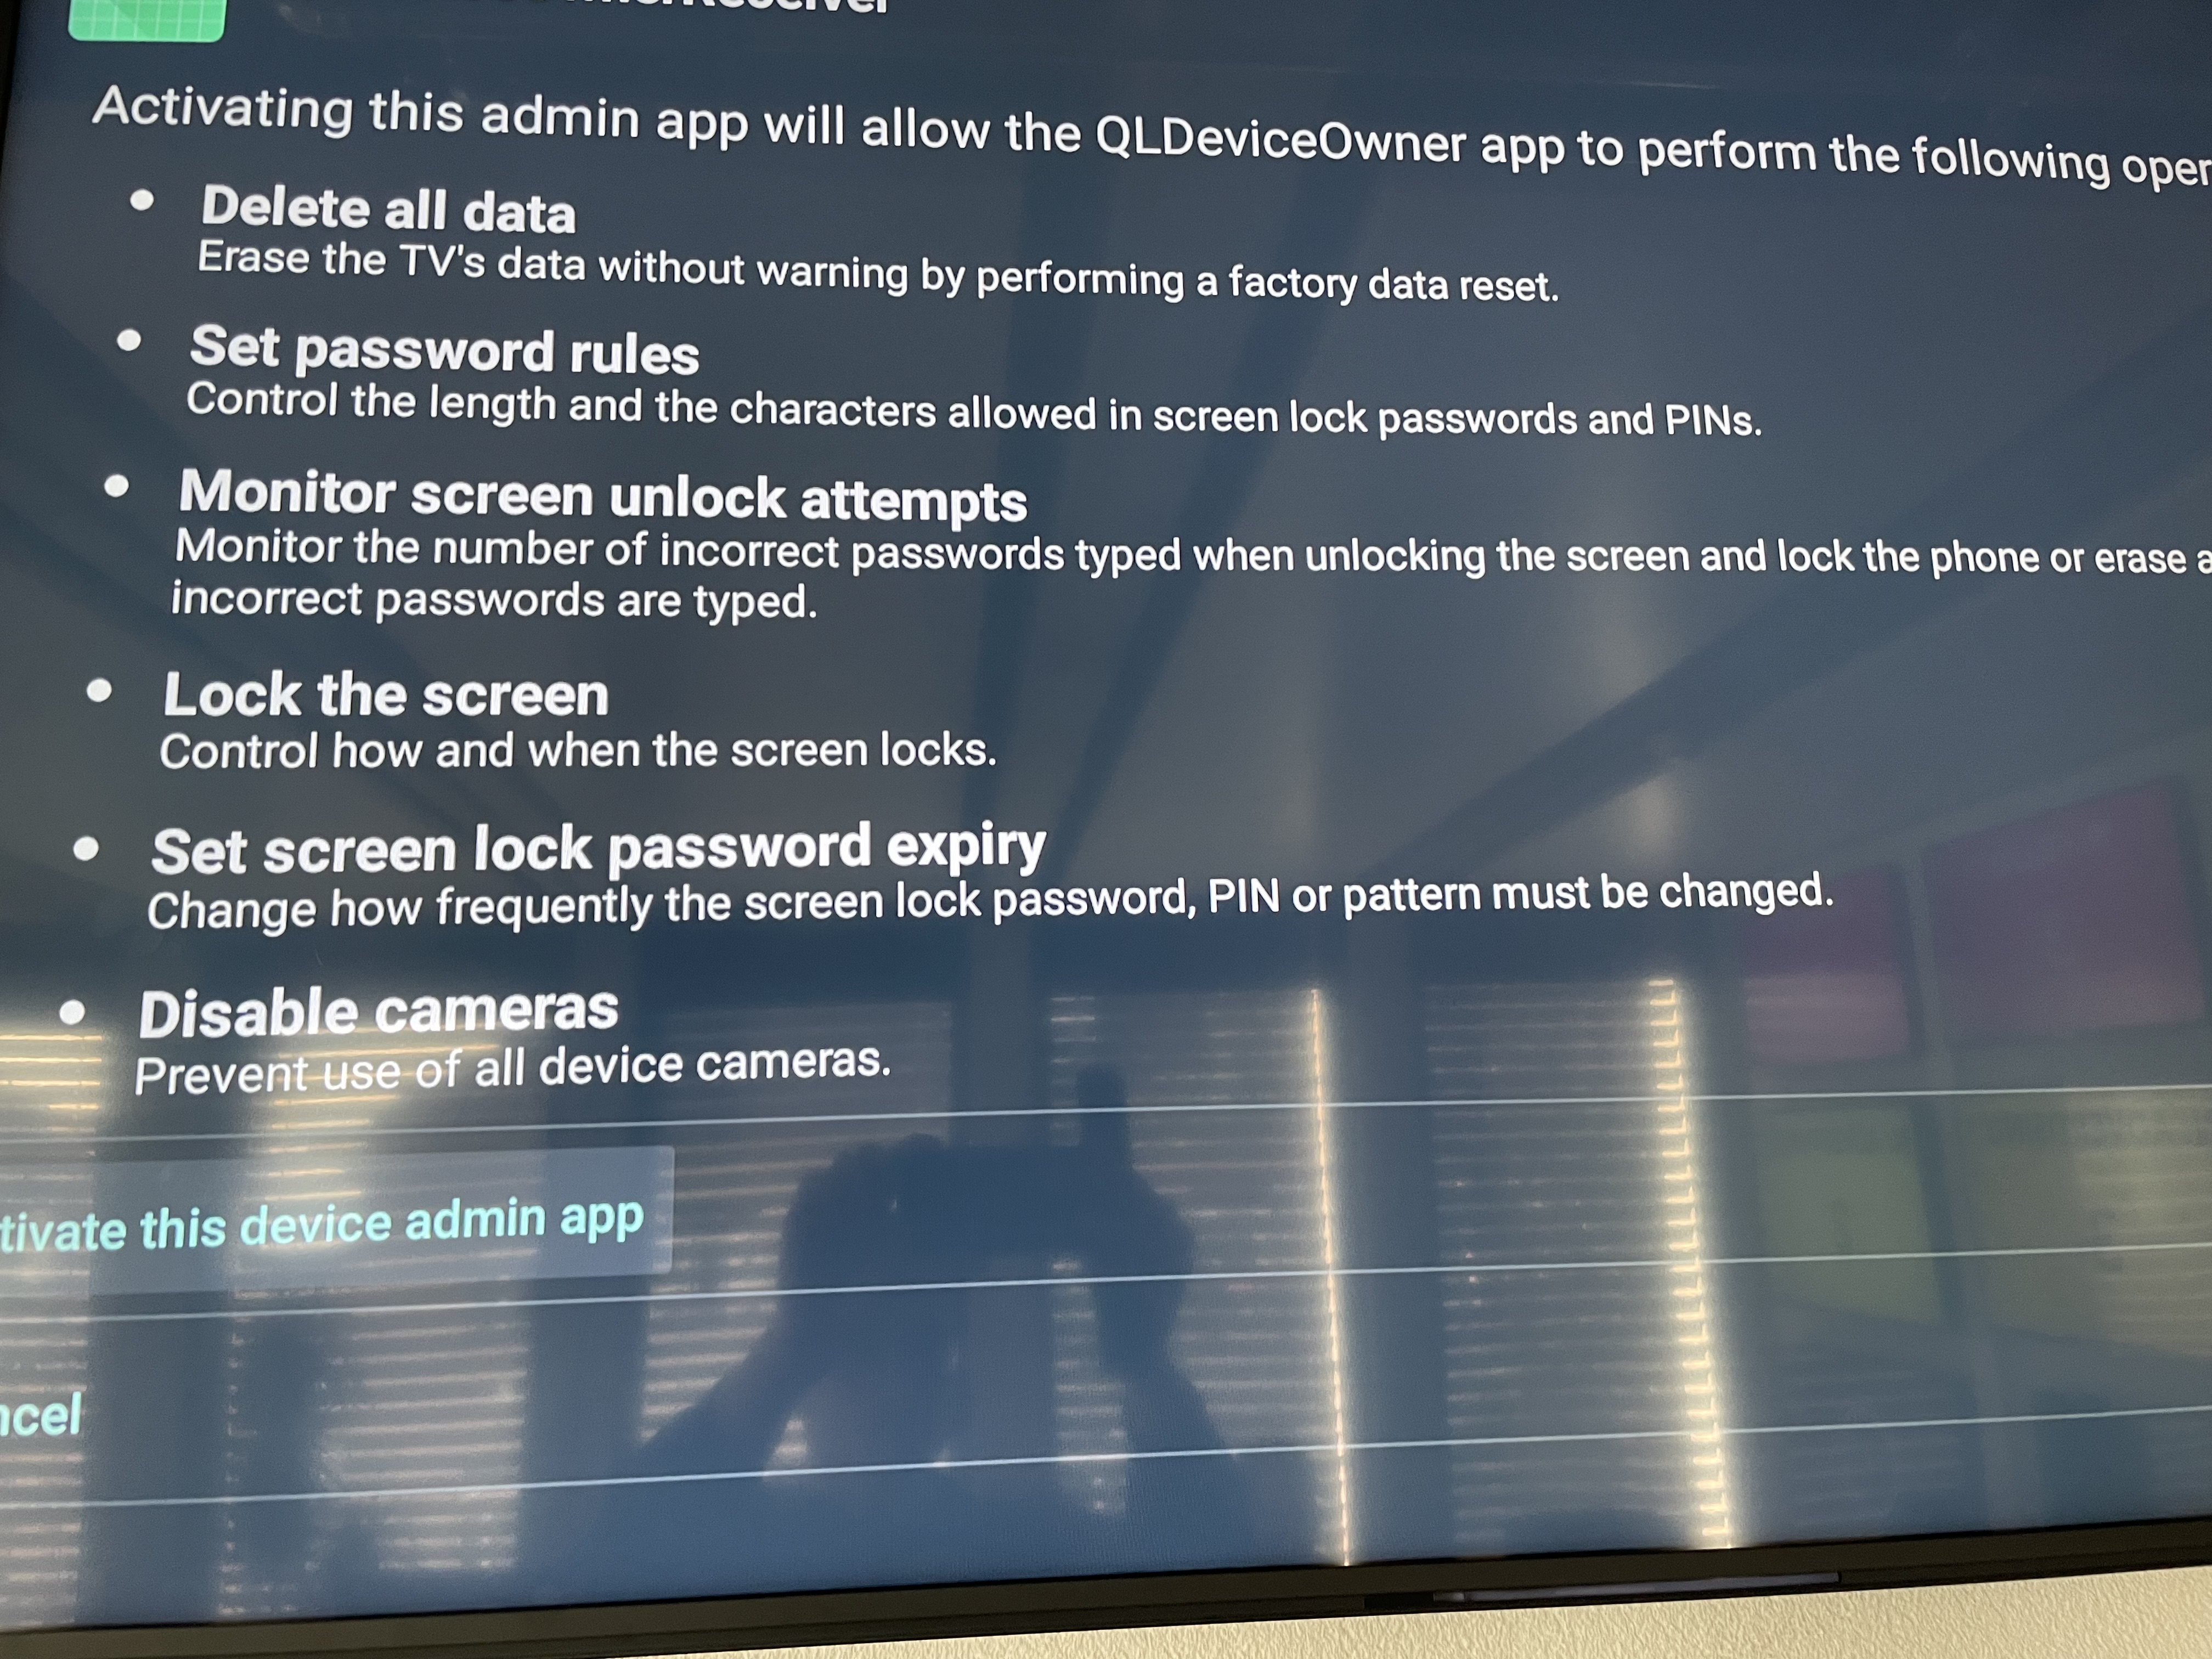
Install QL Device Owner and activate this device admin app.
Once installed you can go to Settings→ All apps and launch Navori Conductor.
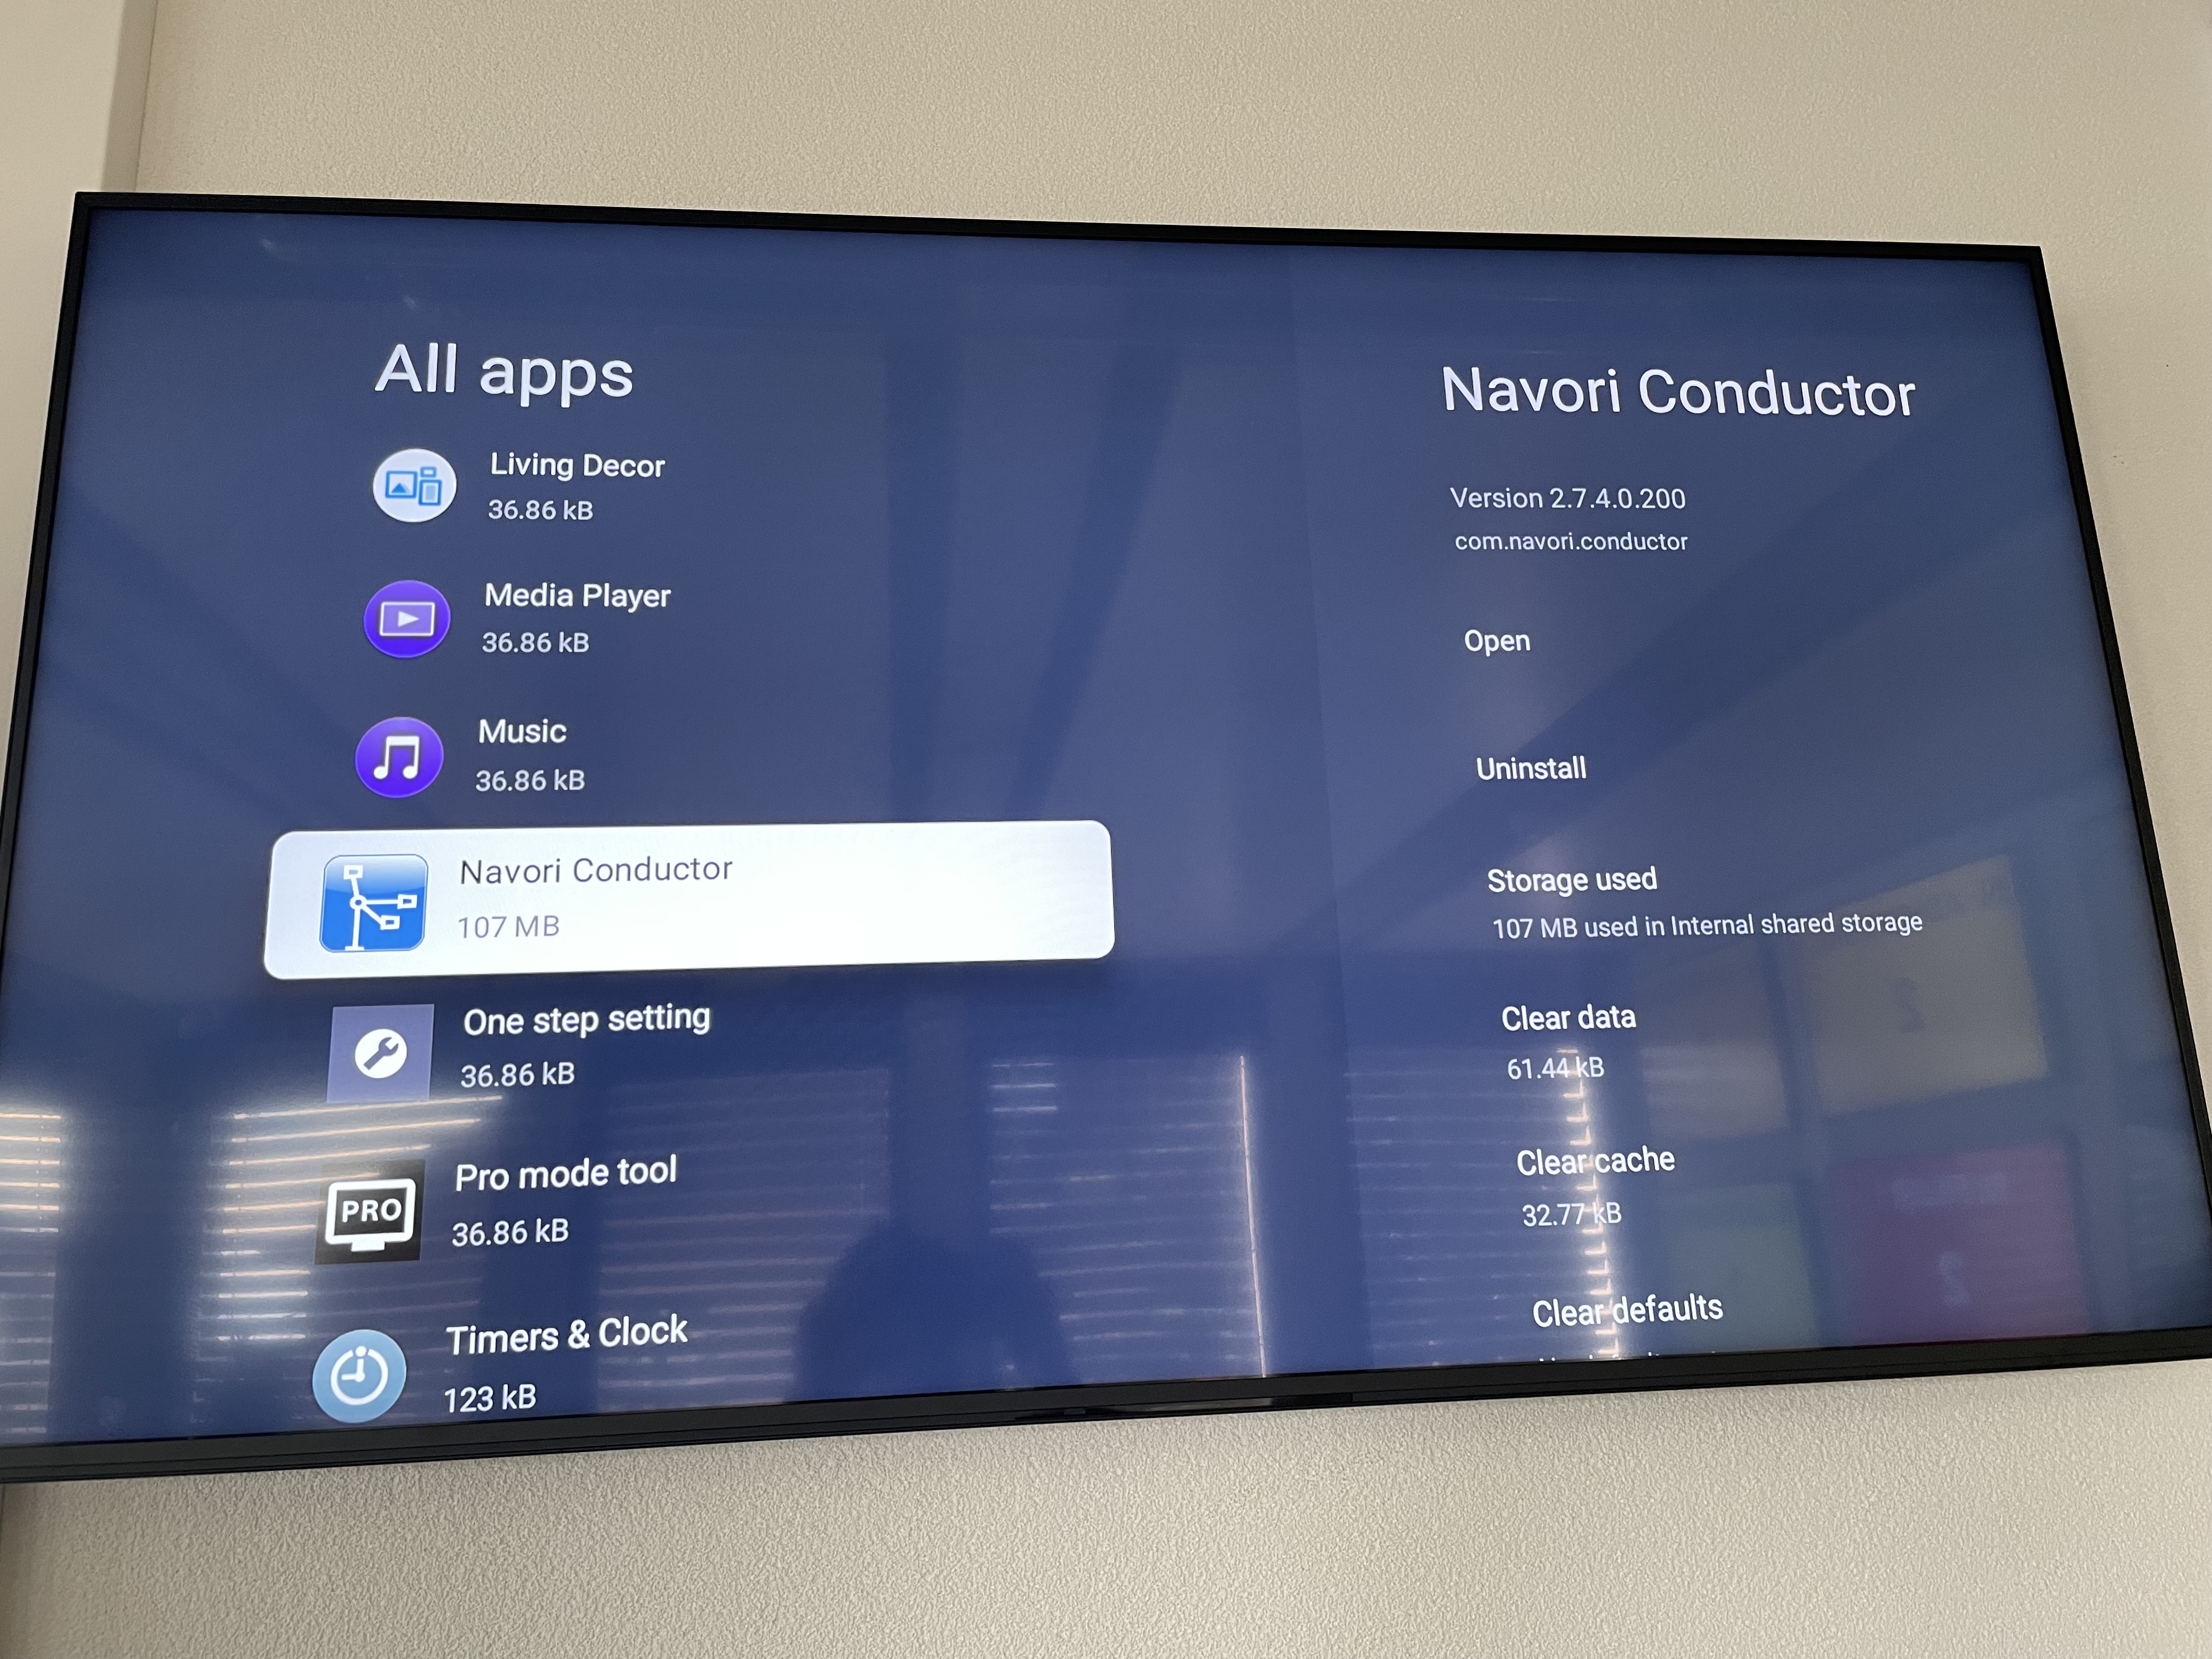
The Navori Activation page will open
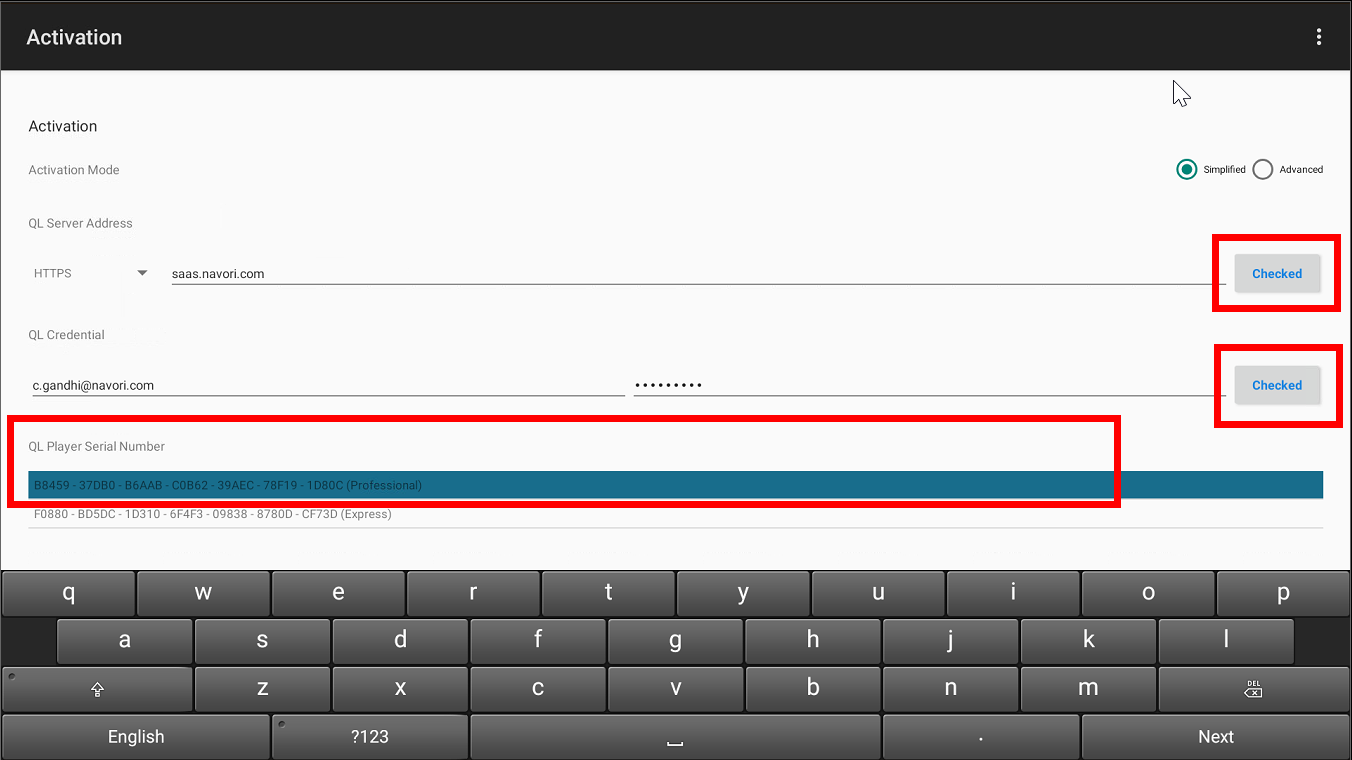
SIMPLIFIED ACTIVATION
For QL SaaS customer please select HTTPS from the drop down and enter saas.navori.com, enter your Navori credentials, click ‘Checked’ and select one of the available licenses that appears below.
For On Premise customers, please select HTTP/HTTPS from the drop down and enter your DNSorIP address and press ‘Checked’
ADVANCED ACTIVATION
The advanced activation allows you to manually enter a license number without having a license selected for you through the Simplified activation.
For SaaS customers please select HTTPS from the drop-down and enter saas.navori.com and press ‘Checked’
For On-Premise customers, please select HTTP/HTTPS from the drop-down and enter your DNSorIP address, and press ‘Checked’
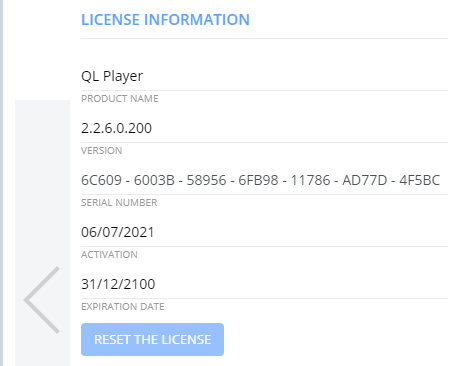
Manually Enter your license number, which you can find directly from the Navori CMS, Under Player Properties > 3rd Page, and press ‘Checked’
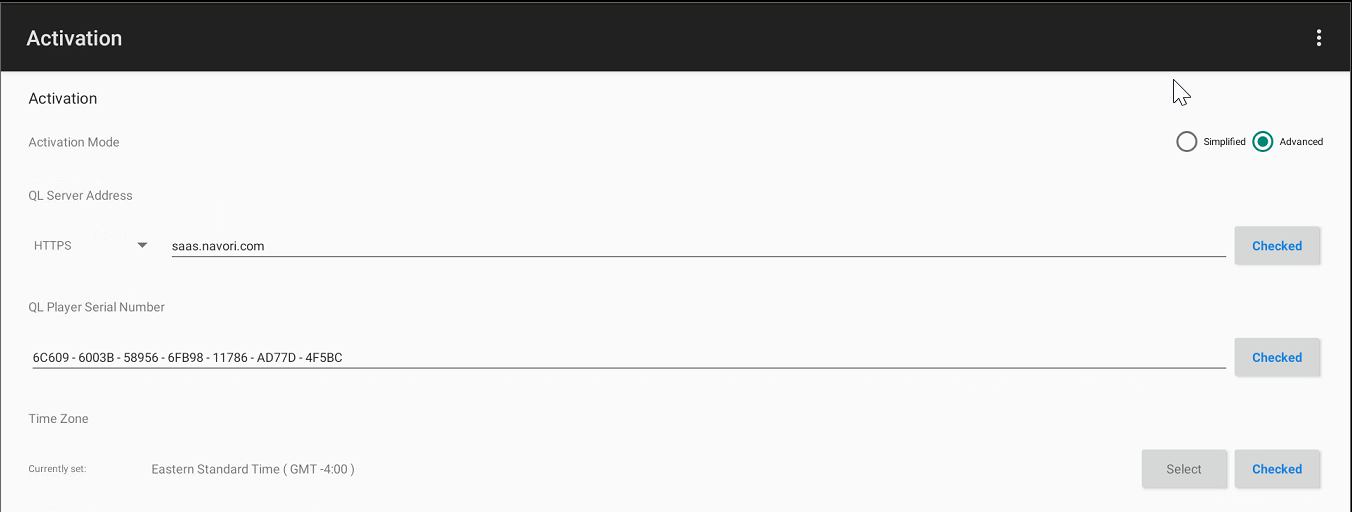
Make sure the time zone is correct and click the ‘Checked’ button.
Click on Activate
The device will restart and the player should appear online (GREEN) through the CMS.
Important: To avoid your player disconnecting after 4 hours by default please update the power saving option in Settings – System – Power and energy – Energy Saver, and set Turn off display after : Never
You may also refer yourself to this video for the installation steps to follow:
Important: if you notice that you are unable to upgrade your QL version it is probably due to google play protect
You can disable google play protect from google play setting or though adb
adb shell settings put global package_verifier_user_consent -1