QL Player setup- Android Navori Generic /Minix X7/X10/ IAdea players
NOTE: As of QL 2.2.5 – Minix X7 players are no longer supported.
Minix X10 – QL Player Installer:
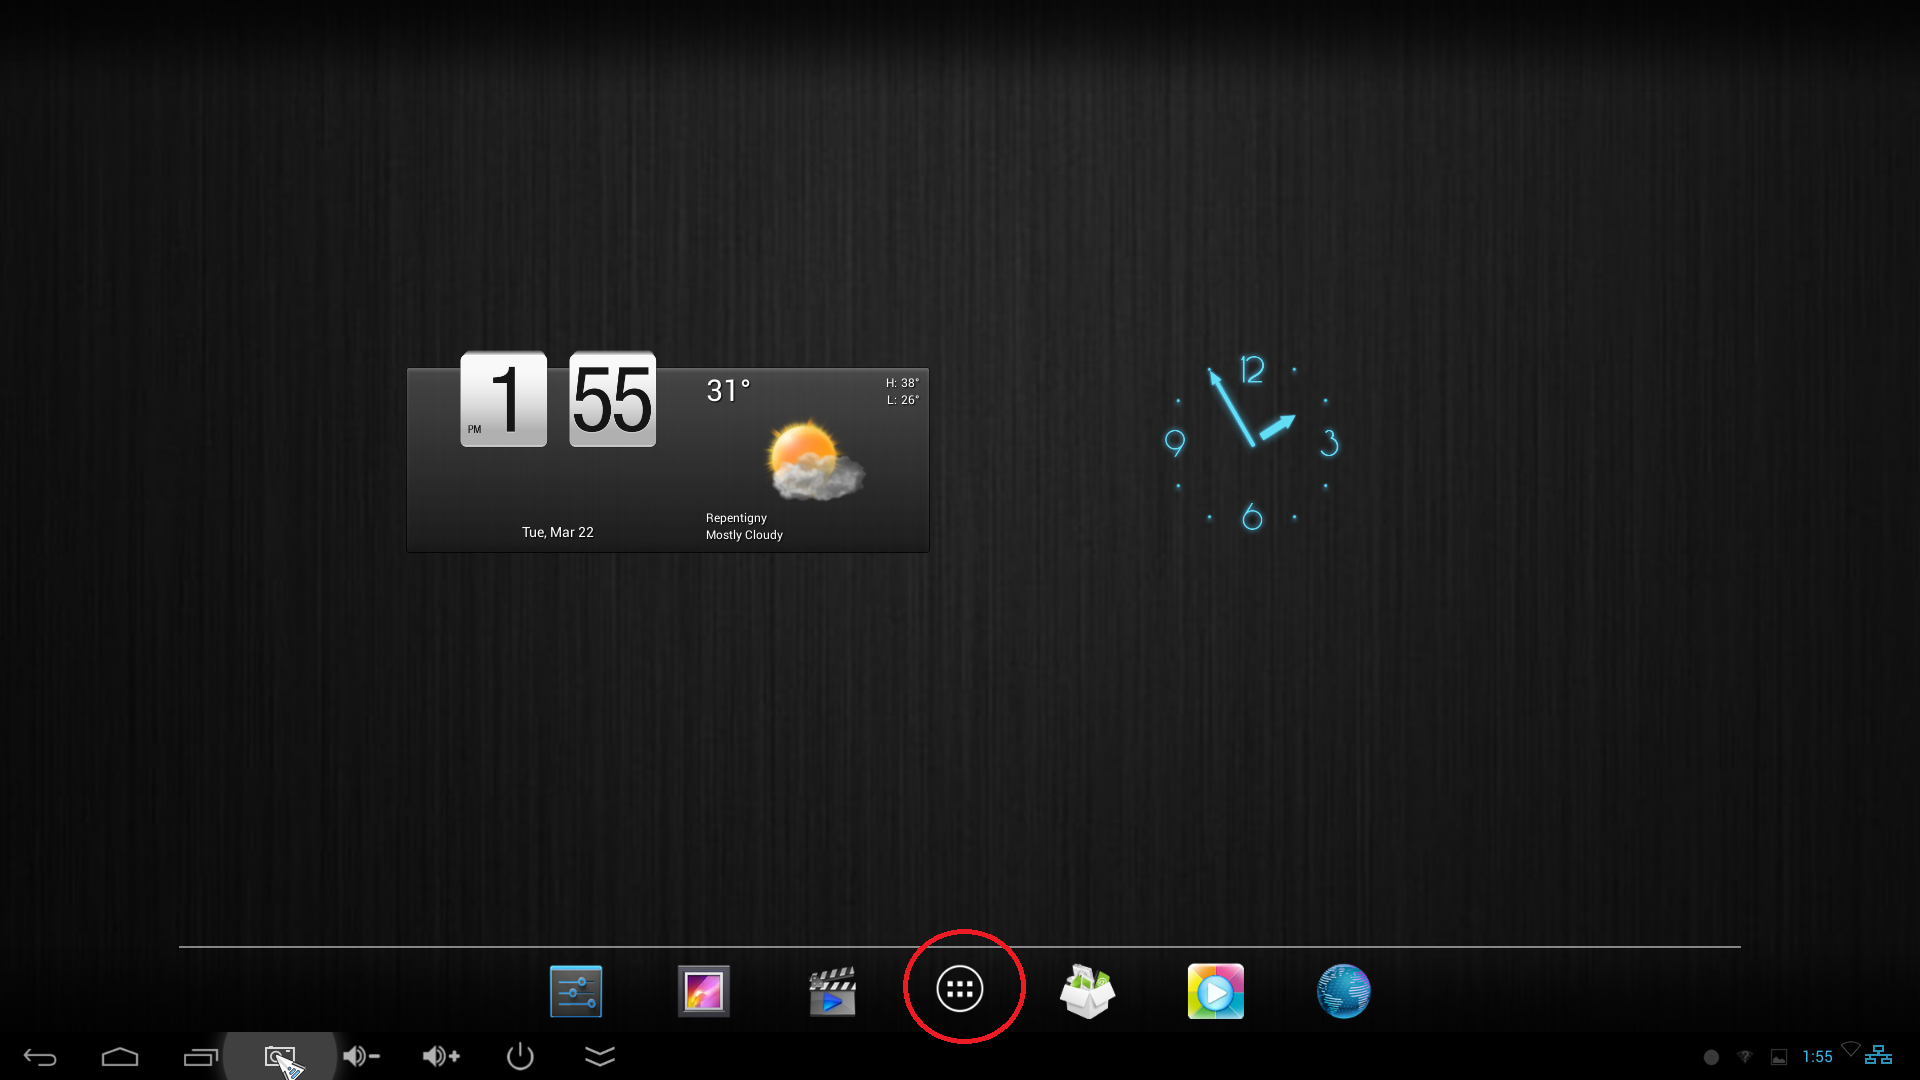
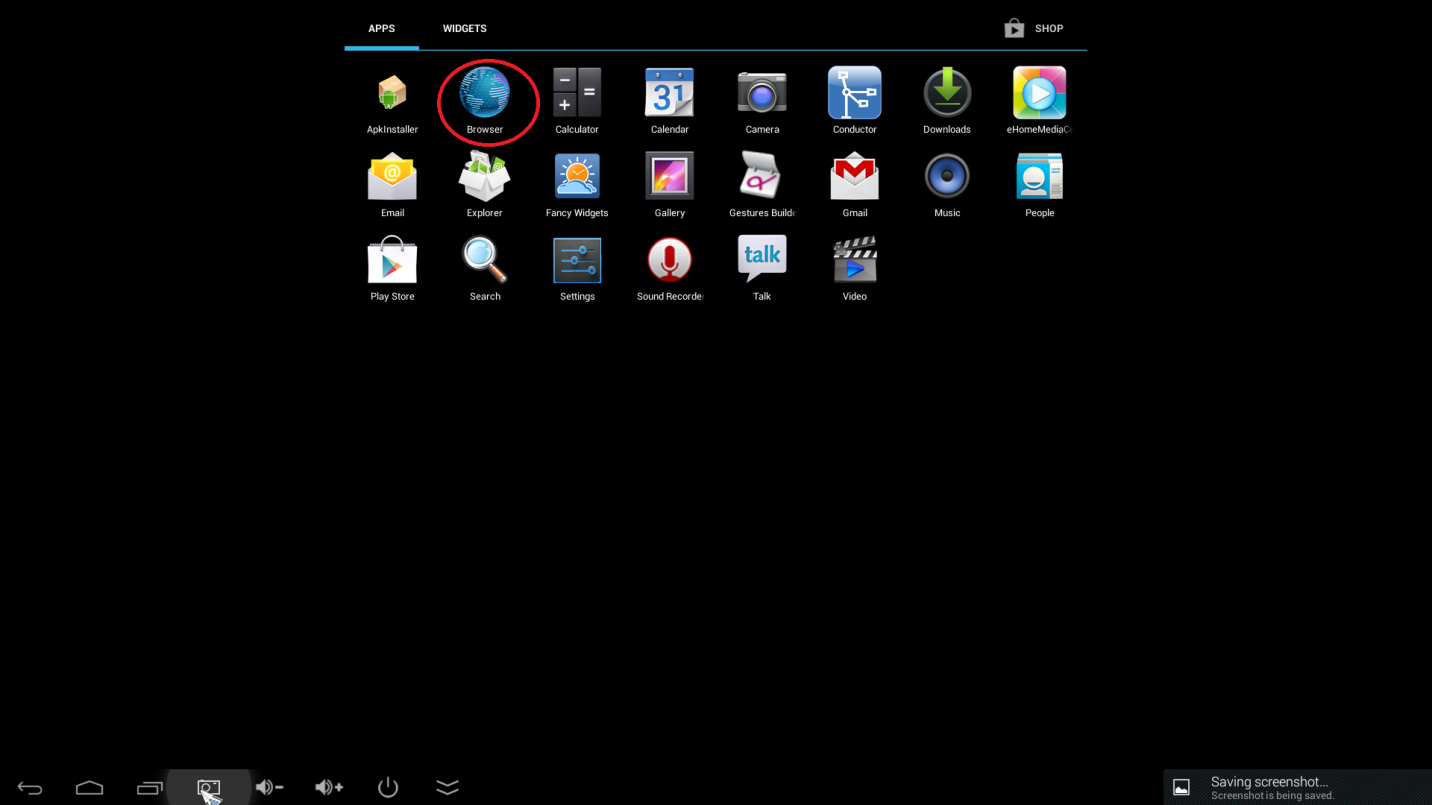
- The player is plugged into the power supply, HDMI cable, and Ethernet Cable (optional). Select the Application menu circled
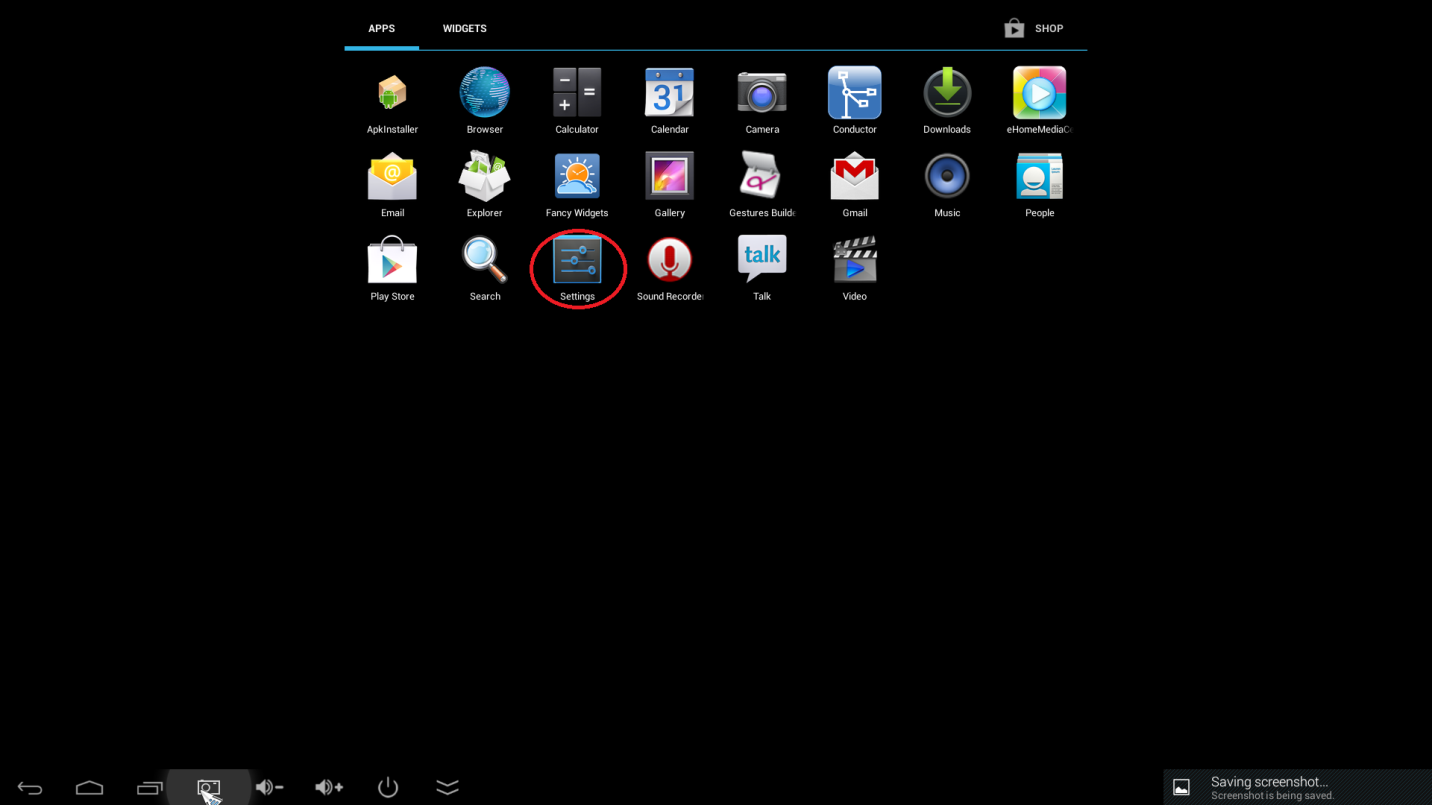
- To setup the Internet/Wi-Fi, Date/Time, and Screen Scale going into the Settings App
Ethernet/WIFI
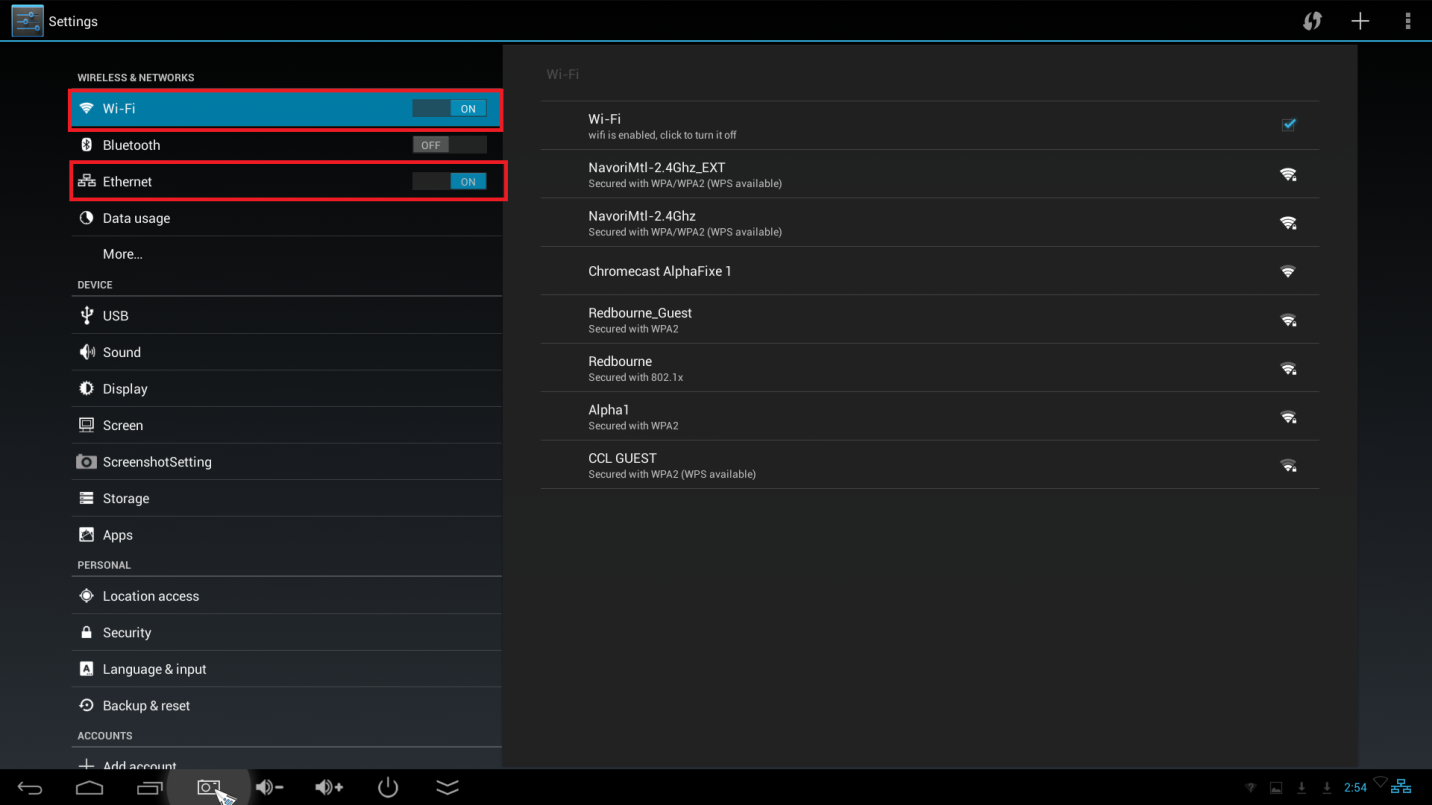
Date & Time:- unselect the Automatic time zone option and select the time zone manually
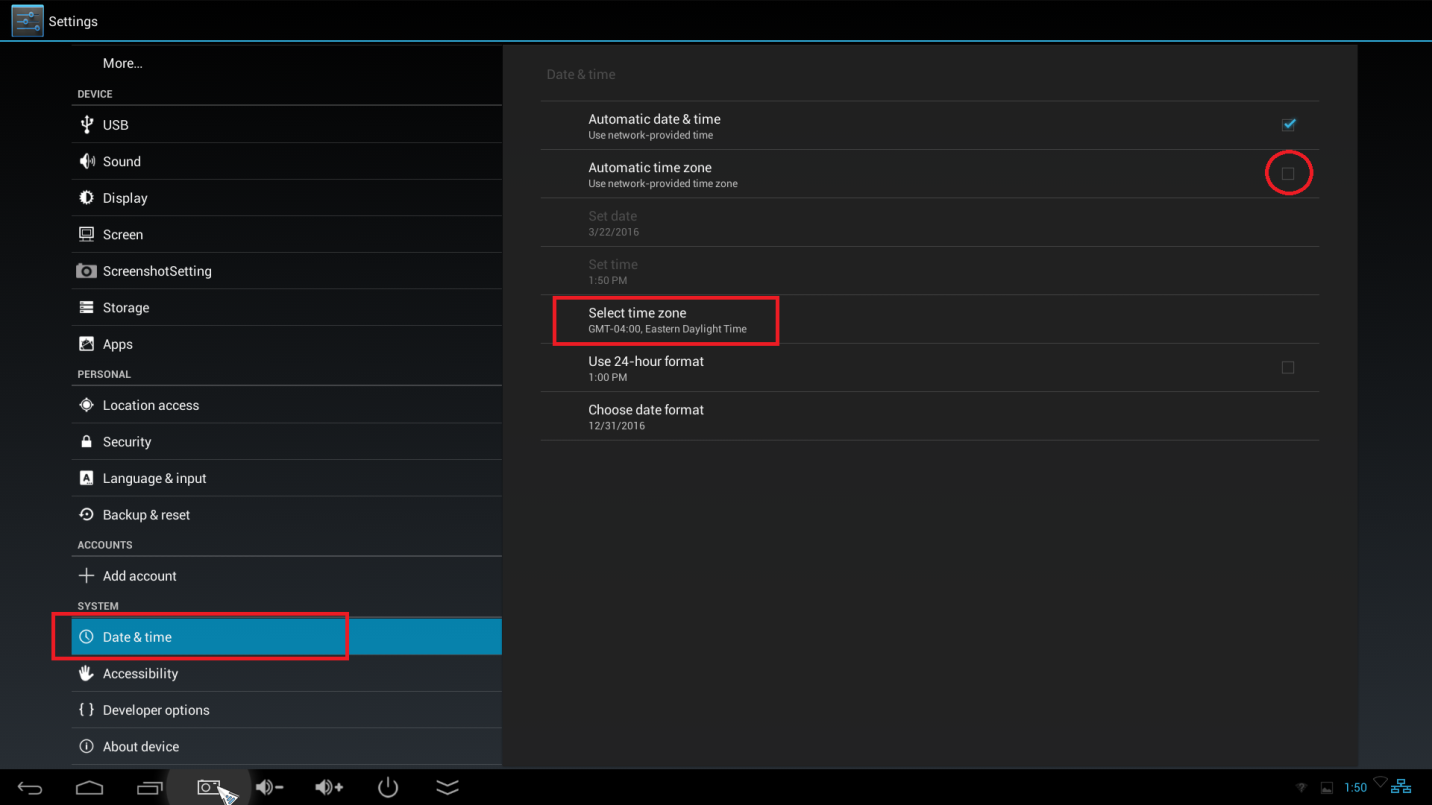
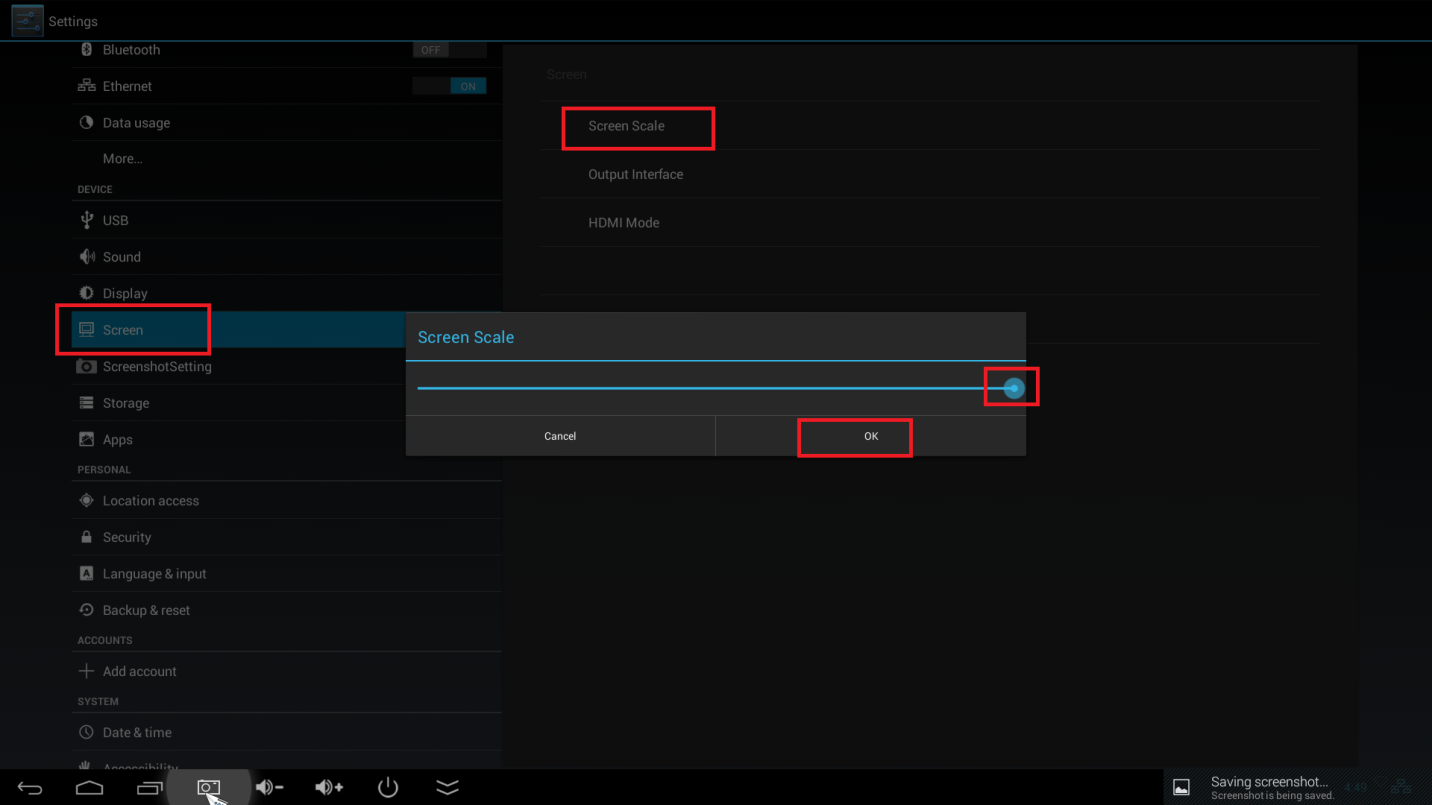
Screen:- update the screen scalability to the MAX and click OK
- To download the latest QL Player software. Open the Web browser below and enter the IP Address/DNS of your Server.
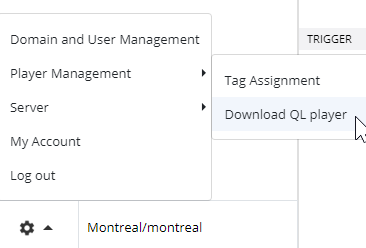
Navigate to the Player download page and download the Android APK .
Note:- if you have a Minix X7 download generic APK and for Minix X10 Players download the Installer for Minix X10.
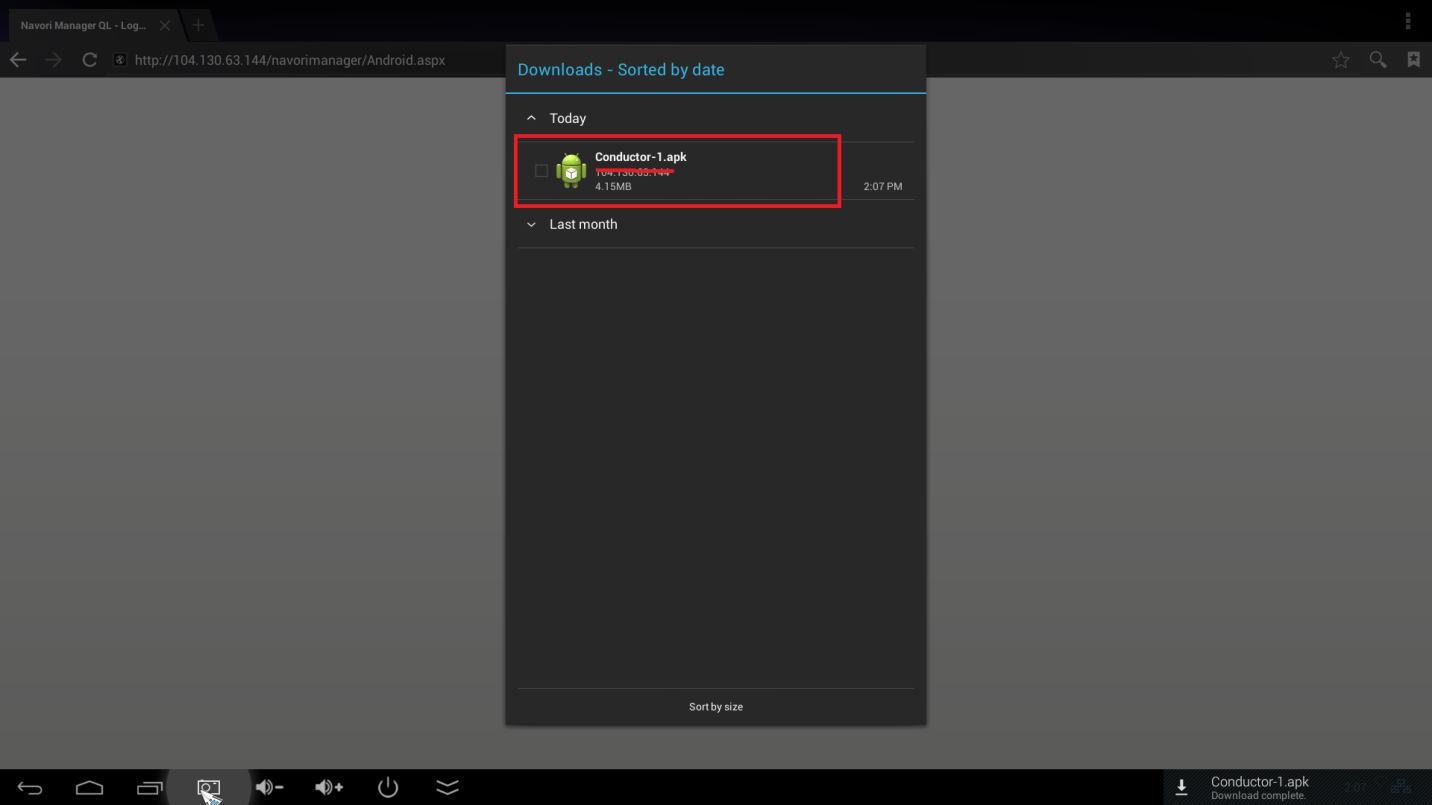
Open the Downloaded Conductor APK
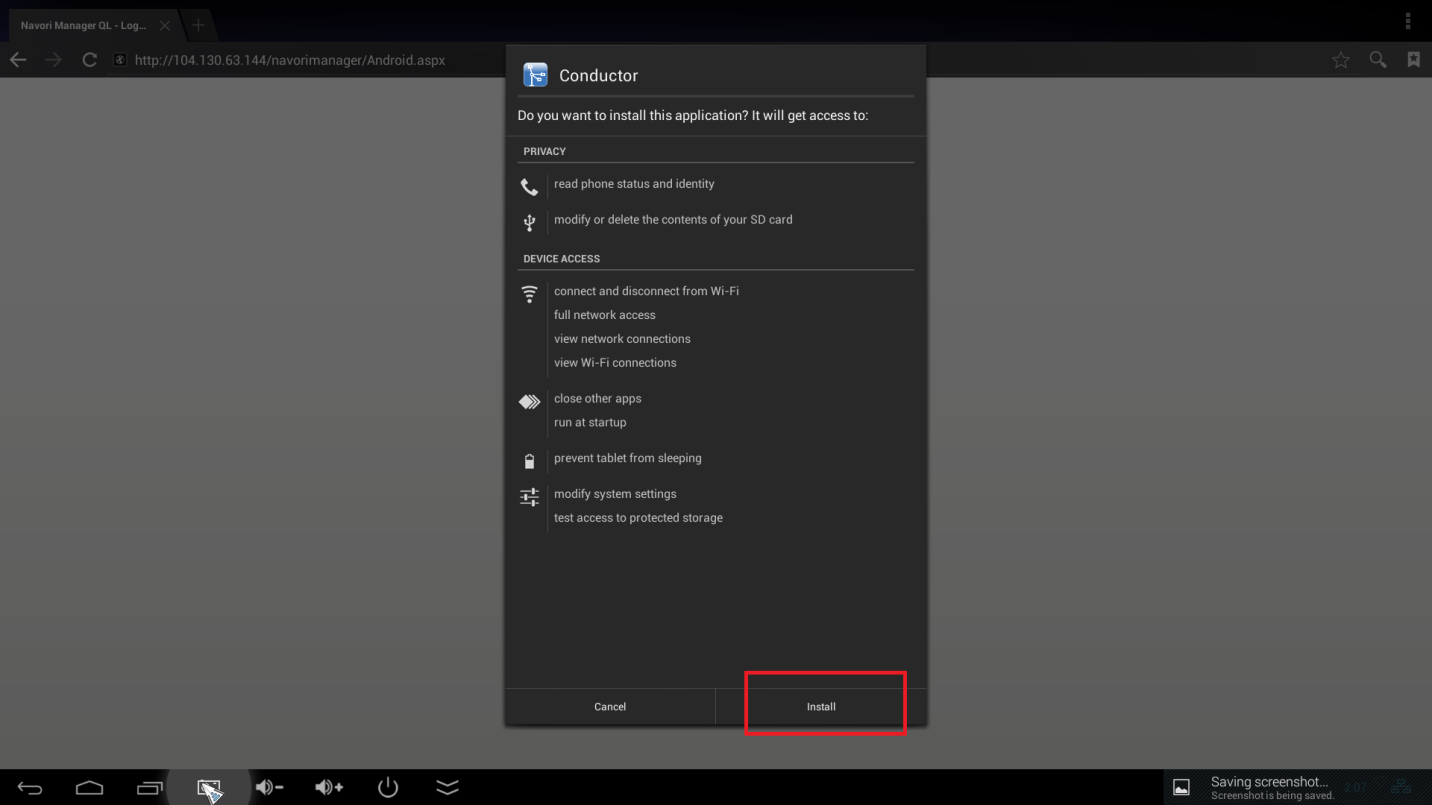
Install Conductor
Open Conductor
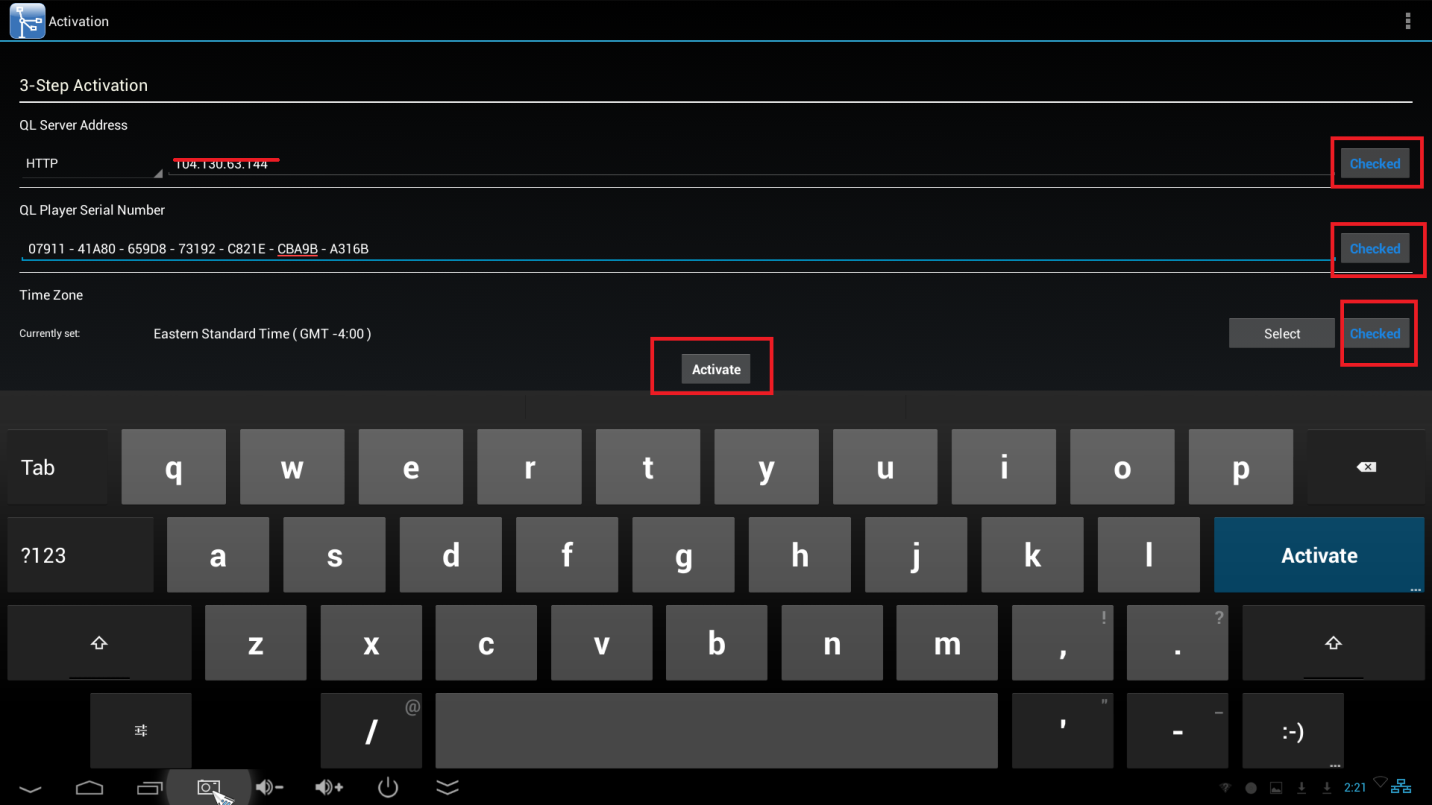
- Activate Product using the 3 Step Activation
- Select either HTTP or HTTPS and Enter the IP Address or DNS of your server and select CHECKED. If you are on the SAAS enter https://saas.navori.com
- Enter the QL Player Serial Number and select CHECKED
- Confirm the Time Zone or Select the time zone and select CHECKED
- Select Activate and the Player will restart and show the Default Media screen.